Now the rear cross brace is screwed on. This results in a square of running rails, rear cross brace, and door leaf, the diagonals of which must be the same length. The ceiling brackets supplied are screwed to the rails beforehand.
Their screw holes are now marked on the ceiling and are also equipped with drilled dowels. In the case of a hand-operated up-and-over door, installation is complete when the ceiling brackets are attached.
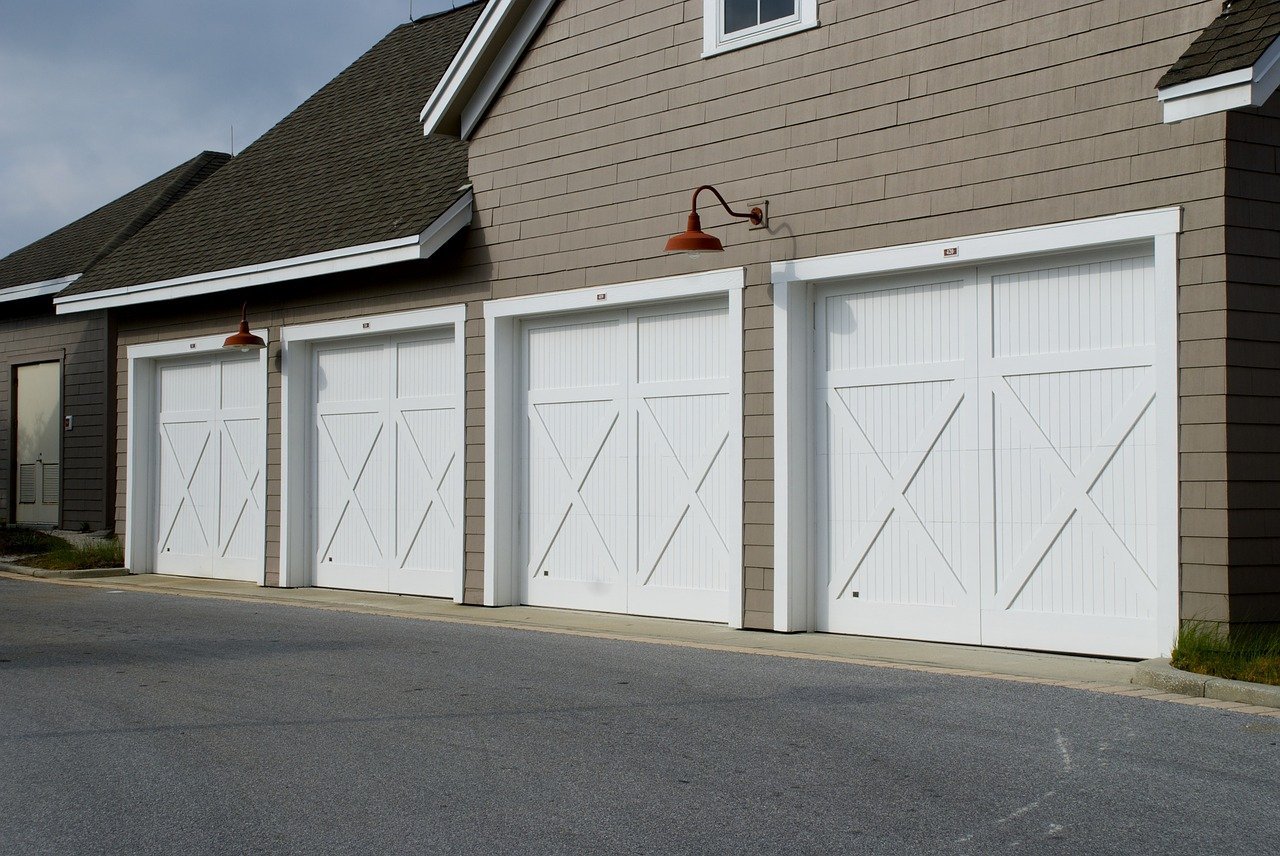
The door can be checked for ease of movement by opening and closing it several times. If necessary, the goal frame can then be installed during assembly.
Foamed in the wall opening with special frame foam. Here you find garage door installation details.
Here, the installation is a little more complex than with an up-and-over door. The guide of a sectional door consists of vertical and horizontal guide rails. We already know that a sectional door is usually always attached behind the wall reveal.
First, the vertical guide rails on the floor are connected to the fascia panel to form a “U”. This ensures that the guide rails are at the correct distance from one another.
This “U” is erected on the masonry, aligned with the spirit level, and the fastening holes are marked.
Read Also:
The dowel holes are made using a percussion drill and suitable dowels and the vertical guide rails are screwed to them. It is important that both the vertical and horizontal position is maintained and, if necessary, corrected with underlay material.
Now the horizontal guide rails are fitted in the same way as has already been described for the up-and-over door. The rear cross brace is mounted between the horizontal frame parts. It now serves as a measure and rear cross brace on the horizontal guide rails.
The assembly of the panels starts in the vertical guide rails above the floor, segment by segment including their guide rollers and other components.
Finally, the traction cables are connected to the spring system and the test run can begin. The sectional door must neither close by itself nor be pulled up.
If this is not the case, the spring tension of the spring system must be readjusted. Finally, the motor drive is installed according to the manufacturer’s installation instructions.
Not every garage has the ideal ceiling height for the installation of an up-and-over door or sectional door, or it even ends in a sloping roof with an even greater height at the end of the horizontal guide rails.
However, the rigidity of the ceiling brackets is limited, and swaying guide rails cause the gate to run poorly, but also to greater wear on the guide rollers.
In such a case, a special construction from the steel construction company can help or it can be suspended with appropriate beams. If the door is to be equipped with a motor drive, this also needs a safe installation location.
Then the better solution is to insert a beam from wall to wall of the garage at the end of the horizontal guide rails. The ceiling suspension of the gate can then also be attached to this and rails and the motor drive are mounted on this beam.
Find the ideal prayer mat for a deeper spiritual experience with our guide on materials,…
Avoid costly damage with expert tips on preventing and fixing bad plumbing. Protect your home…
Discover why Chesterfield sofas are ideal for seniors: effortless use, ultimate comfort, easy maintenance, and…
In the realm of interior design, the quest for striking yet versatile elements often leads…
Sydney's plumbing industry is a vibrant and essential sector, offering numerous opportunities for skilled professionals.…
Congratulations! You just bought your first home. Now comes the exciting (and maybe slightly overwhelming)…
