When you need assistance with solar panel installation, contact the Small Energy Bill in California for solar panel installation.
It is best to work with professional and expert solar panel installers to have a well-installed solar panel that will last for years to come.
Solar panel installation is a complex process that involves several factors. To be successful in solar panel installation, you will need to consider more than just functionality.
You will have to understand how long the system will last, the maintenance needs, the weather, and how you will make sure that the system complies with industry and local standards.
When you want your solar panel to have optimal performance, consider these best practices in the solar panel installation process:
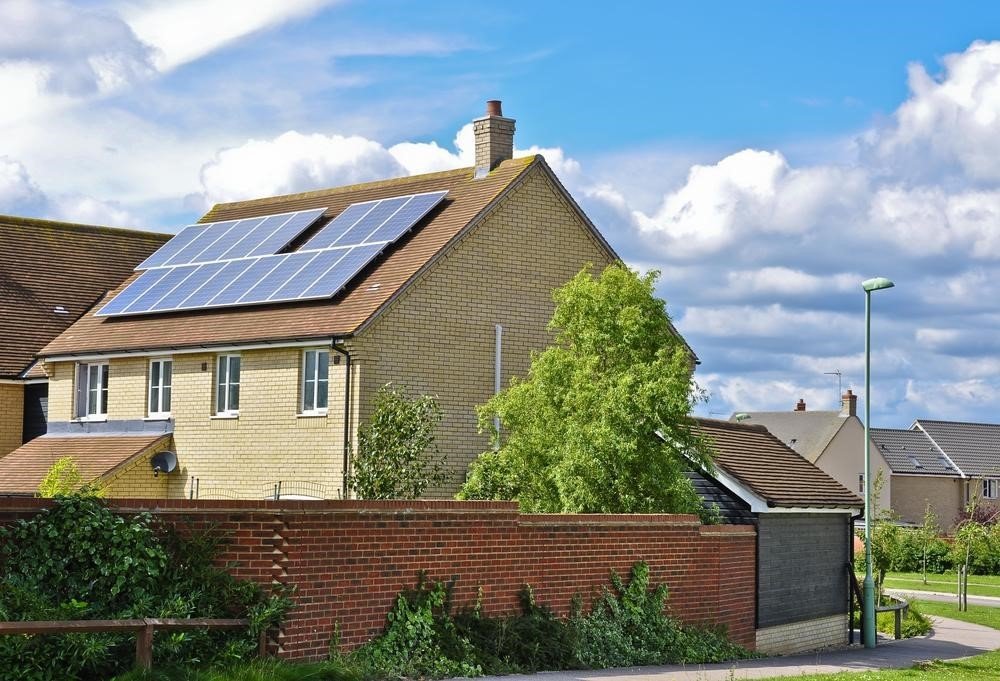
Make sure that the solar panel system will match the overall design of the house. The system needs to look clean and organized.
When you consider aesthetic appeal when installing the system, the system will increase the value of the property. A solar panel system with a good design has the following:
More important than how the solar system will look is how long it will last. Choose a design that will not only look good on your roof but that will function for as long as it is expected. Make sure that you deal with and eliminate failure points.
Choose a solar panel system that you can handle the maintenance needs to make sure that it functions properly in its lifetime. Good designs will allow workers to safely maintain the whole system.
Consider all environmental elements when you have a solar panel system installed. You will need to know how your roof structure, the wind, seismic activity, sun levels, and power demand can impact the functionality of your solar panel system.
Knowing the required labels for your system during the design phase will make it easier for installers and maintenance workers to respond to issues if there be any that will arise.
Read Also:
Many homeowners are shifting to clean energy systems like solar panels and some are considering installing their own solar panel systems on their own.
Whether a solar system is installed DIY or by a professional installer, these are the 5 basic steps followed in a typical solar panel system installation:
A licensed engineer (from your installer or contracted by your solar company) will assess the electrical status of your property and the condition of your roof to ensure that the solar panel system you will install is compatible.
Paperwork will need to be done and processed to make sure that your solar panel system installation adhered to company and local standards and requirements. You may consider applying for solar incentives such as:
When all the paperwork is done, you will need to choose the right equipment for your solar panel system. You can do your own research on the best solar panel systems and inverters available in the market today. Schedule the arrival of your solar panel system equipment on the day of installment.
These are generally the steps followed on the actual installation:
Solar panels are becoming the popular choice for alternative energy systems that can help homeowners and business owners save on electricity bills and become independent in energy consumption. Contact Small Energy Bill in California for solar panel installation.
Glass partitions and doors bring a gloss and style to virtually any interior, from minimalistic…
Managing residential properties is integral to real estate as it ensures that the investment is…
Explore top bathroom taps: mixer, automatic & single-lever faucets. Upgrade for style & efficiency with…
Low water pressure in the house can be more than just a minor inconvenience; it…
Crowdfunding is a busy world, and an attractive video can make all the difference between…
Find the ideal prayer mat for a deeper spiritual experience with our guide on materials,…
