What Kind of Spray Paint to Use on Kitchen Cabinets?
Share
Lately, everyone is giving their worn-out, old wooden kitchen cabinets a DIY makeover by themselves, being a DIYer or tradesperson or any other professional.
If you want to give your kitchen cabinets a new look, painting them would be the most appreciated way.
What Kind of Spray Paint to Use on Kitchen Cabinets
Not only is it cost-friendly, by you could even DIY and spare your labor expenses. By utilizing an inexpensive paint sprayer, you could transform your outdated kitchen over the weekend.
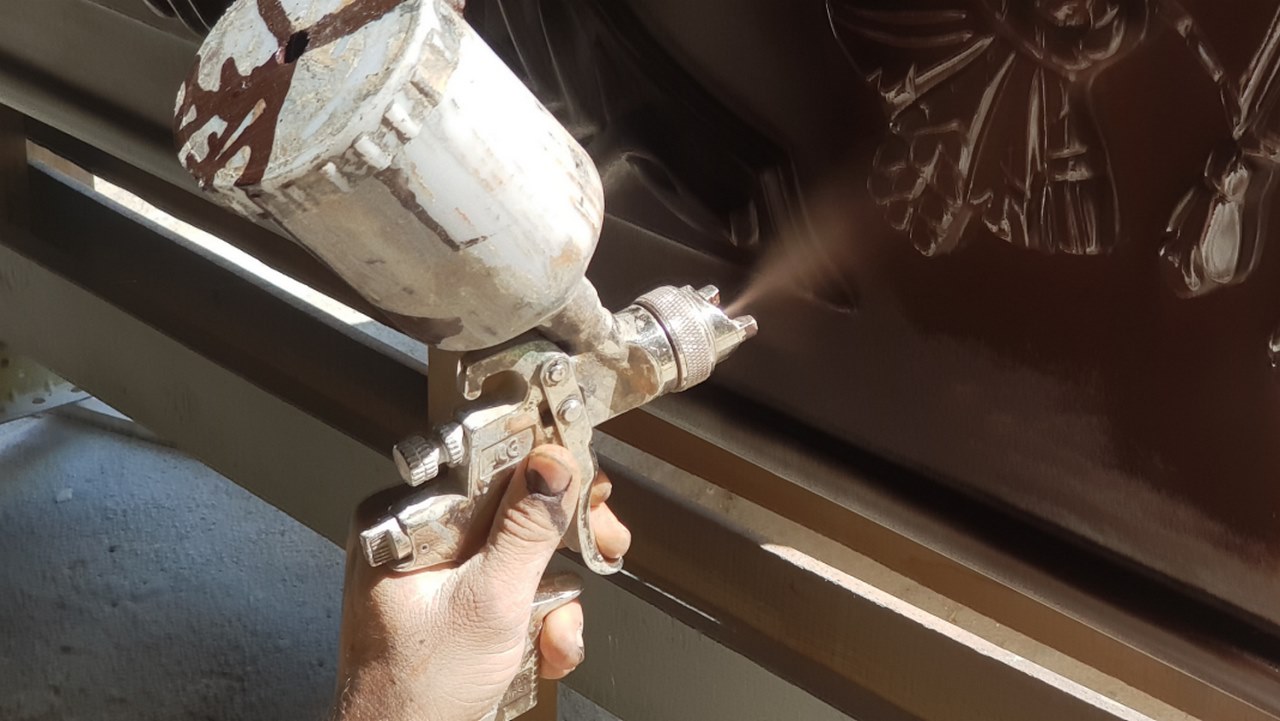
The doors are spray painted by professionals as it produces an ultra-smooth finish.
You can spray paint effectively since there is a short learning curve to it.
You could spray the kitchen cabinet’s frames, side, and trim while using a brush to mask off the kitchen cabinet’s openings as it would take less time this way.
There are some downfalls to the painted finish, even if you are very careful.
The factory finish is more challenging than your paint, and there is a huge possibility that your kitchen cabinets would end up with the paint runs and brush stroke marks covering your cabinet’s sides.
You could obtain all the required materials and equipment from your nearby paint stores or home centers to paint your kitchen cabinets.
You would need at least four to five days to complete the project for a DIYer or tradesperson, as the paint needs to be dried overnight between coats.
Another issue you would encounter is that you can only paint one side of the door in one day.
Number your doors as you remove them to know the order with which you can reinstall.
Prepare a solution of lukewarm water and dish detergent to clean the front and rear side of the doors and drawers of the kitchen cabinets so that you could eliminate all the grease. The step is essential to adhere to the paint or primer.
Rinse the cabinet parts with clean water and apply tape to the hinges or holes to prevent any paint from entering inside.
Tape all areas which adjoin the cabinet frames. It would be best to tape off the walls, ceilings, and floorings while covering the kitchen counter with rosin paper.
Utilize masking paper or plastic sheeting to wrap all kinds of appliances and the vent hood.
To remove burrs and ridges, you should sand any damaged area on the door or wooden kitchen cabinet frames with 320-grit sandpaper.
Spackling compound can be used to fix any scratches, holes, and dings with the help of a putty knife to guide it to the damaged area.
If you want to replace the hardware and require holes in a separate location, you should fill the gaps between the handles and hardware.
To make the surface smooth, you should sand the doors and kitchen cabinets frames, trims, and sides lightly with 320-grit sandpaper. The bristle attachment can be used to vacuum the dust off.
Wipe off the doors and frames with a tack cloth just before you are ready to apply the primer.
Apply a stain-blocking primer with a paintbrush to prime the doors and frames of the kitchen cabinet. Don’t apply the primer using a roller as it would leave marks that will affect the finish. You could use bristles to work the crevices with the primer.
You should first prime one side of all the doors; allow them to dry while working on the frame and sides of the kitchen cabinet. You can then prime the other side of the door in the same way.
Thin the paint by pouring it in a bucket with half a cup of water and half a quart of the Folderol paint additive. The step helps to level out the paint during its application and increases the drying time to prevent any brush or lap marks. There is a more even coat when you are spraying as the paint is thin. You can find best spray paint for furniture from here.
A brush can paint any exposed sides of the kitchen cabinet. The entire rail; or stile should be painted using a high-quality paintbrush. The inside edge can also be painted before you work your way to the adjacent rail or stile.
Let the paint over dry at night and give it a second coat to get a solid covering on the kitchen cabinet.
You should fix the paint runs with a brush when the paint is wet, and if it dries or becomes tacky, you should wait until the next day to sand out the imperfections and repaint.
Place the doors and drawers back in their places. Attach them with the hinges and then screw them to the kitchen cabinets. Scrape out any seeped paint from the hinge hole to enable it to fit snugly.