Placemats to Match Your Dining Room
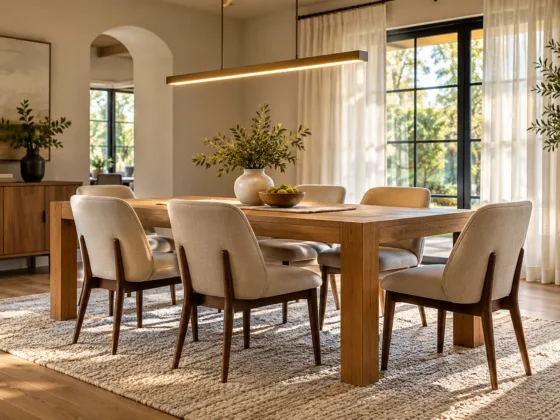
Coordinating your table linens to your dining room wall colors is a simple way to tie everything together into a cohesive theme. With a few simple materials and instructions on how to make placemats, your dining room can have a whole wardrobe of complimentary linens.
 |
| How to Make Placemats to Match Your Dining Room Decor |
Simple Quilted Placemats
The simplest placemats use double-sided pre-quilted material from a craft or fabric store and some matching seam binding. With a few straight pins, a tape measure and a sewing machine, you’re ready to go.
First, measure and cut a piece of fabric in the size you want for each mat. A 12-inch by 18-inch rectangle is a good size for most tables. If your quilted fabric is not finished on both sides, cut a piece of matching or coordinating fabric in the same size and pin them together with wrong side facing each other.
Pin the seam binding around the edges, being sure the fabric edge is tucked inside completely. Stitch around the sides, close to the open edges of the seam binding, removing the pins as you sew. Your placemat is now ready to use.
 |
| Add some color to your table |
Basic Fabric Placemats
For this project, you will need fabric and batting, tape measure, tailors’ chalk, pins and a sewing machine.
Fold the fabric so that the right sides face each other. If you would like to make reversible mats, place one layer of each fabric on the work surface, right sides together.
Stack and pin a single layer of batting under the two layers of fabric. Measure the fabrics to the size you want for your finished mat plus ½ inch and mark a cutting line. Cut through all three layers and repin the pieces to hold them straight for sewing.
Stitch the layers on three sides, using a 1/2-inch seam allowance. Stitch the fourth side about halfway across, leaving an opening for Add some color to your table.turning. Trim the seam allowances to 1/4 inch. Turn the mat right side our and iron it flat. Hand-stitch the turning slit closed.
At this point, your mat is ready to use. You might like to add some extra decorations, however. Use the instructions on mow to make placemats with embellishment that follow to personalize your linens.
Embellishments
 |
| Embellish your placemats to make them uniquely yours |
Machine Quilting
With tailors’ chalk, draw a geometric, floral, or other design on the finished mat. Use matching or contrasting thread to machine-stitch over the lines to create a quilted pattern.
Stenciling or Painting
Trace a design of your own or one from a greeting card, coloring book, or other pattern, using dressmakers’ tracing paper onto the finished mat. Use fabric paint or acrylic paint mixed with fabric medium to fill in the design. For crisp outlines, use an ultra-fine permanent marker to trace around the painting after it has dried.
Another alternative is to use a stencil. Position the stencil on the mat with double-sided tape. Lightly pounce fabric paint on with a stencil brush. Allow the paint to dray and remove the stencil.
Set the paint onto your mat after the paint has dried completely by lightly applying white vinegar with a clean rag and then ironing the mat.
Applique and Beads
This embellishment is added more easily before you stitch the placemat layers together. Cut out a simple design from a contrasting fabric and from double-sided fusible webbing.
Holiday designs such as leaves, pumpkins, hearts, shamrocks, trees, or other symbols make this a quick and easy way to match the dining room and still have seasonal decorations.
Iron the patch onto the placemat. Then you have several options for finishing the edges of the appliqué. You may simply leave them raw for a rustic look, although they will eventually begin to peel and curl. You may outline over the edges, lapping onto the mat, with fabric paint.
Another option is to add a zig-zag or satin stitch all around the design, either with your sewing machine or by hand. Finally, you might stitch around the edges with a string of seed beads for a little extra “bling.”
Tips
You may also use seam binding in a contrasting color as an accent. Quilters’ pins, with large ball heads, are easier to see and remove as you sew.
Now that you know how to make placemats, your table should always look like a planned part of the decorating scheme.