Table of Contents Show
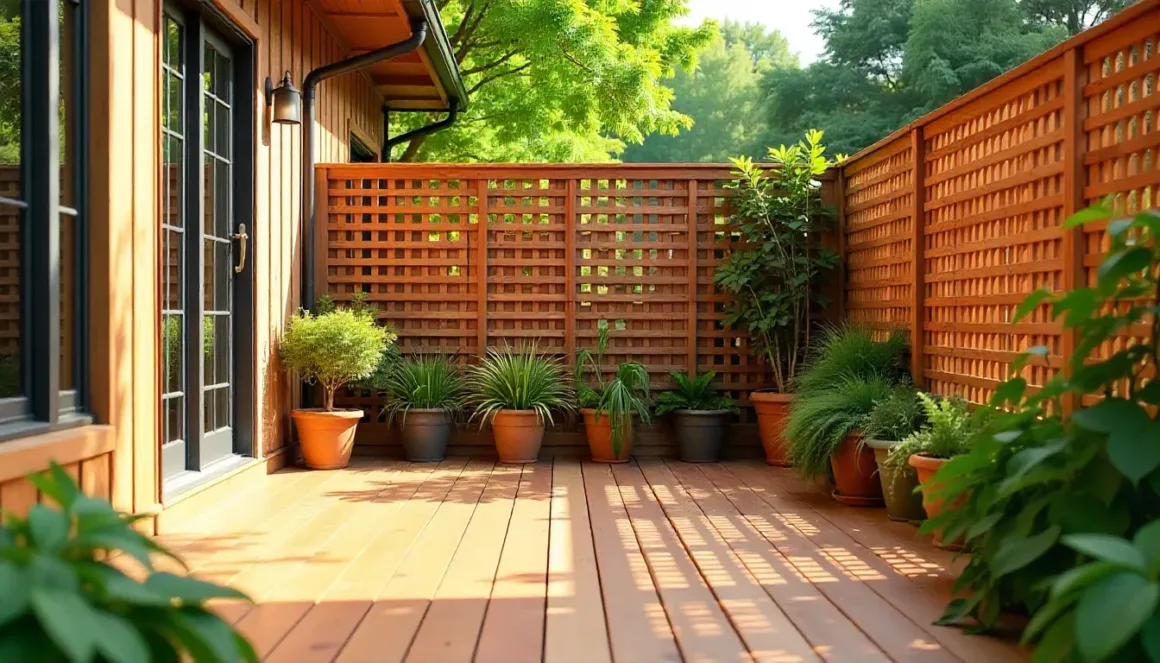
Transform the look of your deck and increase privacy with this complete DIY guide to deck lattice installation. Beyond improving aesthetics, lattice provides privacy, deter animals, and even act as a trellis for climbing plants. With the right materials, tools, and careful preparation, you can achieve a professional finish without hiring a contractor.
Why You Need Lattice for Decks
Lattice screens add privacy, block wind, and support greenery while preventing animals from nesting under your deck. Left uncovered, these areas often collect clutter. Adding lattice panels not only improves appearance but also makes your deck more functional (UMN Extension).
⚠️ Check Local Codes & Permits
Before starting, always check your local building codes and permit requirements. Regulations vary by region, and many municipalities require permits for structural additions like lattice frames. Refer to the International Residential Code (IRC) or your local building office before drilling, digging, or setting posts.
Tools and Materials Needed
- Lattice panels: wood, vinyl, composite, or metal (standard 4×4 ft or 4×8 ft)
- Posts: 4×4 pressure-treated lumber or aluminum posts (AWC Deck Guide PDF)
- Rails (stringers): 2×4 lumber for framing
- Fasteners:
- Galvanized deck screws (1½–2 in.) for wood
- Stainless steel screws for vinyl/composite (prevents rust stains)
- Torx or square-drive heads recommended
- Brackets: galvanized post brackets for deck-mounted posts
- Concrete mix: for ground-set posts (24–36 in. depth; below frost line)
- Tools: drill/driver with torque control, circular saw (80T blade for vinyl/composite), framing square, chalk line, laser or water level
- Safety gear: goggles, gloves, dust mask, hearing protection (OSHA PPE Guidelines)
- Trim pieces: 1×1 in. wood stops or vinyl U-channels
Choosing the Right Type of Lattice
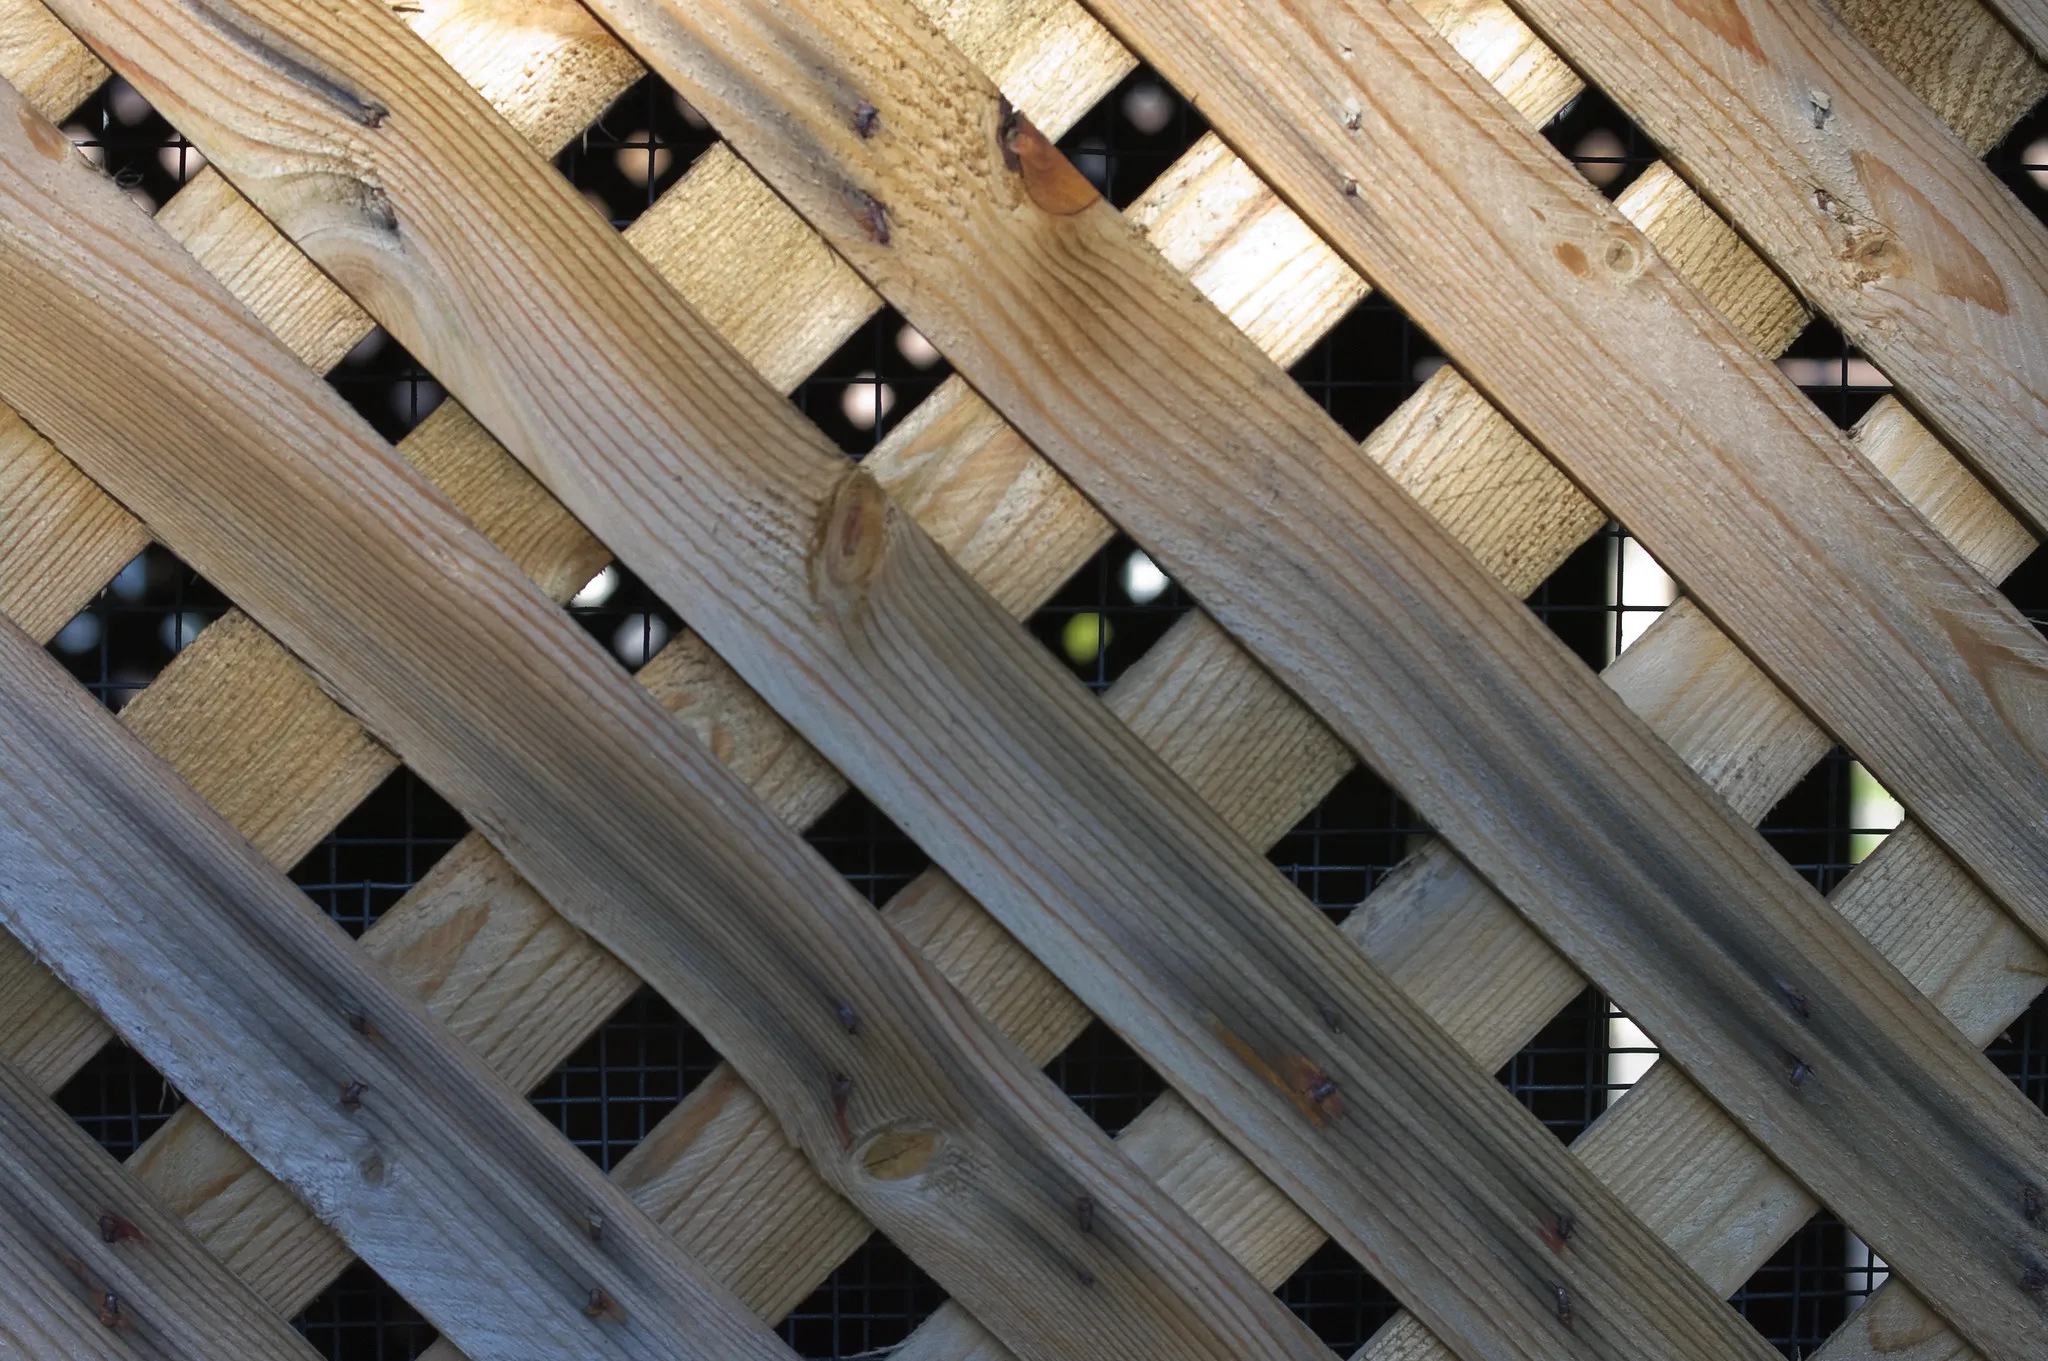
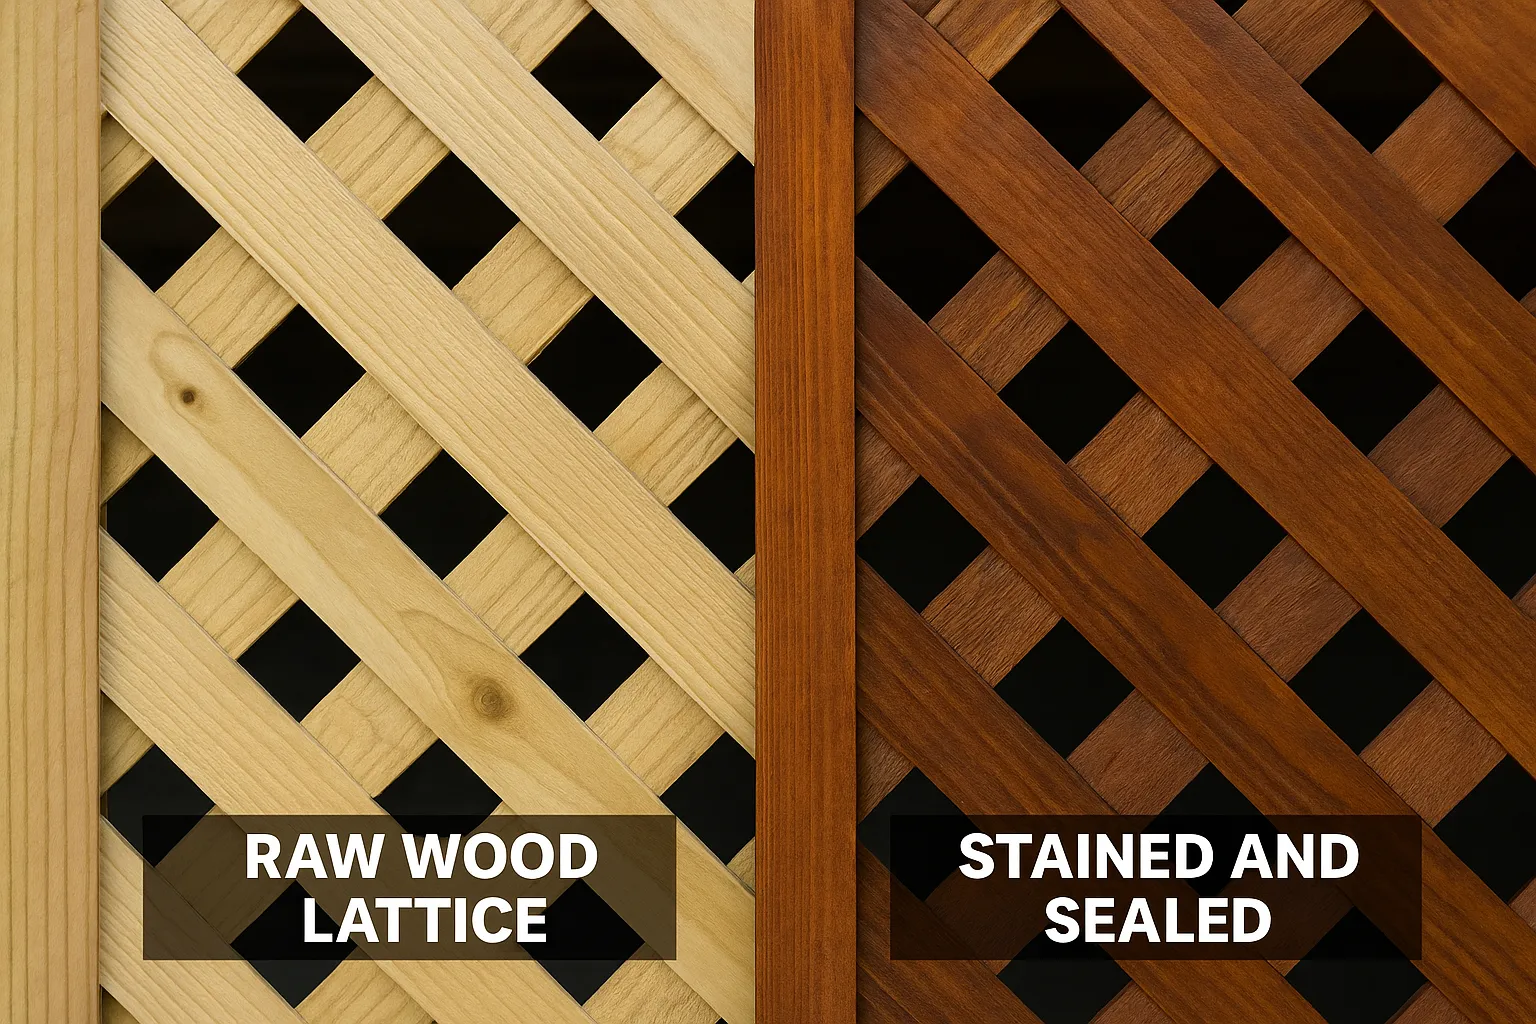
- Wood lattice – inexpensive, customizable with paint or stain, but requires weatherproofing.
- Vinyl lattice – low-maintenance, moisture-resistant, won’t rot.
- Composite lattice – premium look, durable, resists warping.
- Metal panels – modern, laser-cut styles; highly durable but expensive.
Step-by-Step: How to Install Lattice on a Deck
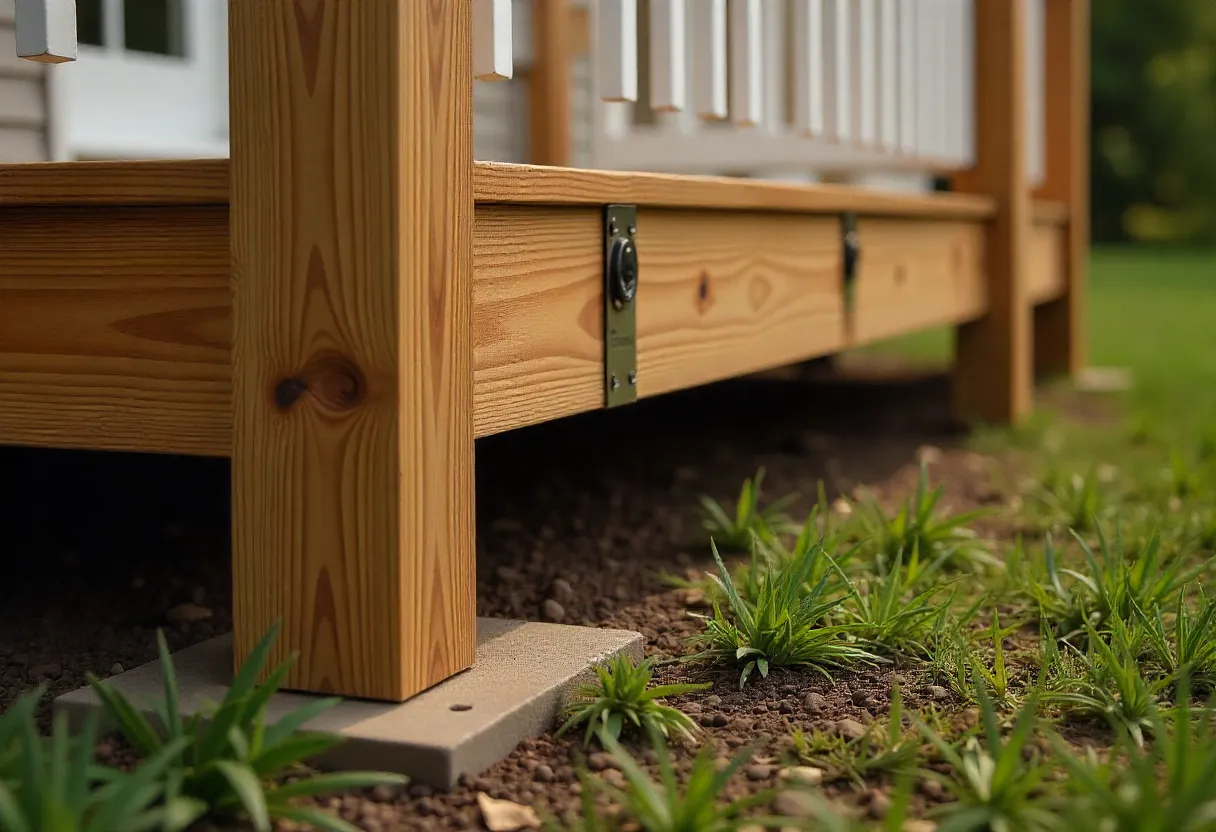
1. Build the Framework
- Deck-mounted posts: Secure 4×4 posts to deck joists with galvanized brackets and 3 in. structural screws.
- Ground-set posts: Dig 24–36 in. holes, set posts in quick-set concrete, align vertically with a laser level. Cure for 24 hours.
👉 Pro Tip: Snap a chalk line between corner posts before setting intermediates for perfect alignment.
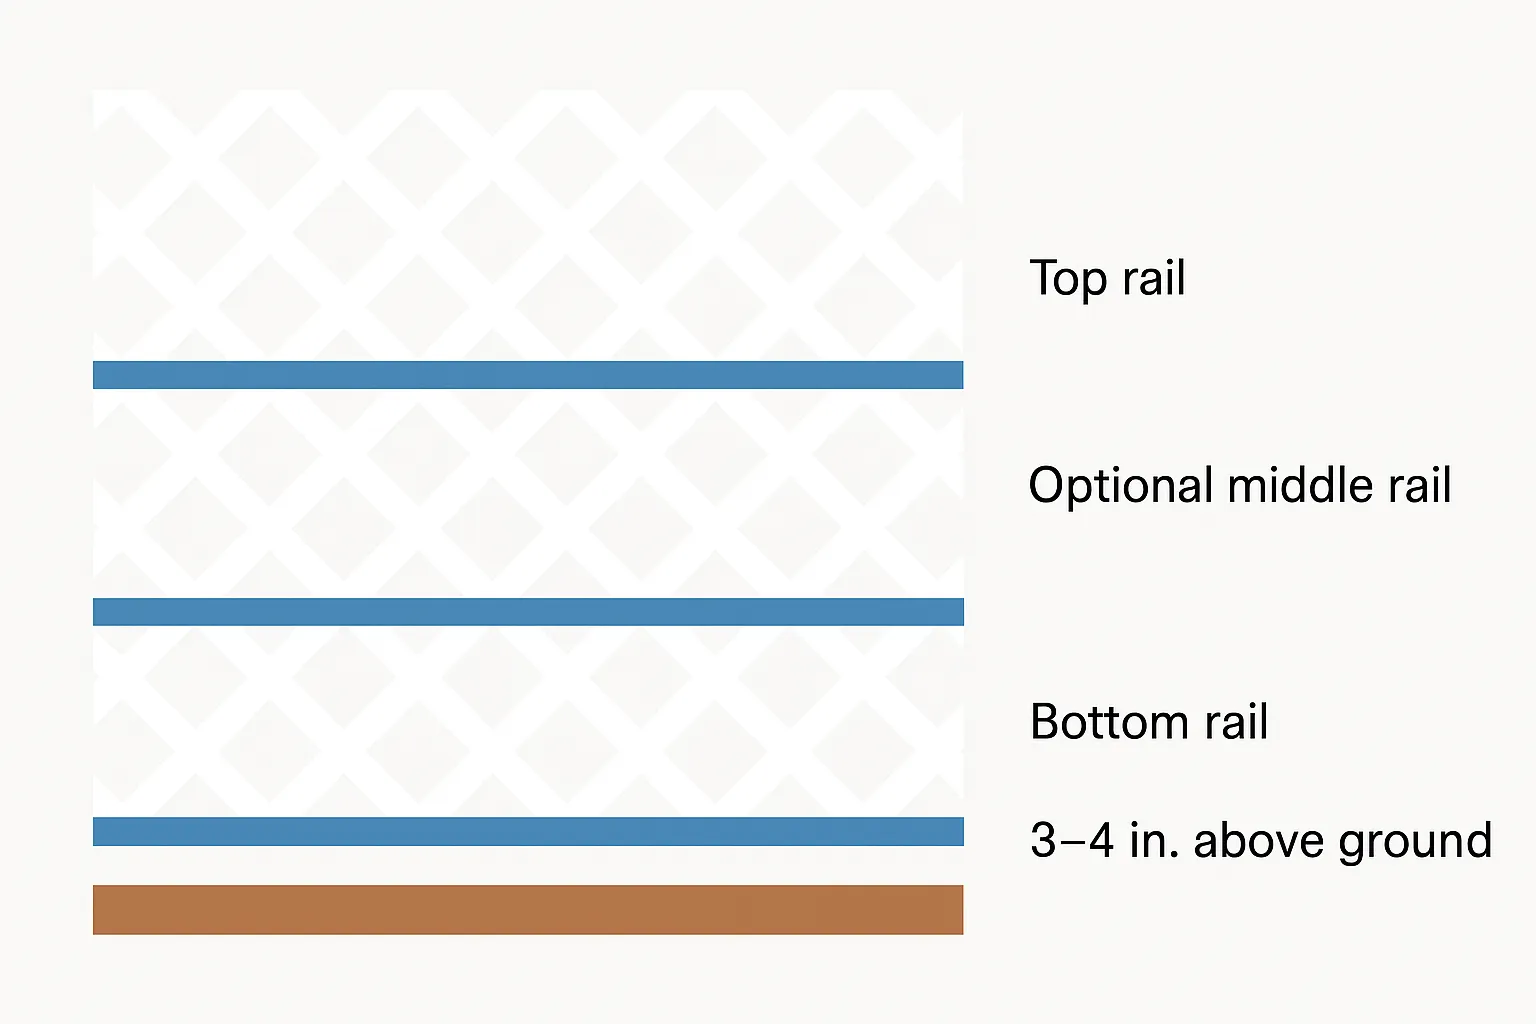
2. Add Stringers or Handrails
- Bottom rail: 3–4 in. above ground for ventilation.
- Top rail: flush with posts, secured with Torx screws.
- Middle rail: for panels taller than 4 ft to prevent sagging.
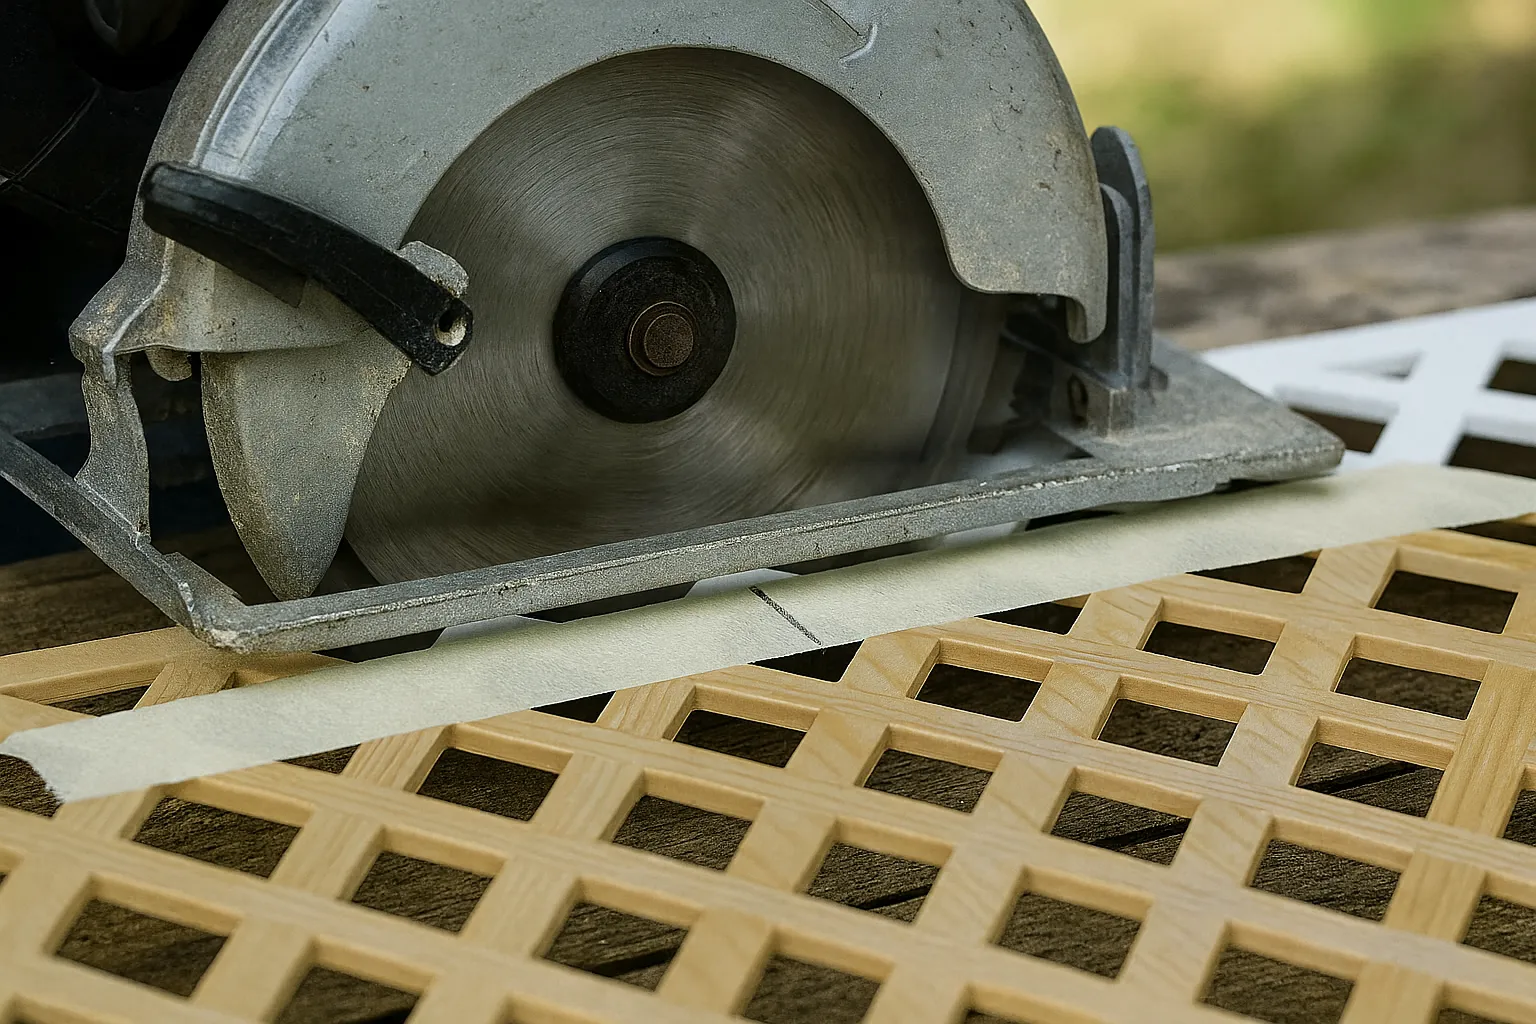
3. Cut the Panels
- Measure openings to 1/16 in. accuracy.
- Cut wood panels with a 24–40T blade; vinyl/composite with an 80T blade + masking tape to avoid chipping.
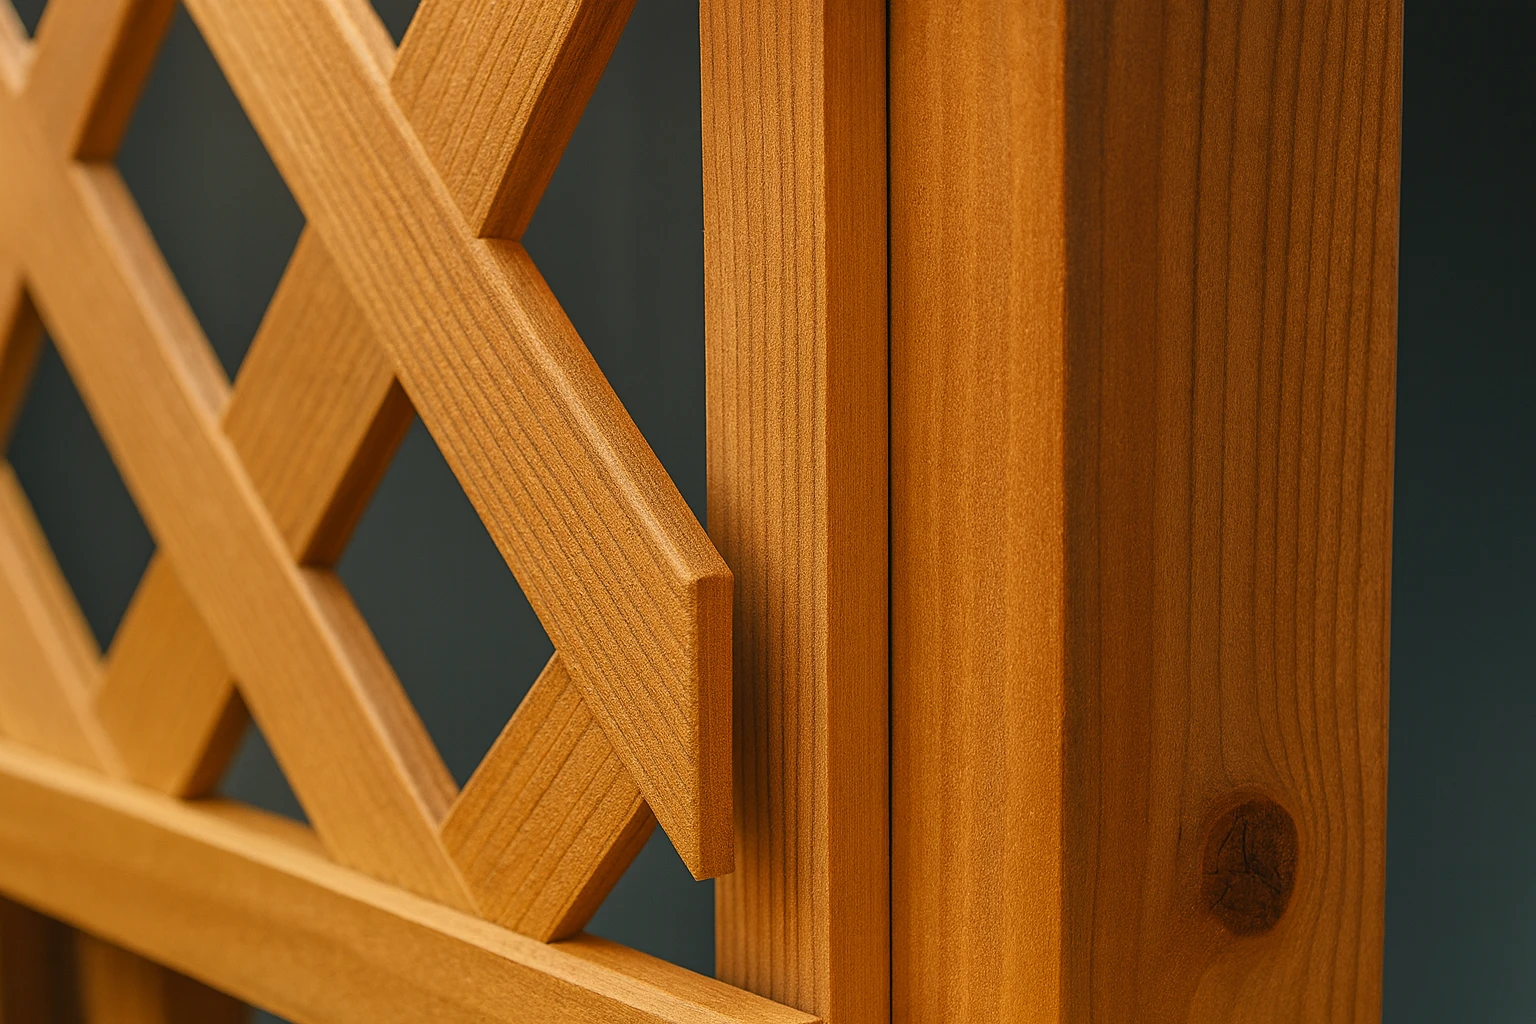
4. Secure with Stops or Channels
- Install 1×1 stops along one side of the frame.
- Slide the lattice into the opening.
- Fasten the second set of stops opposite.
- Alternative: Use vinyl U-channel kits for easier replacements.
5. Repeat and Finish
- Enclose remaining sections.
- Seal/stain wood every 2–3 years.
- Rinse vinyl/composite panels as needed.
Cost of Installing Deck Lattice
- Wood panels: $20–$40 each (Home Depot)
- Vinyl/composite panels: $35–$60 each (Lowe’s)
- DIY cost: $200–$500, depending on deck size
- Professional install: $500–$1,500
📹 Watch a reference video💡 Budget Tip: Composite and vinyl cost more upfront but save long-term on maintenance.

Lattice Under the Deck
Use the same framework method.
- Ensure soil slopes outward for drainage (EPA Stormwater Guidance).
- Install hinged/removable panels for crawl-space or storage access.
Maintenance & Longevity
- Wood: reseal or stain every 2–3 years; check for rot annually.
- Vinyl: rinse with hose; UV-resistant types last longer.
- Composite: mild soap wash; highly resistant to fading.
- Metal: apply rust-preventive coating every 3–5 years.
Innovative & Modern Lattice Design Ideas
- Recycled Materials Lattice: reclaimed pallets, bamboo, or salvaged iron grilles; eco-friendly rustic appeal.
- Sliding Lattice Panels: mounted on barn-door tracks for adjustable airflow/privacy.
- Lattice with Storage Access: hinged panels conceal under-deck storage or utility access.
- Small-Space Solutions: vertical slats in narrow patios add height and openness.
- Solar-Integrated Panels: flexible solar strips mounted along lattice tops charge by day and illuminate decks by night.
Case Studies & Testimonials: Real Challenges, Real Solutions
- Narrow City Deck, Brooklyn
“We had just two feet between our deck and the neighbor’s fence. Vertical composite slats gave us privacy without making the space feel boxed in.” — Elena R., homeowner - Eco-Friendly Build, Portland
“I reclaimed old cedar fence boards, cut them into strips, and made a lattice that cost under $50 — saving over $200 while keeping it sustainable.” — James T., DIYer - Contractor’s Perspective
“Always leave a ¼-inch gap or venting space at the base of panels. Without airflow, trapped moisture will cause rot.” — Mark Hill, Licensed Contractor (20+ yrs experience), (NAHB Member) - Pest Problem, Rural Texas
“Skunks kept nesting under our deck. Hinged vinyl lattice reinforced with mesh solved the problem while keeping access to plumbing shutoffs.” — Sarah & John M.
Expert Pro Tips
- Use Torx screws for torque and slip resistance.
- Choose ground-contact–rated posts when setting in soil.
- A laser level ensures accuracy; water levels are a budget option.
- Always include ventilation gaps to prevent trapped moisture.
Pros and Cons of Lattice Types
| Type | Pros | Cons | Best For |
|---|---|---|---|
| Wood | Affordable, customizable | Needs upkeep, can rot | Rustic/budget builds |
| Vinyl | Weatherproof, low-maintenance | Limited colors, may warp | Wet/windy climates |
| Composite | Stylish, durable | Higher upfront cost | Premium/modern decks |
| Metal | Strong, unique patterns | Expensive, may rust | Industrial/modern |
FAQs (People Also Ask)
Do lattice panels always need a frame?
Yes, frames prevent sagging and extend panel life.
What screws work best?
Use 1½–2 in. galvanized Torx screws for wood. For vinyl/composite, use stainless steel (e.g., GRK Fasteners).
How do I ensure panels are level?
Use a laser or water level; mark chalk lines before attaching.
What’s the most cost-effective choice long term?
Vinyl or composite. Higher initial cost, but minimal upkeep saves money over time.
Wrapping It All Up (Summary)
✅ Lattice adds privacy, beauty, and functionality.
✅ Choose the right material for budget, climate, and style.
✅ Check local codes/permits before building.
✅ Follow step-by-step installation methods for durability.
✅ Consider modern upgrades (sliding panels, solar strips).
✅ Maintain your lattice to extend its life.
- Reviewed by: Mark Hill – Licensed Contractor & Deck Specialist, NAHB Member.
- Written by: Douglas O’Brien – DIY Home Projects Writer (15+ years experience)