Table of Contents Show
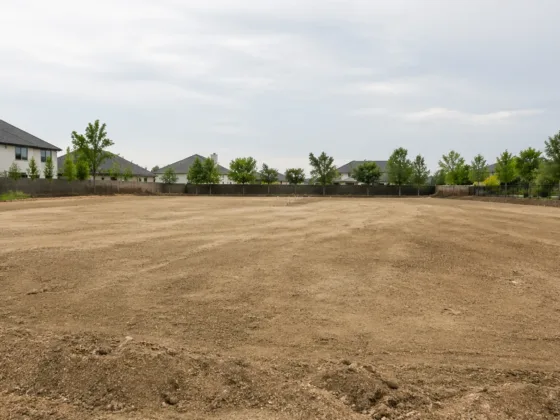
When it comes to establishing a lush and beautiful lawn, sod installation is a popular and effective method. Sod provides instant gratification with an established and healthy lawn in a short period.

This article serves as a comprehensive guide to help you navigate the process of installing sod for your lawn. We will cover the seven main steps involved in sod installation, from preparation to maintenance.
Step 1: Preparing the Soil
Before installing sod, it’s crucial to prepare the soil properly to create an optimal environment for healthy root growth.
Start by removing any existing vegetation, such as weeds or grass. Clear the area of debris and rocks, ensuring a smooth and even surface.
Take the time to perform a soil test to determine the pH level and nutrient content of the soil.
Based on the results, you may need to amend the soil with organic matter or fertilizer to provide the ideal conditions for the sod to thrive.
Step 2: Measuring and Ordering Sod
Accurate measurements are essential to ensure you order the correct amount of sod for your lawn.
Measure the area carefully, taking into account any irregular shapes or curves.
Once you have the measurements, consult with a sod supplier to determine the amount of sod needed.
It’s advisable to order a little extra to account for any wastage or potential adjustments during installation.
Step 3: Sod Delivery and Preparation
Coordinate with the sod supplier for the delivery of fresh sod. Schedule the delivery on a day when you are ready to install it immediately.
Keep the sod moist and avoid prolonged exposure to direct sunlight. Begin installation as soon as possible to prevent the sod from drying out.
Step 4: Installing the Sod
Start the installation process by laying the first row of sod along a straight edge, such as a sidewalk or driveway. Ensure that the edges of the sod pieces are tightly aligned without any gaps or overlaps. As you move along, stagger the joints of the sod to create a brickwork pattern. Use a sharp knife or sod cutter to trim the sod pieces as needed to fit irregular areas.
Step 5: Watering and Rolling
After the sod is installed, thoroughly water the entire area.
This step is crucial to provide moisture to the roots and establish proper contact between the sod and soil.
Use a sprinkler system or a hose with a sprinkler attachment to evenly distribute water across the entire lawn.
Once watering is complete, use a lawn roller to gently press the sod into the soil.
Rolling helps eliminate air pockets and ensures better contact between the sod and the soil, promoting root establishment.
Step 6: Initial Care and Maintenance
In the days following sod installation, it’s important to provide consistent care to promote healthy growth.
Water the sod daily for the first two weeks to keep the soil moist.
Avoid excessive watering, which can lead to oversaturation and root rot.
Gradually reduce the watering frequency as the sod establishes roots.
Avoid walking or using the lawn during the initial few weeks to allow the roots to take hold.
Fertilize the sod according to the recommended schedule to provide essential nutrients.
Step 7: Long-term Maintenance
To maintain a healthy and vibrant lawn, regular maintenance is essential.
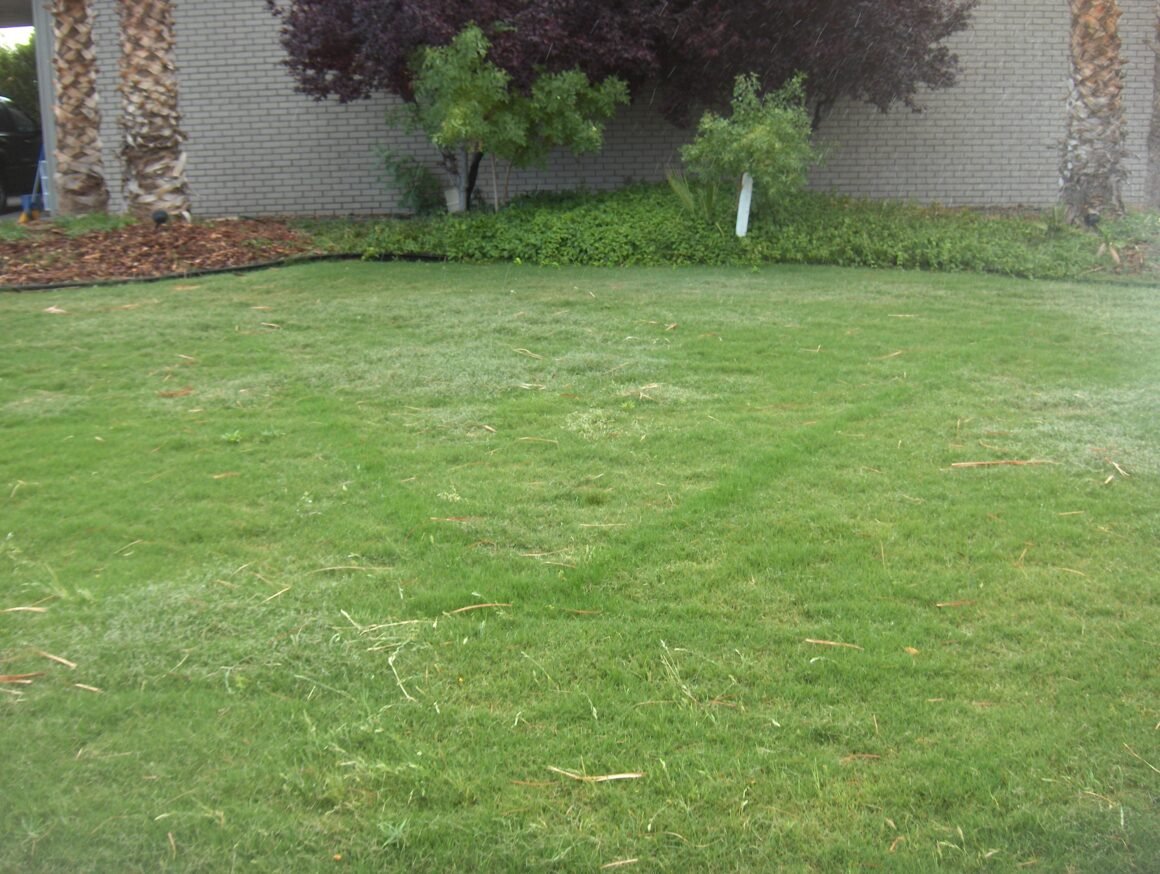
This includes mowing the sod at the recommended height, typically removing no more than one-third of the grass blade at a time.
Keep the lawn well-irrigated, following a proper watering schedule based on the specific needs of your sod type and climate.
Additionally, aerate the lawn periodically to alleviate soil compaction and promote nutrient absorption. Regularly monitor for pests, diseases, and weeds, taking necessary measures to address any issues promptly.
Benefits of Sod Installation Services
While DIY sod installation can be a rewarding project, enlisting professional sod installation services offers several advantages.
These services provide expertise, efficiency, and the assurance of high-quality results. Sod installation professionals have the knowledge and experience to prepare the soil correctly, handle sod installation with precision, and offer guidance on long-term maintenance.
Hiring professionals can save you time, effort, and potential frustrations, ensuring a successful and thriving lawn.
The Complete Sod Services Long Island By ATLANTIS PRO provides comprehensive sod services on Long Island, ensuring a top-quality and hassle-free experience for your lawn installation needs.
Conclusion
Installing sod for your lawn can provide instant gratification, transforming your outdoor space into a lush and beautiful landscape.
By following the seven main steps outlined in this guide, from soil preparation to long-term maintenance, you can ensure a successful sod installation and a thriving lawn.
Remember to provide proper care, including watering, fertilizing, and regular maintenance, to enjoy a healthy and vibrant lawn for years to come.