• Home Improvement
    • DIY
    • Remodeling
    • Woodworking
    • Accessories
    • Home Design
      • Furniture
      • Organize
      • Tips
      • Decor
        • Interior
        • Exterior
    • Design Ideas
      • Bathroom
      • Bedroom
      • Dining Room
      • Living Room
      • Kitchen
  • Gardening
    • Backyard
    • Front Yard
    • Landscaping
  • Building Staircase
  • Categories
    • Home Improvement
    • Decor
    • Gardening
    • Woodworking
    • Lifestyle
    • Green Living
    • Real Estate
Dream Lands Design
  • Home Improvement
    • DIY
    • Remodeling
    • Woodworking
    • Accessories
    • Home Design
      • Furniture
      • Organize
      • Tips
      • Decor
        • Interior
        • Exterior
    • Design Ideas
      • Bathroom
      • Bedroom
      • Dining Room
      • Living Room
      • Kitchen
  • Gardening
    • Backyard
    • Front Yard
    • Landscaping
  • Building Staircase
  • Categories
    • Home Improvement
    • Decor
    • Gardening
    • Woodworking
    • Lifestyle
    • Green Living
    • Real Estate
featured image - How to Clean Up Water Damage After a Plumbing Leak
You're here: Home Home Improvement How to Clean Up Water Damage After a Plumbing Leak

How to Clean Up Water Damage After a Plumbing Leak

  • Perla Irish
  • June 16, 2022
Total
2
Shares
0
0
2
0
0
Table of Contents Show
  1. How Does a Plumbing Leak Occur?
  2. Cleaning Up After a Plumbing Leak
    1. Safety First
    2. Document
    3. Extract The Water
    4. Clean And Disinfect
    5. Dry Out Your Property
    6. Inspect, Repair, and Replace

Water damage is a huge headache. Not only does it cause extensive damage to your home or business, but it can also be difficult to clean up. If you have had a plumbing leak, it’s important to take the necessary steps to clean up the water and prevent further damage.

image - How to Clean Up Water Damage After a Plumbing Leak
How to Clean Up Water Damage After a Plumbing Leak

In this blog post, we will discuss how to clean up water damage after a plumbing leak. We will go over the steps you need to take to dry out your property and repair foundation damage that has been done. But first,

How Does a Plumbing Leak Occur?

There are many ways that a plumbing leak can occur. A pipe may burst due to freezing temperatures, an earthquake, or old age. If a plumbing fixture is not properly installed, it can also cause a leak.

Whatever the cause, once a plumbing leak occurs, it’s important to take action quickly to prevent further damage.


Read Also:

  • Detect the Symptoms of Water Damage and Rectify Them Before They Worsen Further
  • Common Water Damage Issues and Ways to Solve Them
  • Tips for Effective Water Damaged House Repair
  • 5 Common Causes of Home Water Damage

Cleaning Up After a Plumbing Leak

A plumbing leak is every homeowner’s worst nightmare. On top of plumbing repairs, you also have to deal with any damage caused by standing water. And when it comes to standing water, a delayed reaction equals more damage.

You need to start taking action the moment you discover a plumbing leak. And the first step is contacting a plumber and getting them on-site to work on the leak. The real cleanup process begins once the plumber is done with the repairs.

Safety First

The first step to cleaning up after a plumbing leak is safety. If the plumbing leak has occurred near electrical appliances, turn off the electricity before you attempt any repairs.

If the leak is excessive, make sure that both you and your family are safe. In case of sewage backup or burst pipes, we advise you to evacuate the house and call in for professional repairs.

Document

If you have home insurance and plan on applying, make sure you take pictures of the damage before moving and cleaning things out of the way. Once you are satisfied with the images, move items untouched by the water and give yourself ample room to work.

Extract The Water

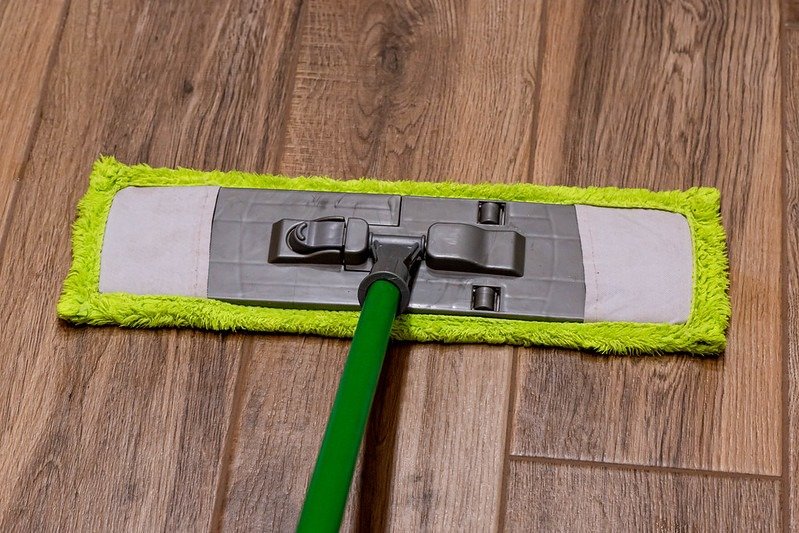
If the leak is big, you will most likely need a pump to remove all the standing water. If it’s a smaller leak, mopping and towels should do the job. To ensure that all water has been removed, we suggest renting a moisture meter that will help detect any hidden pockets of water.

Clean And Disinfect

The next step is to clean and disinfect all surfaces that have been in contact with the water. This includes walls, floors, ceilings, and any personal belongings that have been affected.

Dry Out Your Property

Once you have extracted all the water and cleaned the affected areas, it’s time to dry out your property. This includes walls, floors, ceilings, and any furniture or appliances that have been affected by the water.

You can use fans and dehumidifiers to speed up the drying process. Just make sure that you properly ventilate the area so that mold does not have a chance to grow.

Inspect, Repair, and Replace

Once everything is dry, you can start surveying the damage caused by the leak. Check your wood boards, personal items, and anything that has come in direct contact with the water.

If certain things can be repaired, make repairs on your own or send them to a professional. You can always try and salvage things, but if you have doubts about the repairability of an item, take it to a professional for an inspection.

If you have a lot of water damage, it’s best to call in a professional cleanup crew. These companies have the necessary equipment to dry out your home and prevent mold growth. They will also be able to properly assess the extent of the damage and give you an estimate on repairs.

However, if your leak was small and you’re confident that you can clean up the mess yourself, follow the steps listed above. First, turn off the water at the source to stop any further damage.

Then, start by removing any wet items from the affected area. This includes carpeting, furniture, electronics, etc. Once everything is removed, begin drying out the area by opening windows and using fans.

If you have a wet/dry vac, this will speed up the process. Once the place is dry, you can start cleaning it with a disinfectant to prevent mold growth. You may also need to apply primer and paint to walls and ceiling if the water damage is extensive.

If you followed these steps and your water damage problem persists, it’s best to call in a professional. Water damage can be tricky to clean up on your own and, if not done correctly, could lead to further issues down the road.
Total
2
Shares
Share 0
Tweet 0
Pin it 2
Share 0
Share 0
Perla Irish

Perla Irish, who is more familiarly known as Irish, is the Content Manager at Dreamlandsdesign.com. She loves following trends around home and garden, interior design, and digital marketing. Through this blog, Irish wants to share information and help readers solve the problems they are experiencing.

Related Topics
  • clean
  • damage
  • dry
  • leak
  • plumbing
  • professional
  • repairs
  • water
Previous Article
featured image - How to Clean a Former Meth Property

How to Clean a Former Meth Property

  • Perla Irish
  • June 15, 2022
View Post
Next Article
featured image - Quick Tips on How to Safely Handle Pallets

Quick Tips on How to Safely Handle Pallets

  • Perla Irish
  • June 16, 2022
View Post

Subscribe

Subscribe now to our newsletter

You May Also Like
A smiling couple stands confidently in front of a cozy mobile home under clear blue skies with palm trees in a sunny California setting.
View Post

California Mobile Home Loans: A Guide for First-Time Buyers

  • May 8, 2025
Sleek wooden sliding barn door on metal track with drill, measuring tape, and level nearby in a modern home interior, featuring Scandinavian design elements, with a neutral color palette and diffused lighting on a cloudy spring morning.
View Post

How to Install an Interior Barn Door

  • May 8, 2025
Cozy suburban home showing roof leak, cracked foundation, and flickering lights, portrayed warmly to highlight common homeowner challenges.
View Post

Homeowner Headaches: 8 Common Issues & When to Call a Professional

  • May 7, 2025
Modern house with multiple extensions, large windows, a second-storey addition, and a neat garden shrouded in fog under a misty morning sky.
View Post

Understanding the Different Types of Home Extensions

  • May 6, 2025
Transform your reading area with cozy decor, effective lighting, and technology that enhances your library experience.
View Post

Create Your Dream Home Library: A Step-by-Step Guide

  • May 5, 2025
A modern kitchen on a rainy day, featuring black terrazzo countertops with subtle aggregate, polished concrete floors with a non-slip finish, and dark mahogany wood veneer cabinets. The kitchen includes a large stainless steel sink and a view of the rain-streaked window. The scene is dramatic and cozy.
View Post

From Basic to Bold: Surface Transformation Tips for Homeowners

  • May 4, 2025
A poorly insulated attic with visible gaps and thin layers of old, flattened insulation, highlighting energy inefficiency during a cold winter night.
View Post

How Attic Insulation Can Lower Your Energy Bills in Phoenix

  • May 1, 2025
Modern backyard patio with adjustable pergola, rotating louvers casting shadows, surrounded by greenery and cozy outdoor furniture under sunny skies.
View Post

Creative Patio Covers for Sun-Soaked Outdoor Spaces

  • May 1, 2025
  • About Us
  • Privacy Policy
  • Terms of Use
  • Disclosure
  • Sitemap
  • Contact Us

Input your search keywords and press Enter.