Table of Contents Show
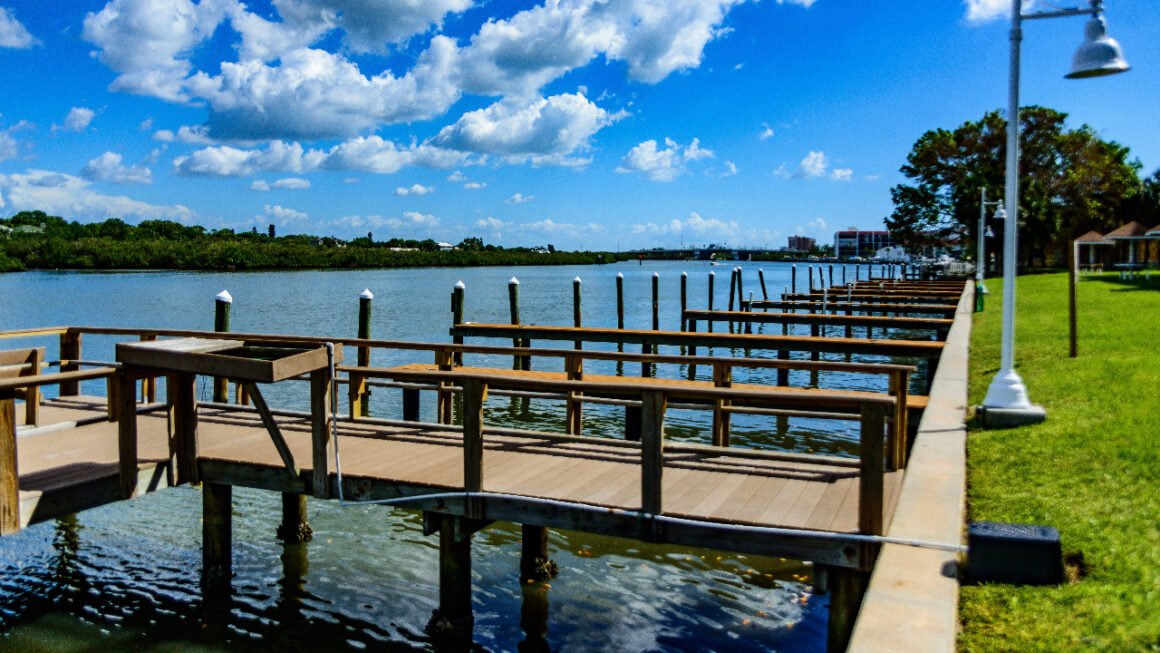
You must have a boat if you have a beautiful home surrounded by a lake. Along with anchoring your boat, having a private dock can help you in a variety of ways. The most amazing part is that you can DIY your own private dock to suit your needs.
It’s important to consider a few things while designing a private dock of your own. Your own build dock may not be as sturdy as commercially purchased docks.
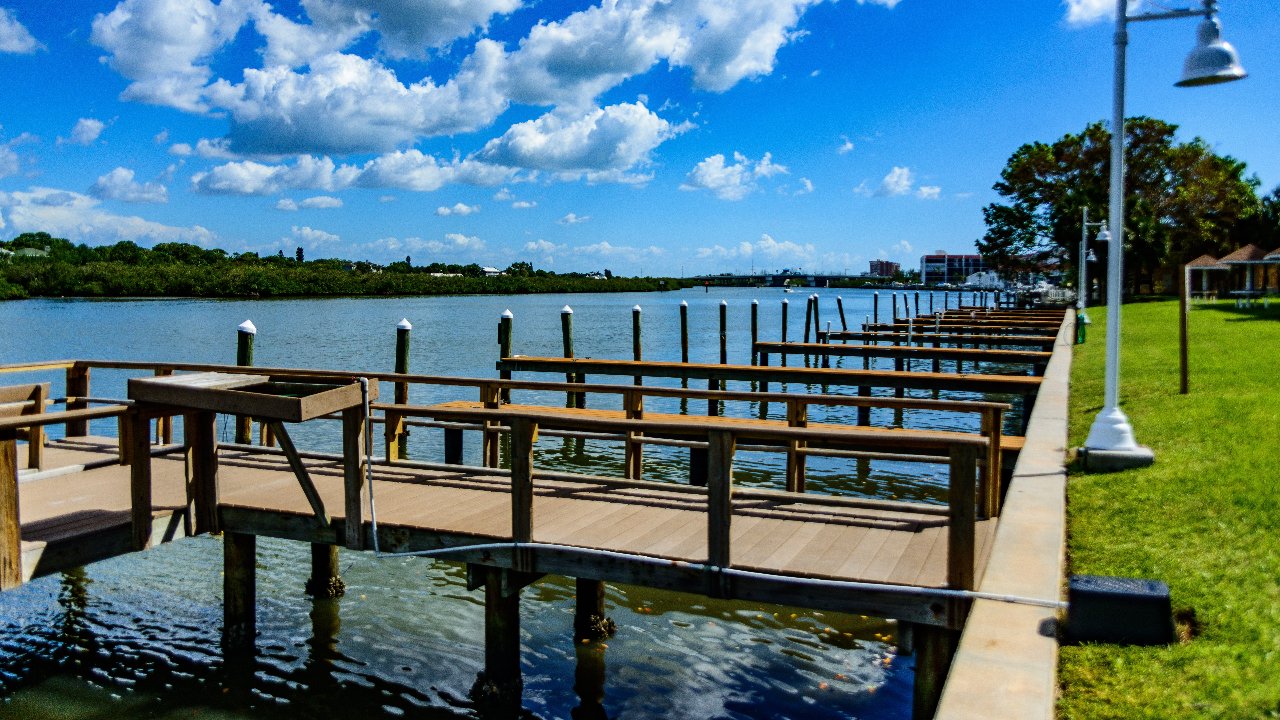
It also requires more maintenances in order to last longer, depending on what kind of wood is used. It might take some extra time and effort upfront while building such structures.
Considering the size and function, it’s well worth the peace of mind that comes with having one in place at home or anywhere where you can tie up your boat when you need it. Here I am discussing the steps of building a private dock.
Five Steps of Building Your Private Dock
First Step: Know the Local Laws
For installing docks on waterways or ponds, your first step should be to find out if any local laws prohibit you from doing so. Many states have regulations on private docks, especially on isolated waters that are not used commercially.
It’s good to know what you’re getting into before breaking ground because these laws will still apply even though you’re doing the work yourself.
Second Step: Determining the Size of the Dock
After you’ve determined that building a private dock is, in fact, legal, the next step is determining how big to make it. If possible, try to have at least 20 feet of linear space for your dock. If this isn’t possible, then determine how many people will be using it.
Then add 5 feet per person for wiggle room or emergency space between them and the water. Also, take into account what type of boat will be docking at the pier so you can make sure there’s enough room to maneuver around objects in its path when parking or departing from shore.
Step three: Finding Out the Right Area
Once you’ve decided on size requirements for your dock, the next step is to find a level area. It is better to find a place with good concrete footing and no obstructions such as rocks or roots.
You might even want to consider setting up stakes and stringing heavy twine between them so you can mark out an outline for the shape of your future deck.
This will give you a guideline to follow when first laying down rot-resistant beams and joists. If possible, try and set up at least one post in the middle of the pier so it will be stable enough for people to work on without fear of it tipping over.
Step 4: Placing the Plywood in the Right Place
The next step is laying down heavy plywood or even two layers of plywood to create a sturdy and level deck. Unfortunately, with the time it takes to get through this step, you’ll have no choice but to pick up some more temporary posts from your local hardware store so you can secure two beams across them for support after laying down the first sheet of plywood.
Once this is done, continue laying down planks of wood until you’ve reached the desired depth that will be below the waterline when your dock is ready for use.
Screw each plank into place using three or four screws going downward at a 45-degree angle to prevent them from pulling loose over time. Make sure they’re fairly evenly spaced apart, too, so there’s enough give between people walking on them without snapping them in two.
Step 5: Finding Out a Location to Set Up the Deck
Now that your deck is complete, you’ll want to find a location where you can set up a permanent dock post in order to keep your boat tied up at the end of the day.
Keep in mind that docks that float need special support posts or hardware in order to stay grounded into place when submerged underwater and also make sure whatever solution worked for you before will still work again, if necessary, after years of wear and tear from boating guests.
It’s always best practice to either add another layer of plywood on top of the heavy anchor planks or screw them down directly into place under your nice level wooden decking.
Once your post is firmly secured to the bottom, it’s time to fill up all the cracks between the decking by using waterproof caulk. This step is to prevent any water that seeps into the cracks from rotting wood or molding plywood over time that’s not typically designed to handle long-term exposure to saltwater.
After it has dried thoroughly, you can now replace your temporary support posts with more permanent ones that are tall enough to go above the dock and up into your home for a safety railing.
They don’t have to be as thick as your pier beams since they won’t have very much weight pressing down on them from above, but just make sure they come out far enough so you can screw a rail at least four inches apart between each one.
Then cut a small section of fencing or balusters and screw it in place at the top of each post. This will help to keep anyone safe from accidentally falling overboard while enjoying their time on your dock.
What Should You Know Before Bringing it Home?
You are likely wrapping up your build by now. It’s important to know that docks should always be considered temporary structures. If you plan to use them for years or decades because they’re already in a state of constant decomposition no matter how well you take care of them.
If left completely unattended, all wooden components will rot out faster than any other single section. This is why no one can leave them submerged in saltwater for too long without maintaining it every few months with fresh coatings of paint or stain.
This is probably the biggest project so far when building a private dock, but it’s also the most rewarding because you’ll have a place to dock your boat whenever you want, and if your family plans on using this for years from now, then choosing the right materials to build with will make all the difference.
Why do you Need Professional Help?
Building your own dock requires a lot of skills and time. If you want your dock made professionally, you can contact any dock building company near you. They should have years of experience in installing, repairing, and removing docks. For more information, click here.
