Table of Contents Show
Everything you see in the world today has a limited lifespan. Even non-living objects, such as houses, buildings, and other similar structures, have an expiry date, especially since they’re constantly battling changing weather conditions.
Although they’re built to withstand exposure to wind and rain, you’ll have to think about restoration or repair in the long run.
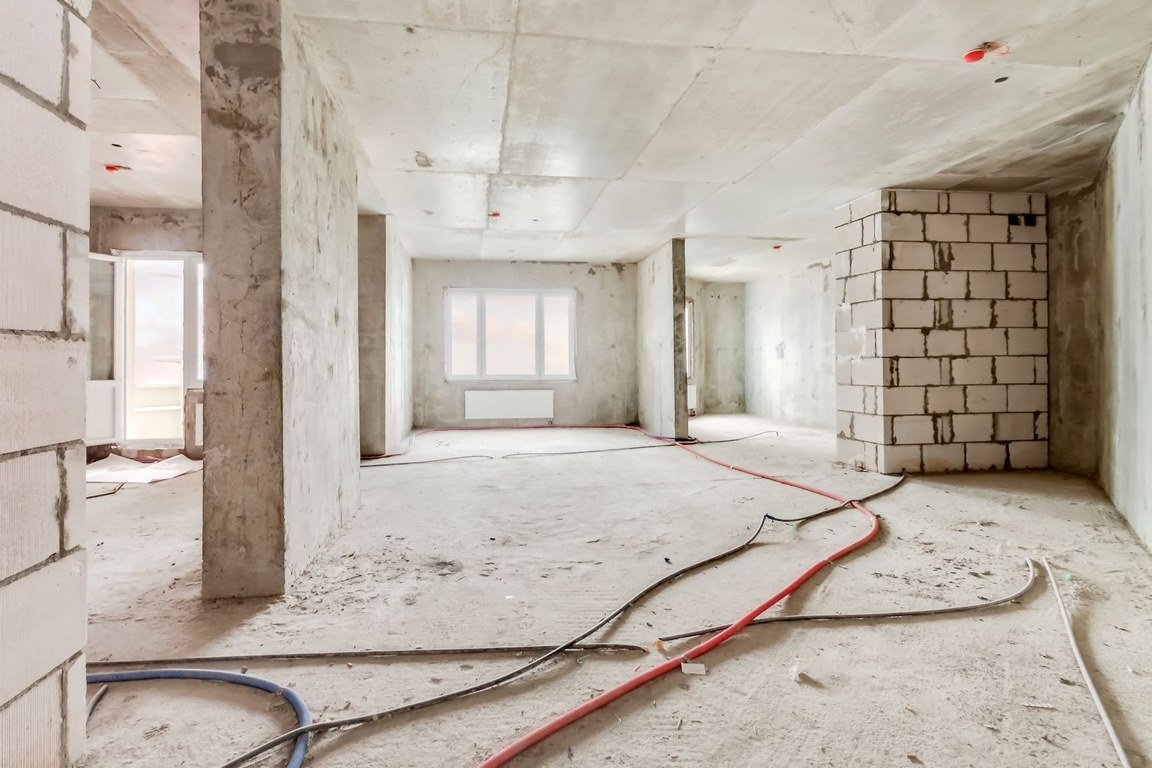
Concrete, in particular, should be monitored regularly for cracks and other structural damage. After all, residential and commercial buildings are primarily composed of this material, so it makes sense that you should aim to restore them to their original condition.

Concrete restoration is a step-by-step procedure of repairing concrete to its original look. Usually, professionals who specialize in this field, like the team from Rsconcereterestoration.com, make it their aim to get your cement to both look and perform like new again.
Most of them also offer their cement coat service to preserve the natural appearance of your concrete or keep it protected from dents or scratches.
While it’s ideal to enlist the help of experts for this project, you should also be familiar with the steps on proper concrete restoration:
1. Assess the Area
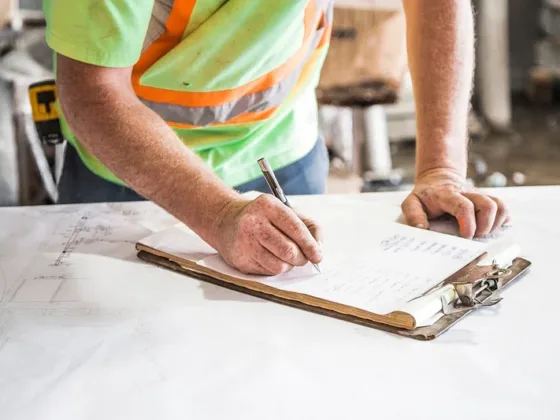
Concrete experts first determine the condition of your concrete surface. This can be done through the use of an advanced imaging system that is equipped with high-resolution cameras. They will then take images of the concrete surface from various angles, allowing you to evaluate the condition of the cement.
The first thing that’s considered when assessing the area is the quality and types of building materials used. Some structures are made of wood, while there are also some structures that are constructed using a mix of both wood and concrete.
There are also certain areas that are completely made of concrete, while other areas are made of wood. This will help you determine the kind of materials that you would need in the areas where the restoration work is going to take place.
You have to know the real situation before you can come up with a plan. If you invested in high-quality material, you shouldn’t have a major problem with restoration.
The other most important part of the building material that should be inspected is the foundation of the building. Most structures have a large amount of concrete below the ground level, which is filled with cement to form the foundations of the building.
The condition of the foundation material has an impact on the entire building structure and therefore, you should make sure that it’s intact.
2. Determine the Repair Method
Concrete restoration may seem simple, but there are a lot of ways to go about the process. You have to determine the best route to take for your restoration project while considering the materials you have and the look that you want to achieve, especially for enhancing your home or building’s curb appeal.
These are a few methods of concrete restoration that you should know about:
Epoxy Injection
This process involves finding entry and venting ports at close intervals along the shallow cracks and sealing their surfaces. The epoxy is injected under pressure. If you don’t want the problem to recur, though, you should find the root cause of the cracking before using this method.
Routing and Sealing
This one is ideal for horizontal surfaces, like floors and pavements. It entails making the crack larger than filling and sealing it with a sealant. It’s also best for remedial repair, where there isn’t structural damage.
Stitching
With the stitching method, you have to drill holes on both sides of the crack and grout U-shaped metal staples to span the opening. Then, you must anchor the materials with a non-shrink grout or an epoxy bonding system, ideally one that’s resin-based.
3. Remove Existing Concrete
All damaged or old concrete must be completely removed before the contractors can push through with the restoration project. This includes removing any stains and other materials that may be embedded into the cement.
If necessary, concrete repair companies will use high-pressure water jets or abrasive chemicals to remove the embedded materials from the concrete surface.
Deteriorated materials will impair the bond between the surface and the new concrete. With this, improper removal of the existing floor or wall structure significantly decreases the project’s effectiveness in the long run.
The recommended depth to remove is at least 1 ½-inches of concrete; anything thinner than this figure wouldn’t be as durable.
Nonetheless, it’s always best to focus on the thickness that’s appropriate for your structure and project goals. There will be instances when removing nearly two inches of concrete wouldn’t be enough or too much.
One of the top concrete removal techniques is water blasting, also known as hydro demolition, with a pressure that runs between 8,000 to 40,000 pounds per square inch (PSI). With this, you can eliminate deteriorated concrete without damaging high-quality materials.
You may also be familiar with jackhammering. The process is ideal for large jobs, as is usually depicted in movies. It’s combined with bush hammering and scrabblers for smaller areas.
While jackhammering can remove concrete at a high rate, it increases the risk of damaging surrounding concrete that might still be useful, as well as the bond between the concrete and reinforcing steel.
If the project only entails shallow surface deterioration, shot blasting may be your best bet. This technique removes just a half-inch of concrete. The equipment used for this is very efficient.
It typically includes an additional accessory or feature for vacuum cleanup since the process results in lots of dust and debris.
Read Also:
4. Reinforce Steel Bars
The next step involves reinforcing steel that’s exposed during the removal process. If you find that over a third of the pipe’s circumference is uncovered, the surrounding concrete should be excavated entirely.
For repairs that would be subjected to unusual loads, it would be best to expose the reinforcing steel fully.
Corroded steel must also be uncovered completely, and the nearby concrete must be removed. In addition, make sure to determine the cause of corrosion to avoid problems in the future.
5. Cleaning the Site
The site goes through two cleaning phases. The first part involves a combination of techniques, like shot blasting, sandblasting, and water blasting, to ensure that all traces of the deteriorated concrete have been removed, especially micro fractured debris.
For water blasting, it’s ideal to use pressure levels of up to 15,000 PSI so that there won’t be any material that will weaken the bond between the surface and repair material.
The second stage of cleaning occurs 48 hours after preparing the area for repair. Water blasting is the ideal technique for this process. However, it only requires minimal pressure of up to 5,000 PSI.
The primary objective here is to remove any material that will impair the bond of the surface and new concrete thoroughly.
6. Protecting Prepared Area
After the first phase of the cleaning, you have to protect the area from the elements until the repair materials have been placed and cured.
If your building is located in a place with hot weather, you would have to provide shade to maintain the coolness of the concrete to reduce rapid hardening. On the other hand, you’d have to ensure sufficient insulation and heat if your area has a cold climate.
7. Cure the Repair Properly
Some projects would require extensive water curing, while others need protection from moisture until the system has hardened.
Some would also use a special ultraviolet light for the final concrete restoration process. This is usually performed after the previous steps have been completed and the surface of the concrete has been restored.
The ultraviolet light will penetrate deep into the concrete. This will ensure that the exposed surface of the cement is exposed to the sunlight without causing harm to it.
A professional concrete restoration company can provide a variety of options for the concrete restoration process. In addition to the concrete sealer, they can also re-stain the concrete or wax the concrete.
However, there are other products that are available that can help keep the concrete stain-free. These products include cleaners and abrasive stains.
Proper curing is essential for the longevity of your restored concrete. You have to ensure that the people working on your structure know the importance of this final concrete restoration step.
Ignoring the significance of curing can decrease the quality of the new materials. Then, you’d have to perform the repair all over again.
Sometimes, you would end up paying more since there might be additional structural damage. You might as well be throwing money away with this type of negligence.
Conclusion
A concrete restoration is a viable option for home or building owners because it allows you to give your property a fresh look at an affordable price. This project is less expensive than having to demolish your structure and put a new one in its place.
The first thing you should do is evaluate the area that you want to restore. You should also know the type of restoration method that you want to use based on the materials that you have.
Other steps in the process involved removing the existing concrete, reinforcing steel bars, cleaning and protecting the site, and curing the material properly.


