Table of Contents Show
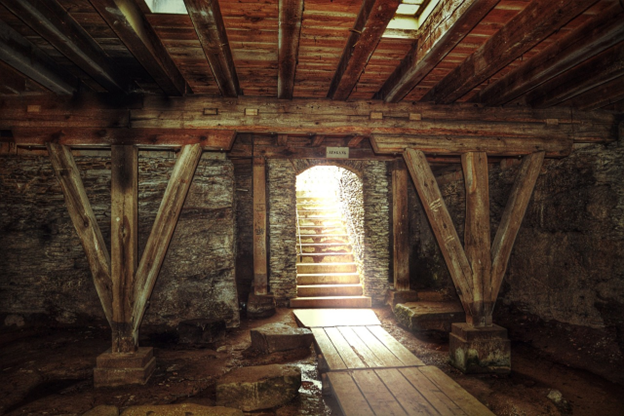
Waterproofing basement walls is an essential part of proper basement finishing and water management. For many homeowners, a finished basement provides valuable living space for entertaining, offices, and even bedrooms.
However, damp or water-damaged basements tend to grow mold, smell musty, and suffer from structural issues over time.
Properly waterproofing basement walls helps prevent these problems and ensures a long, useful life for your finished basement.
There are various methods for waterproofing basement walls, both inside and outside. Whatever method you choose, following these dos and don’ts will help you achieve a durable, effective waterproofing solution.
Assess The Source of Leaks
Before applying any waterproofing methods, it’s important to find out where water is entering from. This will determine the best approach to take.
- Inspect walls for cracks or openings where water could sleep in. Look for stains or indicates fluorescence that indicates water intrusion.
- Examine the exterior foundation for cracks, poor drainage, or areas where the soil has settled or eroded.
- You may need professional drainage solutions like French drains if the surrounding soil doesn’t slope away from your home.
Read Also:
Choose The Right Waterproofing Method
There are several effective options to waterproof basement walls, each with pros and cons.
Interior Drainage Systems
- Interior systems use panels, membranes, or coatings on the inside surface of walls to block and drain moisture.
- These don’t require exterior excavation but reduce usable interior space. Maintenance is difficult.
Exterior Waterproof Coatings
- Waterproof cement, asphalt, or urethane coatings are applied to the outside foundation walls.
- Effective but they can crack over time, allowing water in. Requires digging around the foundation.
Drainage Boards and Membranes
- Installed against exterior foundation walls, this directs water down to perforated drain tiles.
- Drainage systems provide a moisture barrier and channel water away from the basement.
Prepare The Surface Properly
Thorough surface prep is vital for any basement waterproofing solution to adhere to and work effectively.
- Clean walls thoroughly with TSP cleaner using a stiff brush to remove efflorescence and grime. Rinse well.
- Patch any foundation cracks wider than 1/8” with hydraulic cement. Use cement repair compounds for spalled areas.
- Level any protrusions in poured concrete walls for membrane systems to bond tightly to the surface.
Avoid Exterior Waterproof Paints
Though convenient, exterior waterproof paints often fail and can cause worse water issues.
- Paint creates a vapor barrier holding moisture inside walls, allowing freeze-thaw damage.
- Even elastomeric paints frequently crack, allowing moisture intrusion behind the coating.
- Paint must be reapplied every few years as it deteriorates. This is difficult with buried foundations.
Include Proper Drainage
No waterproofing solution works unless the water is channeled away from the foundation with proper grading.
- Use downspout extensions to route roof runoff at least 5 feet from the house.
- Re-grade soil to slope 1” per foot away from the home for the first 10 feet.
- Install drainage piping, gravel beds, or French drains around the basement as needed.
Look For Guarantees
Reputable waterproofing contractors will guarantee their work against leaks for 5-10 years. This shows they stand behind their methods.
- Get all guarantees in writing, detailing the provided remedy if leaks occur.
- Check that the guarantee remains valid if you sell the home. Transferability protects your investment.
- Beware of extremely long guarantees that sound too good to be true. 10 years is sufficient.
Consider Professional Installation
For anything beyond small cracks and touch-ups, it’s advisable to have waterproofing done professionally.
- Companies have the expertise to identify moisture sources and the best remedy.
- They have specialized equipment to thoroughly clean and prepare surfaces.
- The professional installation gives the best results and protects any provided guarantees.