Table of Contents Show
With more rain falling every year, your rain gutters are becoming an important part of your household.

Gutters are there to protect your home’s foundation, prevent erosion, and stop your basement from flooding. If you let gutters clog up, they can cause problems for your roof and end up having to be replaced.
Replacing your rain gutters might sound easy, but it’s easy to get frustrated and do a bad job. In this post, we’re going to tell you how to install rain gutters without losing your mind. Keep reading and your home will be protected from the rain and snow for years to come.
What You Need to Install Rain Gutters
You’ll need the right tools and materials to install your gutters. Get the following and you’ll be ready to get the job done:
- Downspouts
- Elbows
- Gutters and flashing
- Sealant
- Hex head screws
- Pop rivets
- Circular saw
- Cordless drill
- Hex head driver
- Ladder
If you don’t have any of these things and don’t feel confident in using them, it’s better (and easier) to have a professional install your gutters. You can learn more here about the benefits of a gutter installation service from a qualified roofing company.
Attaching Brackets
Before you start cutting the gutters to size and putting them up, it’s best to mark off where your brackets are going to go on the fascia. Remember, the gutters need to be sloped by about 1/2″ per 10 feet of run, so mark the highest point first, then the lowest point.
Ensure that you’ve got enough support by looking for the rafter tails behind the fascia. Drill a pilot hole through the fascia into the rafter tails and fasten the brackets with 1/4″ screws.
Read Also:
Installing Gutters
If you’ve purchased long pieces of guttering, you’ll need to use a circular saw to cut them to size. For corner pieces, make sure to cut at a 45-degree angle on the end so that they can connect to the other corner. For longer runs, overlap the gutters by about 8-inches and attach them with pop rivets.
Mark the downspout locations with your downspout pipes and use a hole saw drill attachment to cut through the guttering.
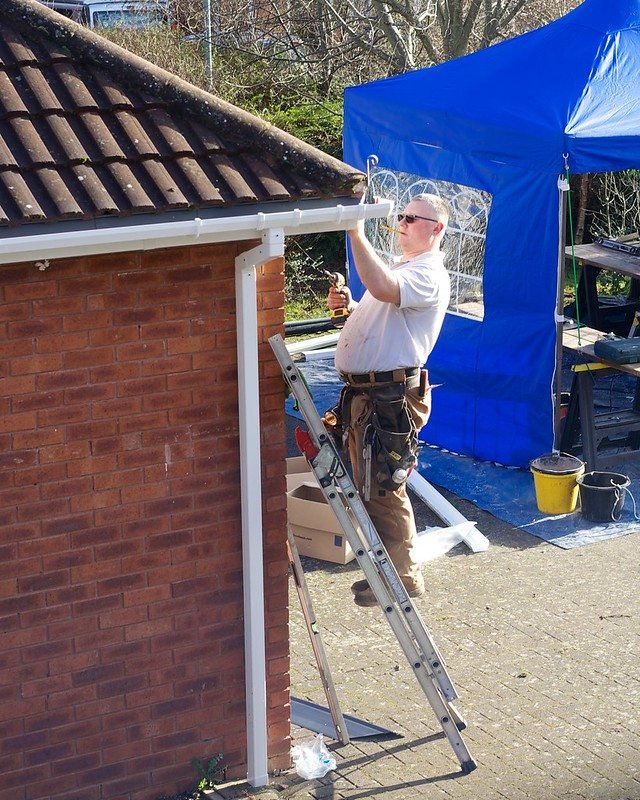
When you’re ready, place the individual pieces of guttering onto the brackets that you’ve already attached to the fascia. Screw the guttering to the brackets with a 1-inch screw and nut.
Attaching the Downspouts
Place the downspouts in the outlets that you made and secure them using pop rivets or screws. Put a downspout elbow at the bottom of the downspout pipe.
If needed, you can crimp the edges of the downspout to fit with the elbow using some needlenose pliers. Secure it with pop rivets or screws.
For rain barrel users, cut the downspout to size using your saw, and attach an elbow and another piece of guttering to angle the water straight into the rain barrel.
Learning How to Install Rain Gutters the Right Way
Now that you know how to install rain gutters in a quick and easy way, you can get to work and enjoy the benefits of new guttering.
Doing it yourself will save you money on gutter services, but if you aren’t confident in your handyperson skills, it’s easier to have a professional do it. Did you find this helpful? Visit our site for more home improvement tips.


