Table of Contents Show
Plunging a highly essential tool often goes unnoticed until it’s urgently needed. But, just like any tool, it requires a bit of TLC to ensure its effectiveness. Yet, despite its indispensable role in the battle against plumbing, the plunger, like any tool, demands a touch of care and regular cleaning to maintain its efficacy.
In this guide, I tell you How to clean a plunger at home, the subtle art of plunging, and explore the measures necessary to preserve and enhance the effectiveness of this unassuming yet crucial device.
Pre-Cleaning Inspection of plungers:
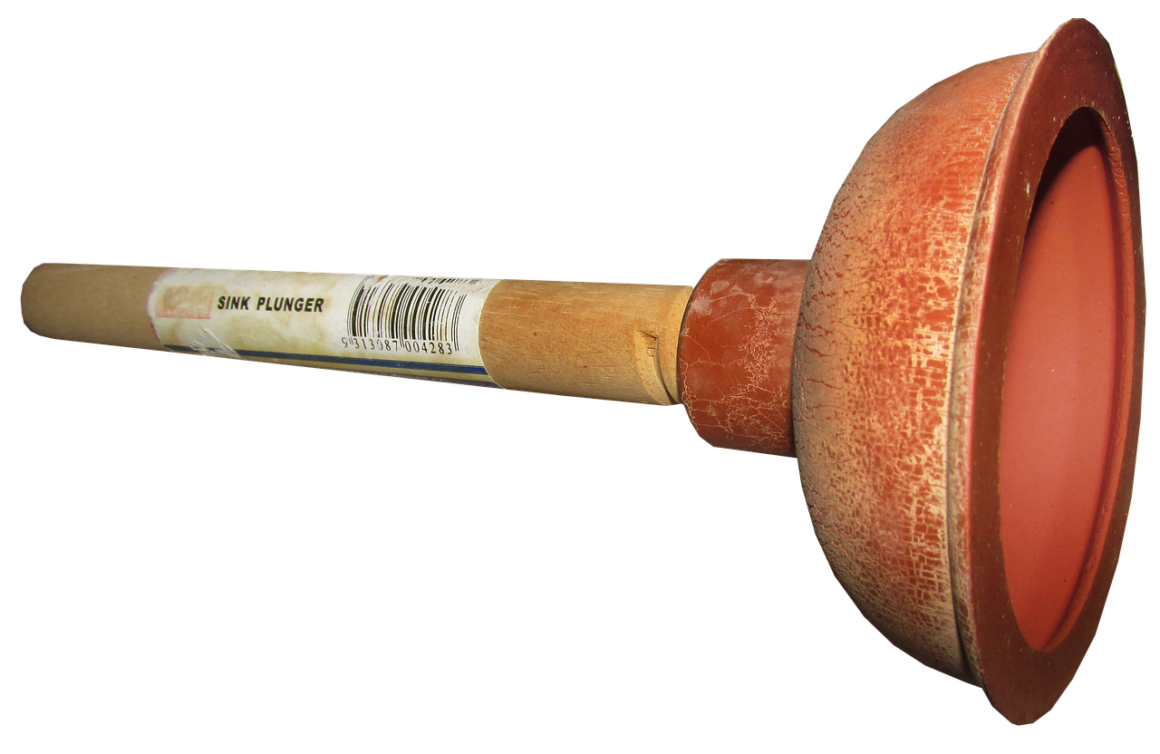
Before delving into the thorough cleaning process, start with a swift pre-cleaning inspection of your plunger. Take a moment to give it a once-over, scrutinizing the rubber suction cup for any visible debris or entangled strands of hair.
Swiftly eliminating these surface-level culprits not only enhances the overall cleanliness of the plunger but also lays the groundwork for a more effective and efficient cleaning session. This initial scrutiny ensures that the subsequent steps can target deeper cleanliness without hindrance.
Here are some techniques that you can use to clean plunder at home.
Hot Water Soak:
To commence the revitalization process, fill a bucket with piping hot water. Immerse the rubber section of the plunger into the water, facilitating a rejuvenating soak lasting approximately 10-15 minutes. The infusion of hot water serves a dual purpose: it not only provides a warm embrace for the plunger but also softens the rubber, easing the removal of any lingering particles. This simple yet effective step sets the stage for a thorough cleansing, ensuring your plunger is primed for its next mission.
Mild Detergent Bath:
Add a small amount of mild detergent to the hot water. Gently scrub the plunger with an old toothbrush, paying special attention to crevices and folds. This step not only removes dirt but also helps eliminate any unpleasant odors.
Vinegar Rinse:
Elevate your plunger’s hygiene with a vinegar rinse. Craft a solution using equal parts water and white vinegar, creating a potent elixir for cleanliness. Submerge the plunger into the solution, guaranteeing a comprehensive coverage of its entire rubber surface.
The natural disinfectant properties of vinegar work diligently, targeting and eliminating germs and bacteria. This step not only enhances cleanliness but also fortifies your plunger for future battles against household clogs.
Thorough Rinse:
Rinse the plunger under running water to remove any remaining soap or vinegar residue. Ensure all cleaning agents are completely washed away to avoid any unwanted reactions when the plunger is next in action.
Air-Drying:
Allow the plunger to air-dry completely before storing it. For an expedited drying process and an extra layer of disinfection, consider placing it in direct sunlight.
This final touch not only ensures a pristine plunger for your next plumbing encounter but also harnesses the natural power of sunlight for an added level of cleanliness. Prepare your trusty tool to stand guard over your pipes, armed and ready for any impending household hydraulic skirmish.
A few essential Regular Maintenance Tips:
To prevent future issues, consider these maintenance tips:
- Store the plunger in a dry area to avoid mold growth.
- Inspect it periodically for wear and tear, replacing it if necessary.
- Keep a designated plunger for each bathroom to prevent cross-contamination.
- Safeguard against mold growth by storing the plunger in a dry area, ensuring its readiness for the next call to action
- Conduct periodic check-ups, scrutinizing for signs of wear and tear. Swift replacement, if needed, ensures an always-ready plunger.
- Uphold hygiene standards by designating a plunger for each bathroom, mitigating the risk of cross-contamination.
- With these preventative measures, your plunger stands not only as a stalwart defender against clogs but as a symbol of a well-maintained and efficient household.
How to clean a plunger at home can be covered by these straightforward steps, which not only guarantee the plunger’s effectiveness but also weave a fabric of hygiene throughout your living environment. So, when the inevitable clog comes knocking, rest assured that your trusty plunger, diligently pampered and prepped, stands ready for swift and effective action. In the realm of household essentials, a well-kept plunger is not just a tool but a guardian, ensuring the smooth flow of your daily routines and contributing to a harmonious and hygienic home.
