Table of Contents Show
Stair Treads Installation

Building a Staircase – Overview
In this article on “Stair Treads – How to Install” we will cover fitting, cutting, and securing the treads to the stringers and risers. Installing each tread begins with installing the riser above it. Then, each tread is individually fitted to the trim piece that runs up the closed (walled) side of the stairs.
The other end of the tread is marked and cut for the addition of a mitered return piece of molding. Level the tread with shims, add construction adhesive to help prevent the stair from squeaking in the future and nail the tread to the stringers.
Sounds simple, doesn’t it? Take your time, be patient and your staircase tread installation will look great. Remember, professionals use 2 1/2 hours per step to figuring out the time for tread, riser, and molding installation. This is not a quick weekend job. It takes a professional four 8-hour days to complete a 13-step staircase.
Building Steps – Install the Step Riser First
Start tread installation at the bottom of the stairs and fit each tread and riser individually. Riser boards are scribed to fit the closed-side skirt board (on the wall side) and miter cut on the open side of the stairs to fit the open-side skirt board.
Use a good block plane to fine-tune the riser board’s fit, then use shims as necessary to fit the riser on the stringers.

Drill pilot holes for the nails then drive two nails through the riser into each stringer 3/4s of an inch from the top and bottom of the riser. Fit the bottom riser first, then the second, and proceed to install the bottom tread against the second riser.
Fitting the Tread
Set the tread on the stringers and check the fit of the riser. If you were careful with the riser, the tread fits up against it without gaps. Hold the tread against the riser and the closed-side skirt. If there are gaps, then scribe the end of the tread and cut it. Set a compass just wider than the widest gap.
Holding the compass square with the point against the skirt, draw the line across the face of the tread. Cut the tread along the line. Use the block plane to adjust the fit of the tread against the closed-side skirt, until the fit is perfect.

With the tread fitted against the riser and the closed-side skirt, draw a line on the bottom of the tread using the open skirt as a guide. Layout a miter cut for a piece of stair nosing, to make a finished outside edge on the stair tread.
Cut the tread using a circular saw, but stop short so the blade does not cut past the miter location. Use a hand saw to finish the cut, and to cut the miter in the tread. Fine-tune the cut with a sharp chisel.
If the tread gets a newel post, layout and cut the notch now.

Installing the Tread
Set the tread in place and level it with shims as necessary. You don’t want any gaps between the tread and the stringers. When you’re sure of the fit, coat the shims and stringers with construction adhesive. Fasten the tread to the stringers with three 12D finish nails placed through the tread into each stringer.
As an alternative drill countersunk pilots holes for screws and screw the treads with two screws through the tread into each stringer. Place a drop of glue in the countersunk hole and add a plug to the hole.
Cut a piece of nosing to use as a mitered return on the side of the tread. For a truly professional job, the nosing should miter back from the front of the tread along its side, then miter again to end in the stair. See the drawing for clarification. Glue and nail or screw the nosing in place.
Start the next tread by installing the next riser, working from the lower floor to the upper floor until you are finished with the stair treads. Now you know how to install them, you have a tread installation you are proud to show to everyone.
Credits and Resources
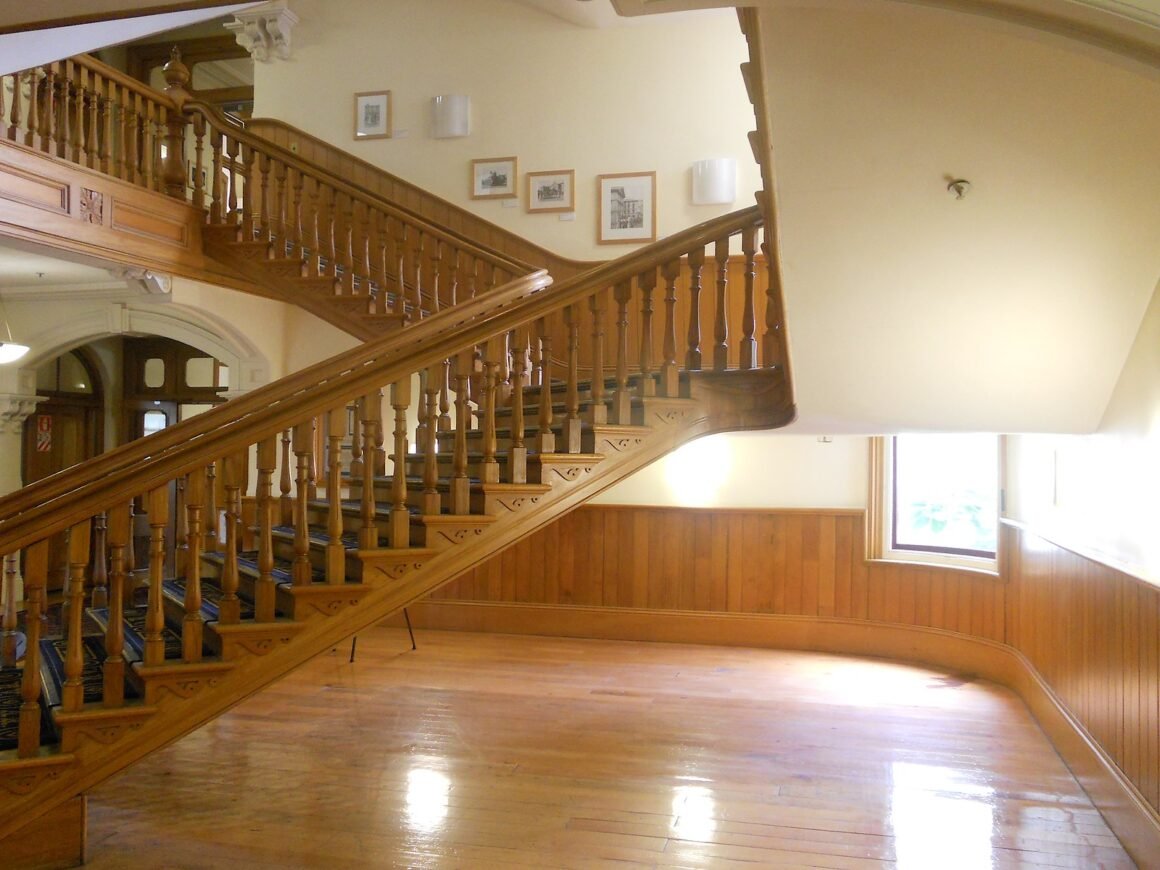
- Staircase Photo by Kristina D.C. Hoeppner, Flickr.com
- Resource: How to Build Stairs, http://extremehowto.com/how-to-build-stairs/
Building a Staircase
A staircase can be the focal point of a room or entryway and you want to show it off. Architects often place the main stairway of a home near the main entrance so it can be seen. With patience and attention to detail, you can build your own finely crafted staircase yourself.
- Stairway Building
- Building a Staircase: How to Install Stair Treads
- Installing Posts for a Staircase Balustrade
- Building a Staircase Railing with Balusters
- Add a Landing to Existing Stairs