Table of Contents Show
So far, while taping and mudding seem to be okay, sanding and finishing are a bit mindful! You’ll see unflatten patch repairs, seam joints, angles, nail holes, and scratches.
To cover them up and prepare a flat painting surface, you must apply a mud coat and sand it. So, you’re still one step behind to start painting the wall to achieve a beautiful home interior.
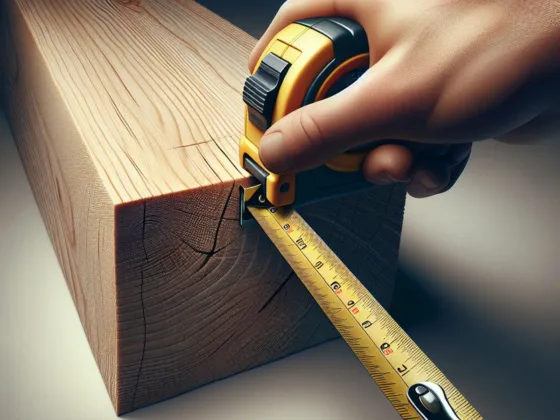
Without sanding drywall, you cannot paint, install tiles, or decorate the walls. It doesn’t get leveled itself. Even if you paint through that, you’ll see gauges and rough textures through the paint. So, let’s see how you sand it!
You might also be interested to read more about the best drywall patch repair kit reviews here.
Why Drywall Sanding is Essential?
Sanding perfects the finishing endeavors because it leaves a smooth surface that’s ready for the last decoration. It’s highly recommended in areas that will be painted as well as other visible home interior areas.
When sunlight passes through windows, it tends to reflect on an uneven surface. This highlights the bumps and dents on the walls and ceiling, making imperfections more noticeable.
For this reason, most homeowners prefer finishing the wallboard by sanding smoothly.
Key Reasons for Sanding Drywall
To level the corners and joints:
- Ensuring corners and joints are smooth enhances the overall look of your interior walls.
- Properly leveled corners and joints prevent shadows and irregularities that can detract from the room’s appearance.
To prepare the wall for painting:
- A smooth surface allows the paint to adhere better, resulting in a flawless finish.
- It ensures that any paint applied will look even and professional, without any visible flaws or textures from uneven drywall.
To prepare for the installation of tiles:
- Tiles require a flat, even surface for proper adhesion.
- Sanding ensures that there are no bumps or ridges that could interfere with tile placement, leading to a neat and durable tiled surface.
Additional Benefits
- Smooth walls contribute significantly to the aesthetic appeal of your home.
- Even minor imperfections can become eyesores if not addressed through proper sanding.
- Properly sanded walls are less prone to cracking and other damage over time.
- It helps in creating a sturdy base for any further applications or decorations.
- Whether you’re applying wallpaper or additional wall treatments, a sanded surface makes these tasks easier and more effective.
- Overall, drywall sanding is a crucial step in achieving a polished and professional finish in your home interiors.
Types of Drywall Sanding
Namely, there are 2 types: wet sanding and dry sanding. So, let’s get into the battle of wet sanding vs. dry sanding drywall;
1. Wet Sanding
Wet sanding is an excellent method for reducing wallboard dust significantly. By minimizing dust, you can reduce the clean-up required after the job is done, making it a cleaner and more manageable process.
Key Points:
- Tools Used: Sanding sponges are widely used in this process.
- Process: It involves wetting the sponge, squeezing out excess water, and then gently sanding the surface.
- Applications: This method is preferable when you plan to cover surfaces with wallpaper, tiles, or wainscoting.
- Suitability: Ideal for walls with heavy-duty texture since it smooths out surfaces without producing much dust.
Benefits of Wet Sanding:
- Reduces airborne dust, which can be crucial for indoor air quality.
- Lessens the need for extensive clean-up post-sanding.
- Provides a smoother surface suitable for further treatments like wallpaper or tiling.
2. Dry Sanding
Dry sanding is the typical method employed for smoothing out any uneven parts created after applying the joint compound. This method is known for its effectiveness but also comes with some challenges.
Key Points:
- Tools Used: Sanders such as orbital sanders or manual sanding blocks are commonly used.
- Process: The sander smooths out rough spots and evens the drywall surface.
- Dust Production: This method produces a significant amount of dust, necessitating proper safety gear like goggles and a dust mask.
- Skill Level: Requires patience and a cautious approach to avoid scratching or damaging the drywall surface.
Benefits of Dry Sanding:
- Provides a very smooth finish ideal for painting.
- Allows more control over precision compared to wet sanding.
- Suitable for large areas where thorough smoothing is necessary.
By understanding these two methods, you can choose the one that best fits your project requirements, ensuring optimal results whether you’re preparing walls for paint or other finishes.
Choosing the Right Sander or Sanding Tools
During the sanding process, you’ll require several key tools to ensure a smooth and efficient job. These include:
- Sanders: Various types like orbital sanders, manual sanding blocks, and pole sanders.
- Sandpapers: Ensure you have perfectly cut sandpapers suitable for your specific sander.
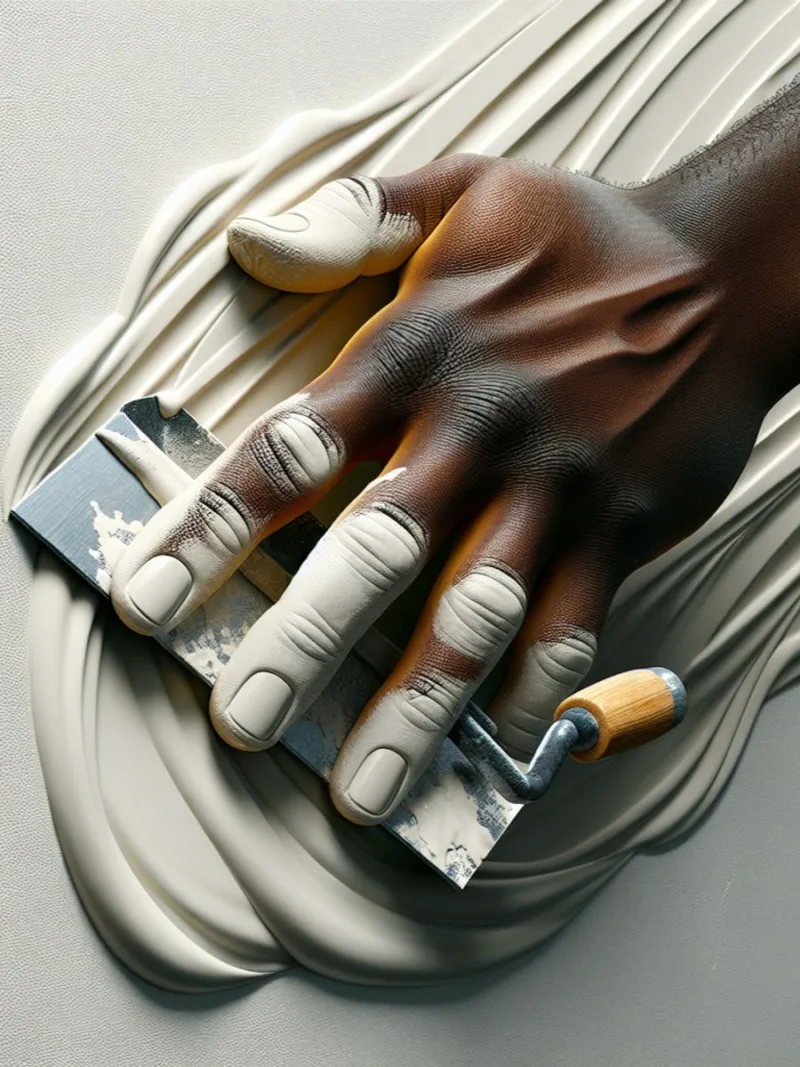
- Sanding Sponges: Useful for hard-to-reach areas and detailed work.
- Safety Gear: Goggles and dust masks are essential to protect your eyes and respiratory system from fine dust particles.
Types of Sanders
If you’re working on a large project, pole sanders can be especially useful. They allow you to easily smooth out joint compounds over large areas. Here are some common types of sanders:
Portable Cable Sanders
- Features: Lightweight and easy to handle.
- Best For: Smaller areas or detailed work.
Dustless Turbo Drywall Sanders
- Features: Built-in dust collection systems.
- Best For: Minimizing mess in indoor spaces.
Orbital Sanders
- Features: Move in a circular motion for an even finish.
- Best For: General drywall sanding tasks.
Manual Sanding Blocks
- Features: Simple and affordable option.
- Best For: Minor touch-ups and small projects.
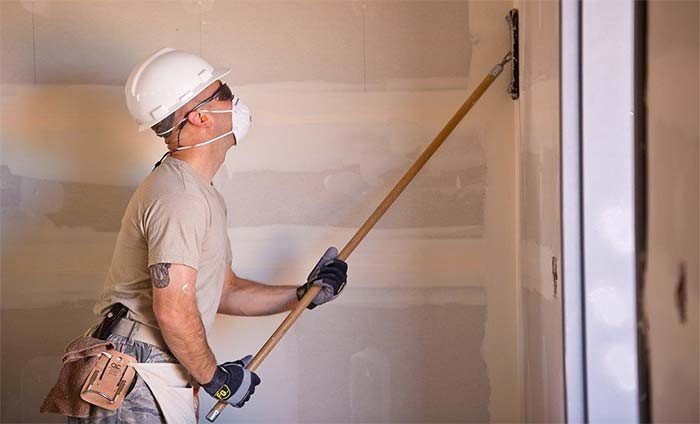
Pole Sanders
- Features: Extended handle for reaching high and wide areas.
- Best For: Sanding ceilings and large walls.
When choosing a sander, consider the size of your project, the level of detail required, and your personal comfort. It’s also important to select the right grit sandpaper for the job:
- Coarse grits for heavy material removal
- Finer grits for smooth finishes
So, equip yourself with the right tools and safety gear, and enjoy a seamless sanding experience that will leave your drywall looking flawless.
Selecting the Right Sander
To choose the right sander, evaluate the following factors:
- Project Type: Determine whether your project is small-scale (like patch repairs) or large-scale (like full-room renovations).
- Volume of Work: Consider if you’ll be sanding a few spots or entire walls; this will influence whether you need a more robust tool like a pole sander.
- Budget: Your budget will play a critical role in selecting a sander. More advanced tools like dustless turbo drywall sanders may come with higher costs but offer significant benefits like reduced clean-up time.
By carefully considering these aspects, you can select the most appropriate sanding tools that match your project’s requirements and your personal preferences.
How to Sand Drywall Fast (5 Effective Tips)
The process of sanding wallboards can be both frustrating and tedious. Applying paint on drywall that is poorly sanded is even worse.
However, if you know the proper technique for doing the task, you’ll certainly like the result. Therefore, we suggest that you follow these tips during your next project to be successful and effective.
Step 1: Prepare Against Drywall Dust
Dry sanding produces a huge amount of dust that will quickly overspread in your home. Once the dust settles on your upholstery and surfaces, it may be difficult to eliminate.
Therefore, you should try to minimize the dust. Consider the following options:
- Switch to Wet Sanding: If possible, switch to wet sanding based on your project needs. Wet sanding reduces dust significantly.
- Use Dust Collection Systems: There are systems designed specifically for catching dust during sheetrock projects. These systems might be a bit costly but can save time and effort in cleaning.
- Cover Critical Areas: Use plastic sheeting or drop cloths to cover furniture and other critical areas in your household from dust contamination.
Step 2: Avoid Using Heavy Grit Sandpapers
A 120-grit sandpaper is usually ideal for drywall surfaces. Simply buy it, put it in the sander, and you’re good to get started.
However, avoid using heavier grit sandpaper if it’s your first time sanding with no previous experience:
- Over-sanding Risk: Heavy grits may over-sand the surface, especially where the joint compound is soft and thin.
- Corner Sensitivity: Corner tapes require very sensitive but detailed sanding. Heavy application can result in unpleasant marks and unevenness.
You can switch to different grit numbers based on your expertise and specific needs.
Step 3: Don’t Sand Out Gouges or Ridges
In case you notice bumps or ridges on wallboard joints, avoid excessive sanding:
- Tape Damage Risk: Over-sanding such areas might ruin the tape.
- Alternative Solutions: Add another coat of compound on these areas or consider repairing them first before proceeding with sanding.
Step 4: Apply Primer before Sanding
Priming the wall helps create a great finish. Follow these steps for the best results:
- Apply Primer: Apply a primer coat evenly across the surface.
- Dry Completely: Allow sufficient drying time as per manufacturer instructions before proceeding.
- Sand Post-Primer: Sanding after priming helps highlight any problem areas that need fixing with joint compound.
Applying primer eliminates visible lumps and provides a smoother surface for painting.
Step 5: Don’t Sand Corners with Hand Sanders
Sanding corner beads or tapes requires detailed and sensitive application:
- Use Folded Sandpaper or Sponge: Opt for a small portion of folded sandpaper or a sanding sponge for corners.
- Light Pressure Application: Apply light pressure based on coat thickness to avoid damaging opposite sides with heavy sanding tools.
By following these tips, you’ll achieve a smooth and professional finish on your drywall projects.
FAQs
Yes, wet sanding by sponges leaves extremely gentle waves on the finished surfaces. This is mainly because the sponge is naturally flexible. Simply use it for dabbing, wiggling, and patting the mud until it matches the desired texture.
One coat of primer is enough. However, you’ll need about 2 or 3 painting coats for good coverage, based on the color.
Although the sheetrock material is relatively safe to use, the biggest risk results from silica and dust exposure caused by sanding. This dust might cause asthma and other upper respiratory problems. Moreover, if the dust has silica, you may suffer from lung cancer and silicosis.
You should knock off any bump between coats, although it doesn’t have to be perfect. The best tool for that task is the screen sander fixed to one end of the pole. Minimizing the bumps as the mud continues to dry eliminates the need to sand it later.
Yes, plaster and drywall are 2 different methods of finishing the walls. You can opt to choose one method between these two depending on the budget and look.