Table of Contents Show
Installing Prehung Door, How to Correctly Fit a New Door Jamb — Do you have a new door to install. Are you going to installing prehung door (installing prehung interior doors) or a door jamb set on which to hang a new door? We cover what you need to do get a door frame hung in the opening and set it plumb, level and square so your new door fits and operates correctly.
Installing Prehung Door, How to Correctly Fit a New Door Jamb

Introduction
Hinged doors hang from a frame that consists of three pieces: The hinge jamb, the latch jamb and the top jamb. The hinge jamb and the latch jamb are connected at the top of the assembly by the top jamb. Follow these steps on how to install a door frame correctly for a plumb and square installation that works perfectly and will last a lifetime.
Getting Started – Framing a Door Opening
Check the rough door frame for plumb and square. Use the six foot level on the trimmer studs on the left and right sides of the opening and note how far out of plumb they are. It is also useful to note whether the walls are plumb since if they are not, adjustments to the installation will have to be made.

Door Swing Rules
- The door should swing away from traffic like hallways and into enclosed rooms.
- Closet doors should swing into rooms, not the closet.
- The hinges are on the opposite side as the light switch.
- Doors in a corner swing to rest against the adjacent wall.
Plumb The Frame ~ Door Jamb
Put the frame into the rough opening with the hinge mortises correctly positioned for the door swing. Make the top of the frame flush with the wall sheathing on both sides and check the top jamb for level. Use shims between the floor and the hinge or latch jamb to raise the jamb and make the top jamb level.
Use a six foot level to check the plumb of the hinge jamb on its face and edges. Adjust the hinge jamb side with shims at the top if necessary to make room for adjustments at the bottom. Use a single #8 finishing nail driven partway through the hinge mortise at the top to hold the jamb in place. Leave enough nail exposed to remove it easily. Adjust the bottom of the hinge jamb the same way and temporarily fasten it in place with one nail driven partway through the jamb into the framing.
The most important part of how to install a door frame is to constantly check everything for plumb and level. Recheck the top jamb for level with the two foot level and make adjustments as necessary with shims placed between the floor and the latch jamb. Be sure to keep the top of the door frame flush with the wall sheathing on both sides of the door opening.
Plumb the latch jamb by placing shims between the jamb and the rough frame to make it plumb. With the inside faces of the door frame plumb and level, check the outside edges for plumb and make adjustments in or out of the opening at the bottom of the frame. A single nail driven partway through the latch position will hold the latch jamb in place.
Shim and Nail
Place shims just above and just below each hinge to take up the space between the hinge jamb and the rough frame. Check the hinge jamb for plumb again, on the both the face and outside edge, and nail the hinge jamb in place with two #8 finish nails just above and just below each hinge, leaving the nail heads protruding 1/8-inch. The nails should go through the shims to hold them in place. On the latch jamb, check for plumb, then shim and nail the jamb in three places, about 6-inches from the top and bottom and in the middle close to the latch.

Hints And Tips
- Remove the temporary nails with a shim placed between the hammer head and the door frame to avoid marring the frame.
- Set the finish nails below the surface of the wood using a nail set and fill with matching putty.
- You can use a four foot level in place of a six foot level, just be extra studious in centering the bubble exactly.
- If you keep checking plumb and level on all three parts, you’ll master how to install a door frame in no time.
Doors and Door Installation
Doors look good and work well when they are installed correctly. Incorrectly, they hang at angles, are hard to open and close and might even swing open or closed on their own. Learn about doors and how to install them properly for a long lasting, easy to operate door.
- Installing Prehung Door: How to Correctly Fit a New Door Jamb
- DIY Door Jamb: Installing Interior Door Jamb Construction
- New Door Hinge Location and Installation
- Replace an Existing Door with a Pocket Door
References and Credits
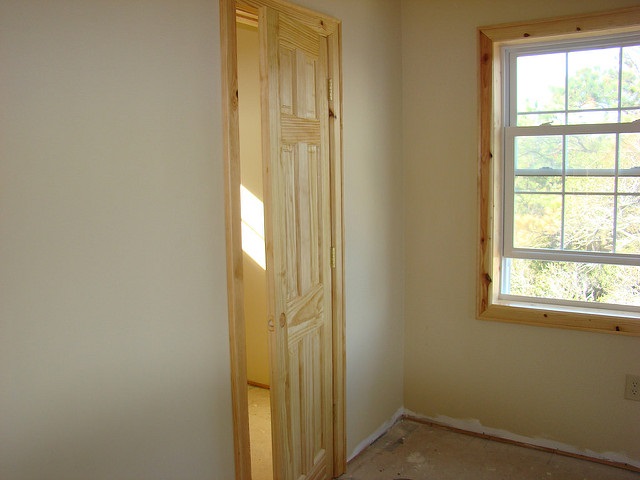
- Photo by cevanoff at https://www.flickr.com/photos/khs/2120687564/
- “Finish Carpenters Manual”; Jim Tolpin; 2003