Table of Contents Show
A house is both a source of satisfaction as well as post that very much responsibility. From plumbing emergencies and such little hassles to more apparent cosmetic fixes, maintenance enables your space to lastively remain as comfortable and valuable as its worth. For starters, this is an excellent breakdown of fundamental tools that every homeowner should have when they work on the house themselves so you could start building your reliable toolkit. While more serious-than-average repairs need professional service, many minor household issues can be done by the homeowner with some tools and just the right know-how.
Why learn DIY home repairs?
Home improvement know-how forms the foundation of independence when owning a home. Small repairs can save major costs incurred when these minute damages are allowed to accumulate to huge damages. Here are reasons why gaining such DIY skills is a good investment:
- Cost-Effective: Lessor service fee/compute emergency damage repairs.
- Convenience: Immediate solution without having to call a schedule for it.
- Empowerment: Confidence-building on ownership around matters.
While basic skills of DIY can also help you become self-sufficient because you own a house, refer to this informative article on the long-term value of having DIY home skills to discover how such knowledge pays back with benefits to the homeowners.
Start with simple repairs to gain confidence before advancing to more complex tasks. Always prioritize safety.
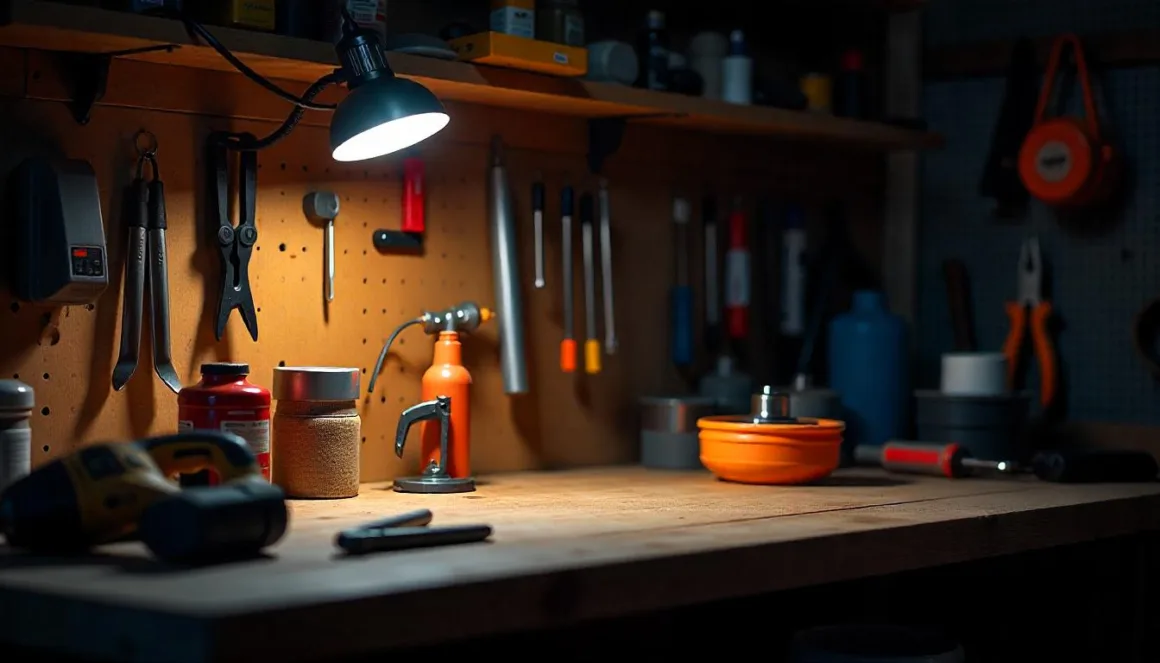
Essential Tools and Safety Checklist
Before you begin, make sure you have a basic DIY toolkit. The following tools are essential for most common home repairs:
- Phillips and flathead screwdrivers
- Adjustable wrench
- Pliers (needle-nose and standard)
- Utility knife
- Hammer
- Tape measure
- Level
- Cordless drill and bits
- Flashlight or portable work light
- Safety gear: gloves, goggles, dust mask
Safety Tips:
- Shut off water or electricity before repairs.
- Ensure that children and pets are kept at a safe distance from the work area to prevent accidents.
- Read the instructions on tools and materials.
- Use a ladder carefully, ensuring it is stable and placed on level ground.
- Always double-check measurements and connections.
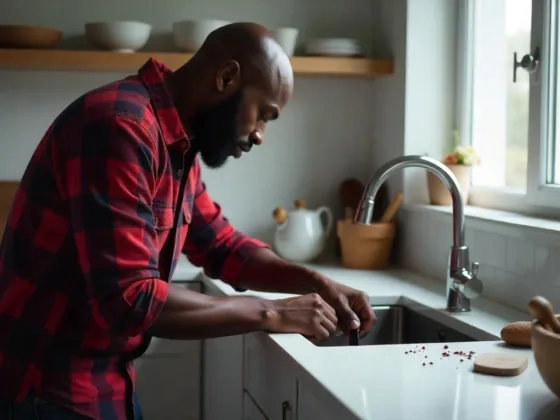
1. Fixing a Leaky Faucet
A dripping faucet can waste gallons of water over time. Fixing it not only conserves water but also prevents water stains and increased utility bills. Learning to fix this common issue empowers you to make small but impactful changes in your home.
Tools & Materials: Adjustable wrench, screwdriver, replacement washer or cartridge, plumber’s tape
Steps:
- Turn off the water supply under the sink to prevent flooding.
- Plug the drain with a rag or stopper to avoid losing small parts.
- Remove the faucet handle using a screwdriver.
- Loosen the packing nut with a wrench and remove the stem.
- Reassemble the faucet, using plumber’s tape around threads to ensure a watertight seal.
Tip: Periodically clean faucet aerators to remove debris that can cause poor water flow.
2. Patching a Drywall Hole
The wear and tear of drywall is an issue that presents itself in most households. It is something that most new and old homes contend with, and the knowledge of the cause and solution could prevent such problems from recurring. This useful article on handling different wall damages incorporates expert views for an all-around homeowner perspective. Hammering holes into walls can be unpleasant to look at, whether caused by doorknobs, moving furniture, or just kids being kids. On the bright side, dry-patching the wall is easy.
Required tools and materials: utility knife, mesh tape or patch, joint compound, putty knife, sanding block, primer, and matching paint
Repairing Small Holes (less than 2 inches):
Lightly sand around the hole and clean any dust.
Apply mesh tape or a pre-made self-adhesive patch.
Use a putty knife to apply joint compound over the patch, smoothing the surface.
Allow to dry thoroughly (usually 24 hours) and then sand smooth.
Optionally, apply a second coat and sand again.
After priming the area to seal the compound, paint to match your wall.
Larger Hole Repair:
- Cut a clean square or rectangle around the damaged drywall.
- Insert a wooden backer piece behind the opening and screw it in place.
- Attach a new drywall piece cut to size.
- Use drywall tape along the seams and apply joint compound in thin layers.
- Sand between layers, let dry fully, then finish with primer and paint.
Tip: Use a damp sponge to smooth edges between compound layers for a more seamless finish before sanding.
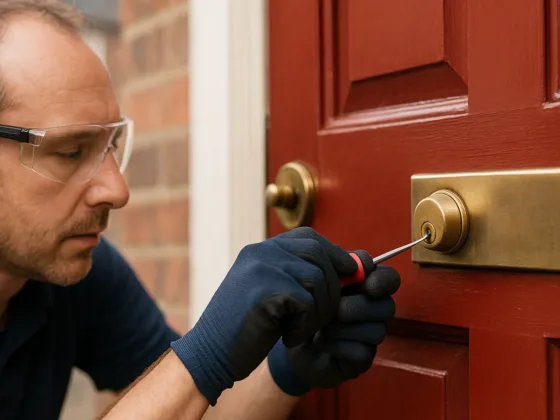
3. Replacing a Light Fixture
Replacing a light fixture is a practical way to update the look of a room. Whether you’re installing a modern pendant light or a simple flush mount, the process is manageable with some care.
Tools & Materials: Voltage tester, screwdriver, wire strippers, wire nuts, new light fixture, mounting hardware
Steps:
- Turn off the power at the circuit breaker to avoid an electric shock.
- Use a voltage tester to confirm that the fixture wires are not live.
- Detach the existing light fixture by carefully unscrewing it and separating the connected wires.
- Attach the mounting bracket of the new fixture to the electrical box.
- Connect the corresponding wires: black to black (live), white to white (neutral), and green or bare copper to the ground wire.
- Use wire nuts to secure connections and gently tuck wires back into the box.
- Mount the new fixture, screw it in, and attach any decorative elements.
Reminder: Always check the fixture’s weight rating against the ceiling box to ensure proper support.
4. Cleaning a Clogged Showerhead
Low water pressure from your shower head often results from mineral buildup. Fortunately, cleaning it is a quick task that can significantly improve performance.
Steps:
- Unscrew the shower head counterclockwise.
- Fill a bowl with white vinegar and submerge the showerhead for 1–2 hours.
- After soaking, scrub with an old toothbrush to remove mineral deposits.
- Carefully unscrew the existing fixture and disconnect the wires attached to it.
- Run the water to rinse out any lingering debris from the showerhead.
Tip: If the showerhead is difficult to remove, fill a plastic bag with vinegar, wrap it around the head, and secure it with a rubber band. Let it soak in place.
5. Sealing Drafty Windows and Doors
Over time, windows and doors can develop gaps that let in drafts, leading to energy loss and higher bills. Sealing them is a simple task that improves comfort and efficiency.
Tools & Materials: Weatherstripping, caulk, caulking gun, utility knife, cleaning cloth
Steps:
- Check around windows and doors for visible gaps or air leaks.
- For movable parts like doors, apply adhesive weatherstripping along the frame.
- For stationary parts, use caulk to seal cracks or gaps.
- Clean the area thoroughly before applying any sealant.
- Apply caulk in a steady bead, smooth with a damp finger or caulk tool.
- Let it dry per product instructions.
Tip: Replace worn-out door sweeps to further improve insulation.
Troubleshooting Common DIY Setbacks
- Faucet still leaks: The valve seat may be worn or corroded; consider replacing the faucet entirely.
- Drywall repair looks bumpy: Sand between coats and apply thin layers. Avoid over-applying compounds.
- Light flickers after replacement: Check for loose wiring, incompatible bulbs, or a faulty dimmer switch.
- Drafts persist after sealing: Ensure full coverage around frames and use foam gaskets for outlets.
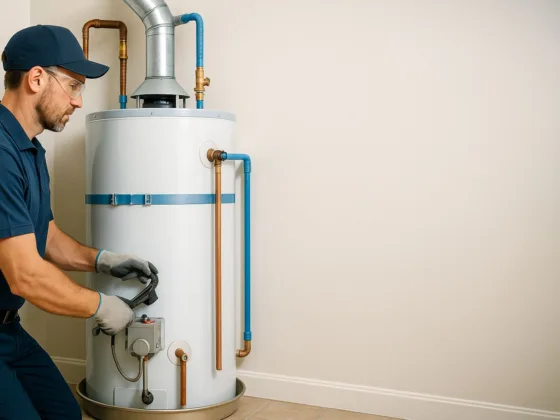
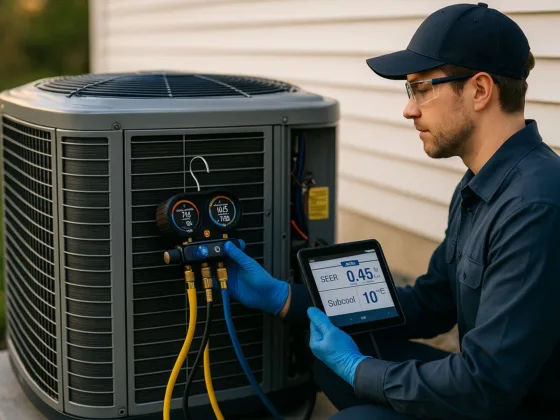
When to Call in the Pros
DIY home maintenance is rewarding, but it has limits. For tasks involving structural elements, gas lines, or complex systems, professional help is crucial:
- Major plumbing leaks or sewer issues
- Electrical panel upgrades
- Roof damage or leaks
- Mold remediation or pest control
- HVAC malfunctions
In such cases, trust reputable experts to avoid safety risks and ensure long-term solutions. For homeowners looking to keep their living spaces in top condition year-round, partnering with a Reputable company that offers reliable property upkeep can be invaluable, such as the team behind comprehensive home and property maintenance solutions. If you’re based in the UAE, you can rely on the best home and property maintenance services to handle complex tasks with professionalism and care.
Final Thoughts
Simple home repairs qualify as learning in life for a homeowner or even a renter. More so, supplement-lit rooms, patched walls, or even more serious additions require suitable professionals at some points. If you’ve planned any home maintenance or renovation that concerns flooring, this is an excellent guide on how to find the best flooring company for your next project. You’re able to save money while learning a little bit more about making a home living environment.
Well-stocked tool kit, safety measures, and up-to-date knowledge can make it possible to take on most problems with minimum effort. At times, constant practicing and doing things make such work second nature to DIY.