• Home Improvement
    • DIY
    • Remodeling
    • Woodworking
    • Home Design
      • Furniture
      • Organize
      • Tips
      • Decor
        • Interior
        • Exterior
    • Design Ideas
      • Bathroom
      • Bedroom
      • Dining Room
      • Living Room
      • Kitchen
  • Gardening
    • Backyard
    • Front Yard
    • Landscaping
  • Building Staircase
  • Categories
    • Home Improvement
    • Decor
    • Gardening
    • Woodworking
    • Lifestyle
    • Green Living
    • Real Estate
Dream Lands Design
  • Home Improvement
    • DIY
    • Remodeling
    • Woodworking
    • Home Design
      • Furniture
      • Organize
      • Tips
      • Decor
        • Interior
        • Exterior
    • Design Ideas
      • Bathroom
      • Bedroom
      • Dining Room
      • Living Room
      • Kitchen
  • Gardening
    • Backyard
    • Front Yard
    • Landscaping
  • Building Staircase
  • Categories
    • Home Improvement
    • Decor
    • Gardening
    • Woodworking
    • Lifestyle
    • Green Living
    • Real Estate
Featured image - DIY Tips to Install Sump Pump without the Help of a Plumber

DIY Tips to Install Sump Pump without the Help of a Plumber

  • Perla Irish
  • November 10, 2020
Total
2
Shares
0
0
2
0
0
Table of Contents Show
  1. 1. Set the Pump’s Location
  2. 2. Dig a Hole
  3. 3. Install the Discharge Pipes
  4. 4. Install the Pump
  5. Final Words

So, you want to join the club of DIY project makers. We all know how it feels when there’s no one else to rely on so you have to deal with things on your own.

You have no other choice but to do something and make your brain work beyond its limit. But sometimes, it’s also better to do things on your own to save money instead of hiring professionals. Even if it concerns your sump pump, a DIY project will work.
image - DIY Tips to Install Sump Pump without the Help of a Plumber
DIY Tips to Install Sump Pump without the Help of a Plumber

In fact, DIY projects are fun whether you’re a budget seeker or simply a handyman who prefers to work alone. So now, we’ll make sure that you install your sump pump properly like a pro:

1. Set the Pump’s Location

Sump pumps are typically installed in the lowest part of the basement so the pump can get rid of the water once it flowed there.

Be sure to use a level to be more certain about choosing your sump pump’s location. Its location should be sloped downward to ensure the smooth flow of floodwater into the pump.

According to the sump pump center, it is best to place it near the basement’s wall to install the discharge pipes easier. There should be a close GFCI where you can plug in the pump.


Read Also:

  • Benefits of Having Extra Sump Pump with Guide of Sump Pump Equipment
  • How Can Sump Pump Battery Backup Help in Drying the Basement?
  • 5 Plumbing Maintenance Tips

2. Dig a Hole

Now that you’ve set the location of your sump pump, it’s time to break the ground and dig a hole. But first, trace the outline of the sump pump basin liner on the floor.

Leave at least 3 to 4 inches allowance around to fit the liner easier in the hole. Then, use a jackhammer to break the concrete floor by following the outline you drew on the floor.

You can also use a sledgehammer and a masonry chisel as an alternative if you don’t have a jackhammer.

Use a large trashcan or any durable container to carry and remove the broken concrete. Use it to remove the soil you dig from the hole until you can fit the entire sump liner inside.

There should be an extra 12 inches underneath the liner to add some gravel. Then, seal the liner into place with a small amount of concrete until it is leveled evenly on the floor.

3. Install the Discharge Pipes

As you wait for your freshly applied concrete to dry, install the discharge pipes that are compatible with your pump.

Most sump pumps use 1-1/2 inches PVC pipes. Make ¼ inches hole above your foundation through the rim joist and outside wall then drill the size of your PVC discharge pipe.

Insert a portion of the pipe outside the wall and connect it to the pump using an elbow joint before sealing them together with PVC cement.

You may also attach another elbow pipe outside so you can direct it to the nearest drain if there’s any. The connection of your additional pipe outside may differ depending on your property’s landscape.

4. Install the Pump

Finally, install the pump inside the basin then attach the last pipes before plugging in your pump. You may drill more holes on the liner to help the water get into the basin and pump it out faster.

However, make sure that the holes are not that big to prevent the gravel from entering the sump liner.

If you want to know more about sump pump visit plumberplan.com/.

Final Words

Installing a sump pump is not that hard as long as you are focused on your job at hand. It is important that you place the sump pump’s liner at the right level deep down in your basement.

This will help you ensure that your sump pump will be able to drain the water out of your property without a problem. Check the connections of your PVC piping as well to make sure your pump will not mess up in the future.


Total
2
Shares
Share 0
Tweet 0
Pin it 2
Share 0
Share 0
Previous Article
Featured image - How to Use Skidsteer Loader Attachment to Clear Land?

How to Use Skidsteer Loader Attachment to Clear Land?

  • Perla Irish
  • November 10, 2020
View Post
Next Article
Featured image - How to Choose the Right Home Insurance

How to Choose the Right Home Insurance

  • Perla Irish
  • November 10, 2020
View Post

Subscribe

Subscribe now to our newsletter

You May Also Like
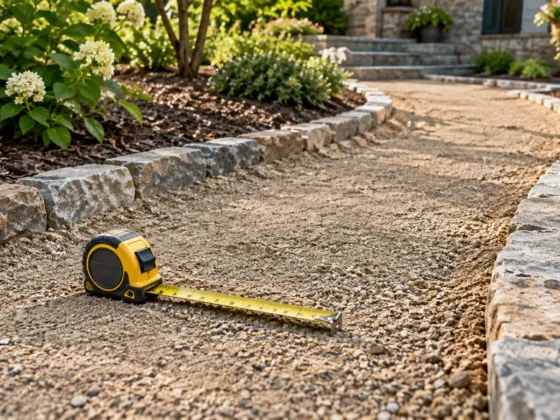
Landscaping measuring tape resting on crushed granite aggregate spread over a prepped garden path base
View Post

How to Estimate Gravel and Aggregate for Home Landscaping Projects Without Overordering

  • September 14, 2026
A clean pickup truck bed coated with a textured black spray-in bed liner filled with contractor tools and lumber
View Post

Why Spray-In Bed Liners Make Sense for Hard-Working Pickup Trucks

  • September 11, 2026
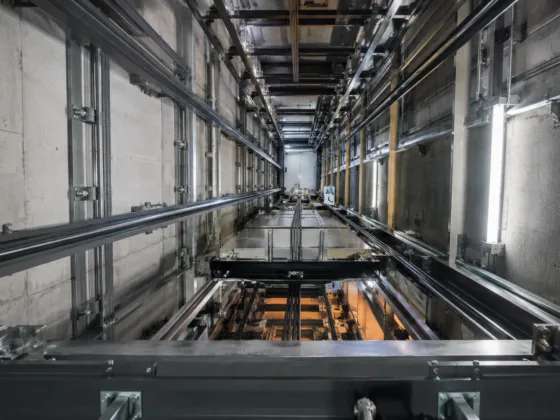
Close-up of heavy-duty industrial lift components and steel guide rails inside a commercial elevator hoistway
View Post

Why Quality Lift Components Matter for Safety, Reliability and Performance

  • September 3, 2026
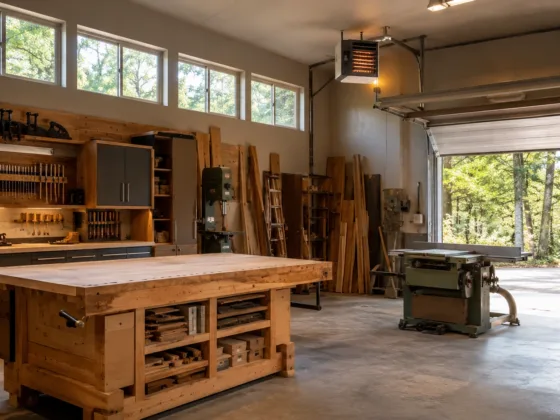
An organized modern workshop with a high ceiling unit heater mounted near the ceiling
View Post

How to Properly Size Unit Heaters for Garages, Workshops & Commercial Spaces

  • August 31, 2026
A clear glass window sill with a potted eucalyptus plant and a view of a sunlit backyard garden
View Post

Practical Solutions for the Most Annoying Window Cleaning Problems

  • August 19, 2026
Classic double-brick older Ontario home showing winter energy efficiency and cozy indoor lighting
View Post

Improving Home Comfort and Energy Efficiency in Older Ontario Homes: A Technical Retrofit Guide

  • August 14, 2026
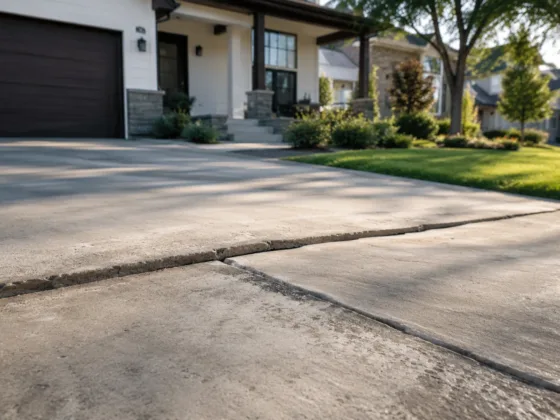
Uneven concrete driveway with a sunken slab outside a modern suburban home
View Post

Uneven Concrete: Why It Happens, Why It Matters, and What Leveling and Lifting Can Do About It

  • August 4, 2026
Employees preparing a commercial office move by packing workstations, labeling equipment, and organizing IT infrastructure before relocation
View Post

What Every Business Should Know Before Planning a Commercial Move

  • August 3, 2026
  • About
  • Privacy Policy
  • Terms of Use
  • Disclosure
  • Sitemap
  • Contact Us

Input your search keywords and press Enter.