Dream Lands Design
  • Home Improvement
    • DIY
    • Remodeling
    • Woodworking
    • Accessories
    • Home Design
      • Furniture
      • Organize
      • Tips
      • Decor
        • Interior
        • Exterior
  • Design Ideas
    • Bathroom
    • Bedroom
    • Dining Room
    • Living Room
    • Kitchen
  • Gardening
    • Backyard
    • Front Yard
    • Landscaping

Categories

  • Accessories
  • Backyard
  • Bathroom
  • Beauty
  • Bedroom
  • Cars
  • Decor
  • Design Ideas
  • Dining Room
  • DIY
  • Entertaining
  • Exterior
  • Finance
  • Front Yard
  • Furniture
  • Gardening
  • Green Living
  • Home Design
  • Home Improvement
  • Interior
  • Kitchen
  • Landscaping
  • Lifestyle
  • Living
  • Living Room
  • Organize
  • Photography
  • Real Estate
  • Remodeling
  • Tips
  • Uncategorized
  • Wall Improvement
  • Woodworking

Archives

  • February 2023
  • January 2023
  • December 2022
  • November 2022
  • October 2022
  • September 2022
  • August 2022
  • July 2022
  • June 2022
  • May 2022
  • April 2022
  • March 2022
  • February 2022
  • January 2022
  • December 2021
  • November 2021
  • October 2021
  • September 2021
  • August 2021
  • July 2021
  • June 2021
  • May 2021
  • April 2021
  • March 2021
  • February 2021
  • January 2021
  • December 2020
  • November 2020
  • October 2020
  • September 2020
  • August 2020
  • July 2020
  • June 2020
  • May 2020
  • April 2020
  • March 2020
  • February 2020
  • January 2020
  • December 2019
  • November 2019
  • October 2019
  • September 2019
  • August 2019
  • July 2019
  • June 2019
  • May 2019
  • April 2019
  • March 2019
  • February 2019
  • January 2019
  • December 2018
  • November 2018
  • October 2018
  • September 2018
  • August 2018
  • July 2018
  • June 2018
  • May 2018
  • April 2018
  • March 2018
  • February 2018
  • January 2018
  • December 2017
  • November 2017
  • Privacy Policy
  • Terms of Use
  • Disclosure
  • Sitemap
  • Contact Us
29K
98K
0
Dream Lands Design
  • Home Improvement
    • DIY
    • Remodeling
    • Woodworking
    • Accessories
    • Home Design
      • Furniture
      • Organize
      • Tips
      • Decor
        • Interior
        • Exterior
  • Design Ideas
    • Bathroom
    • Bedroom
    • Dining Room
    • Living Room
    • Kitchen
  • Gardening
    • Backyard
    • Front Yard
    • Landscaping
featured image - fitted card table cover
You're here: Home DIY Easy Steps in Making Loose and Fitted Card Table Cover

Easy Steps in Making Loose and Fitted Card Table Cover

  • Perla Irish
  • June 4, 2018
Total
7
Shares
1
0
6
0
0
Table of Contents Hide
  1. Fitted Card Table Cover: Custom Table Covers
    1. Materials Needed for Fitted Card Table Cover:
  2. Loose Card Table Cover
    1. Materials Needed for Loose Card Table Cover
  3. References

Making a fitted card table cover is a great way to get some more use out of your old, tired card table. It does not take much time or effort to make your worn-out card table look like new with this.

Image - fitted card table cover
Sewing Machine (fitted card table cover) By Chris Via (CC BY 2.0)

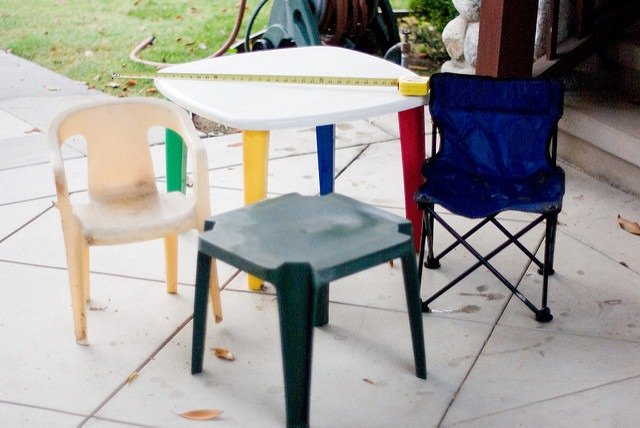
Most families have an old card table or two that they pull out of the closet when they need extra table space for company or game nights.

Over the years, these card tables see a lot of use and they are likely to get scratched and beaten, up which makes them somewhat of an eyesore.

If you would like to continue to get some use out of your old card table, but can’t stand to look at its scratched and dented surface, try making a custom table covers or fitted card table cover to cover up the problem.

Fitted Card Table Cover: Custom Table Covers

If you would like to cover up the worn, scratched surface of your card table without having to deal with the hassle of a table cloth sliding around, try making a fitted card table cover or custom table covers.

Lined with elastic, a fitted card table cover for a card table will cover the unsightly surface of an old card table, and can easily be removed for washing.

Materials Needed for Fitted Card Table Cover:

  • 1 1/2 yards of fabric
  • 3 1/2 yards of 1/4″ or 1/2″ elastic
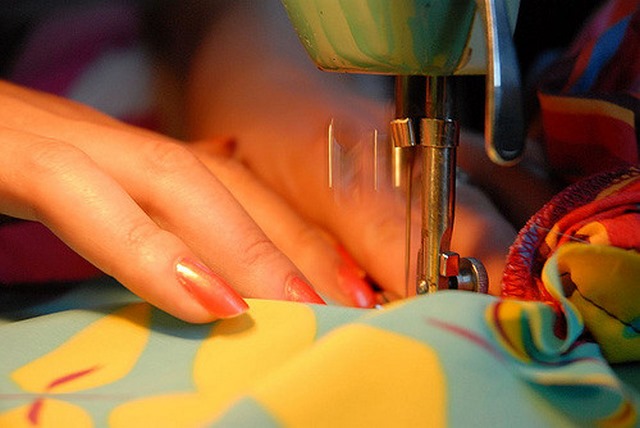
  • Sewing machine
  • Large safety pin or paper clip
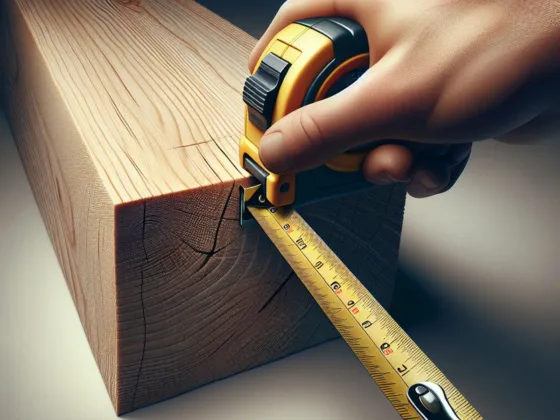
  1. Cut out a piece of fabric to fit your card table and add 5 inches to the length of each side. Standard square card tables typically measure 34″ by 34″ so, if your card table fits this description, cut your fabric to 39″ by 39″. If your card table is round, turn it upside down and lay it flat on top of your fabric and trace around the edges, then draw another circle 5″ larger than the first.
  2. Sew a one-inch hem around the entire piece of fabric, leaving an opening one to two inches wide.
  3. Tie one end of the piece of elastic to a large paper clip, or fasten a large safety pin to it, then pass it through the opening in the hem, working it all the way around the piece of fabric until it comes out the other side.
  4. Stitch the ends of the elastic together and sew the opening in the hem closed.
  5. Slip the fitted card table cover over your card table.

Tips: If you use your card table most frequently for games, use a felted material for your custom table covers / fitted card table cover. Selecting a vinyl or other waterproof fabric is a good idea if your card table is used by children who may spill on it.

Loose Card Table Cover

In some cases, transforming an old card table is as easy as throwing a tablecloth over the top, but most tablecloths are designed to fit larger kitchen and dining room tables, not card tables.

If you’d like to make a loose-fitting, decorative table cloth designed to fit your card table, follow these instructions.

image - custom table covers or loose and fitted card table cover
Child’s table & kid-size chairs By Shal Farley Via (CC BY-SA 2.0)

Materials Needed for Loose Card Table Cover

  • 2 yards fabric
  • Sewing machine
  • Thread to match the fabric
  • Iron (optional)
  1. Cut your fabric to the appropriate size. Most square card tables measure 34″x34″ so, if your card table matches these measurements, you will want to cut your fabric to at least 40″x40″. If your card table is round, lay it down flat on your fabric, trace around it and draw another circle at least 6″ larger around it. If you’d like a long table cloth, add a few extra inches to your measurement.
  2. Hem your fabric all the way around the edge using a sewing machine. You may choose to use an iron to press the hem of your fabric before you sew it.
  3. Iron your completed card table cloth and lay it flat on your card table.

Tips: Using a vinyl or plastic fabric will make your custom card table cloth easier to clean, and lining or backing your tablecloth with felt or flannel will keep it from sliding around on the table.

With a few simple sewing materials and a little bit of time, you can create a custom-fitted card table covers that will turn your old, worn card table into an entirely new piece of furniture.

Do not think you need to throw out our old card table just because it doesn’t look nice anymore – take a little bit of time to create a custom table covers or fitted card table cover that will transform your table to look like new.

Use your creativity and make a fitted card table cover using your favorite color or make several, each with a different seasonal design.

References

  • Source for fitted card table cover or custom table covers: Based on the author’s own experience.
  • Kids Card Table by Shalf: https://www.flickr.com/photos/shalf/3623664711/
  • Sewing Machine by Chris: https://www.flickr.com/photos/cedwardmoran/633158834/
Total
7
Shares
Share 1
Tweet 0
Pin it 6
Share 0
Share 0
Related Topics
  • cover
  • table

Subscribe

Subscribe now to our newsletter

You May Also Like
featured image - 6 Tips for Using Informed Delivery with Direct Mail
View Post

6 Tips for Using Informed Delivery with Direct Mail

  • January 30, 2023
Featured Image - Four Interior Design Styles to Consider Before Buying Your Next Holiday Home
View Post

Four Interior Design Styles to Consider Before Buying Your Next Holiday Home

  • January 26, 2023
Featured image - How to Create Memory Galleries
View Post

How to Create Memory Galleries

  • January 25, 2023
Featured image - Is Hot Tubs Better in the Summer or Winter?
View Post

Is Hot Tubs Better in the Summer or Winter?

  • January 22, 2023
Interior Design Courses – What Will You Learn
View Post

Interior Design Courses – What Will You Learn?

  • December 27, 2022
View Post

Endsleigh’s Landlord Insurance and Information

  • December 27, 2022
Featured of DIY Lawn Dethatcher: How to Make a Homemade Lawn Dethatcher
View Post

DIY Lawn Dethatcher, How to Make Your Own Lawn Dethatcher

  • December 26, 2022
View Post

Make Your Patio Area Useable Year-round

  • December 26, 2022
1 comment
  1. Maxie says:
    February 21, 2021 at 6:52 pm

    Definitely add an extra inch for DEPTH of the tabletop!! I followed these directions and it didn’t fit! What a waste of fabric 🙁

    Reply

Leave a Reply Cancel reply

Your email address will not be published. Required fields are marked *

This site uses Akismet to reduce spam. Learn how your comment data is processed.

Dream Lands Design
  • Privacy Policy
  • Terms of Use
  • Disclosure
  • Sitemap
  • Contact Us

Input your search keywords and press Enter.

Add Dream Lands Design to your Homescreen!

Add