
Table of Contents Show
Need to know how to build a pergola attached to the house? Want to build a DIY pergola? This simple design can be expanded or shrunk as necessary to fit the space you have over your patio or deck.
Introduction
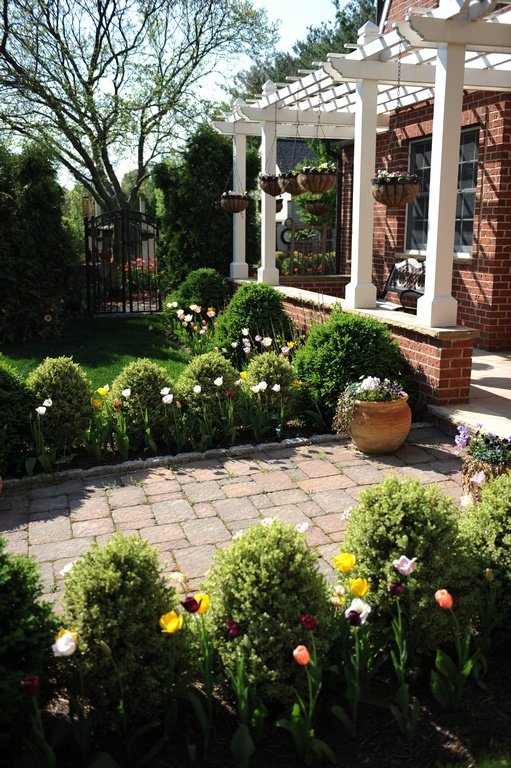
Pergolas provide shade and a place to hang potted plants over patios and decks. If you choose to attach your pergola to the house, it must be anchored to the house framing and not the trim, siding, or fascia boards. Since attaching a pergola to the house framing is a structural change, you’ll need a building permit in most cases. Before you start building or buy any materials, check with your local building department for local code, permits, and inspection information. This is how to build a pergola attached to the house.
Related reading: Best Modern Pergola Designs & Trends
Sizing Your Pergola
A DIY pergola or arbor only has to support its own weight and the weight of whatever you hang from it. This allows you to extend beam and rafter spans. On a larger pergola, however, you don’t want the lumber to appear unsubstantial, so it is important to increase the size of the members appropriately. Move up to 6-by-6 posts and 2-by-8 beams and rafters to keep the pergola looking sturdy. Add intermediate posts and additional beams anytime a beam or rafter span is longer than 12 feet to prevent sagging in the future.
Ledger Board
The ledger board attaches to the house framing and supports the pergola rafters. You can attach the ledger to the roof rafters, but it is better to attach it to the wall framing. Cut the ledger board from 2-by-6 or 2-by-8 lumber. If you’re using anything but pressure-treated lumber, seal the ledger board with a quality wood sealer before you start construction. Insert a piece of Z flashing behind the siding above the ledger location and attach the ledger to the wall studs with two 1/2-inch galvanized lag bolts through the ledger into each stud.
Posts

Layout the posts for your DIY pergola. The posts support a double beam, which supports the rafters. Hang the plumb bob from the end of the ledger so the point is just barely above the patio surface. When it stops swinging, mark the patio under the point. Measure straight out from the mark to the patio edge and mark again. Snap chalk lines between the marks at the house and the patio edge.
Measure back towards the house 8 to 12 inches from the patio edge along the chalk lines and mark. Snap a new chalk line between these marks. Place the posts on this line equidistant from the lines perpendicular to the house. Ensure a square layout by measuring diagonally to the plumb bob marks from the intersecting chalk lines. Both measurements should be the same.
Drill holes into the patio at the post marks with a hammer drill and place lag bolt sleeves into the holes. Attach adjustable post brackets to the patio with 1/2-inch lag bolts screwed into the sleeves. Stand a post in each bracket and temporarily brace them with two pieces of 1-by-4 lumber. Plumb the post with a post level and nail it to the bracket with galvanized 1 1/2-inch bracket nails.
Beams

Attach a mason line to the bottom edge of the ledger at the middle and pull it out to the posts. Attach a line level to the mason line and find the level point on each post and mark it. The double beam should extend beyond the posts. Cut decorative ends on the two pieces and hold them on the posts parallel to the house with the top edges even with the level lines from the ledger. Attach the double beam to the posts with two 1/2-by-7-inch carriage bolts at each end.
Rafters

Space the rafters evenly and no more than 16 inches apart. Cut the outside end to match the decorative ends of the double beam. Attach the rafters to the ledger board with galvanized joist hangers, screws and bracket nails. Use galvanized hurricane ties to attach the rafters to the beam. You can add additional pieces of narrowly spaced 2-by-2, 1-by-3, or lattice across the top of the rafters for additional shade. That’s how to build a pergola attached to the house.
Conclusion
Building a pergola attached to your house takes careful planning and proper steps. Ensure your materials are of good quality; the ledger must be securely connected to the wall framing. Your posts and beams must be sturdy and spaced well for roof support. Always check local building codes before you begin. If done perfectly, the new outdoor shaded area will beautify and enhance your patio or deck with comfort. Put in plants or decorative elements to customize the area to your liking. Keep safe, and enjoy your outdoor haven.
FAQs (Frequently Asked Questions)
What is a pergola, and what are its benefits?
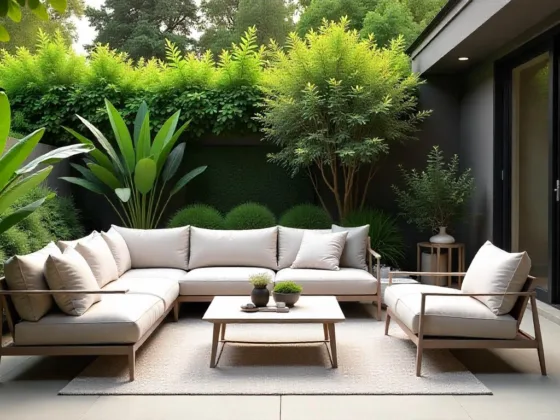
A pergola is an outdoor structure that provides partial shelter and enhances the aesthetics of your outdoor space. Its benefits include creating a cozy area for relaxation, adding visual appeal to your yard, and serving as a support for climbing plants.
How do I plan my pergola design?
When planning your pergola design, consider the architectural style of your home and your personal preferences. Factors such as size, shape, and location are crucial in ensuring the structure complements your house while serving its intended function. Involving family members can also bring valuable ideas during the planning phase.
What materials do I need to build a pergola?
Essential materials for building a pergola include 4×4 posts, 2×8 beams, and quality wood like pressure-treated pine or cedar for durability. Additionally, tools such as a hammer, drill, and miter saw will facilitate the construction process.
How do I attach the pergola structure to my house?
Attaching the pergola structure to your house involves fitting a ledger board securely using lag screws. This component is vital for structural integrity as it connects the pergola to your home’s wall. Proper waterproofing techniques with flashing are also essential to prevent water damage at this junction.
What are some best practices for maintaining my pergola?
To maintain your pergola’s beauty and functionality over time, regularly clean debris from surfaces and inspect joints periodically for wear. Applying protective finishes like wood stain or paint can enhance its aesthetic appeal while safeguarding against weather exposure.
Can I add shade elements to my pergola?
Yes, you can add shade elements, such as slats strategically fitted into place to maximize shade coverage while keeping an open feel. Pre-drilling holes in slats before attachment ensures stability and ease of installation over time.
Author & Editorial Review
Author: Perla Irish is a design and home-focused writer covering interior materials, everyday homeowner decisions, and real-world performance of residential finishes in consultation with licensed contractors and industry standards where applicable. Her work emphasizes clarity, practical context, and long-term usability over trends or transactional advice.
Editorial Review: This article was reviewed by the DreamlandsDesign editorial team with a focus on homeowner decision-making psychology, behavioral context, accuracy, and long-term relevance.


1 comment
Thanks!