Table of Contents Show
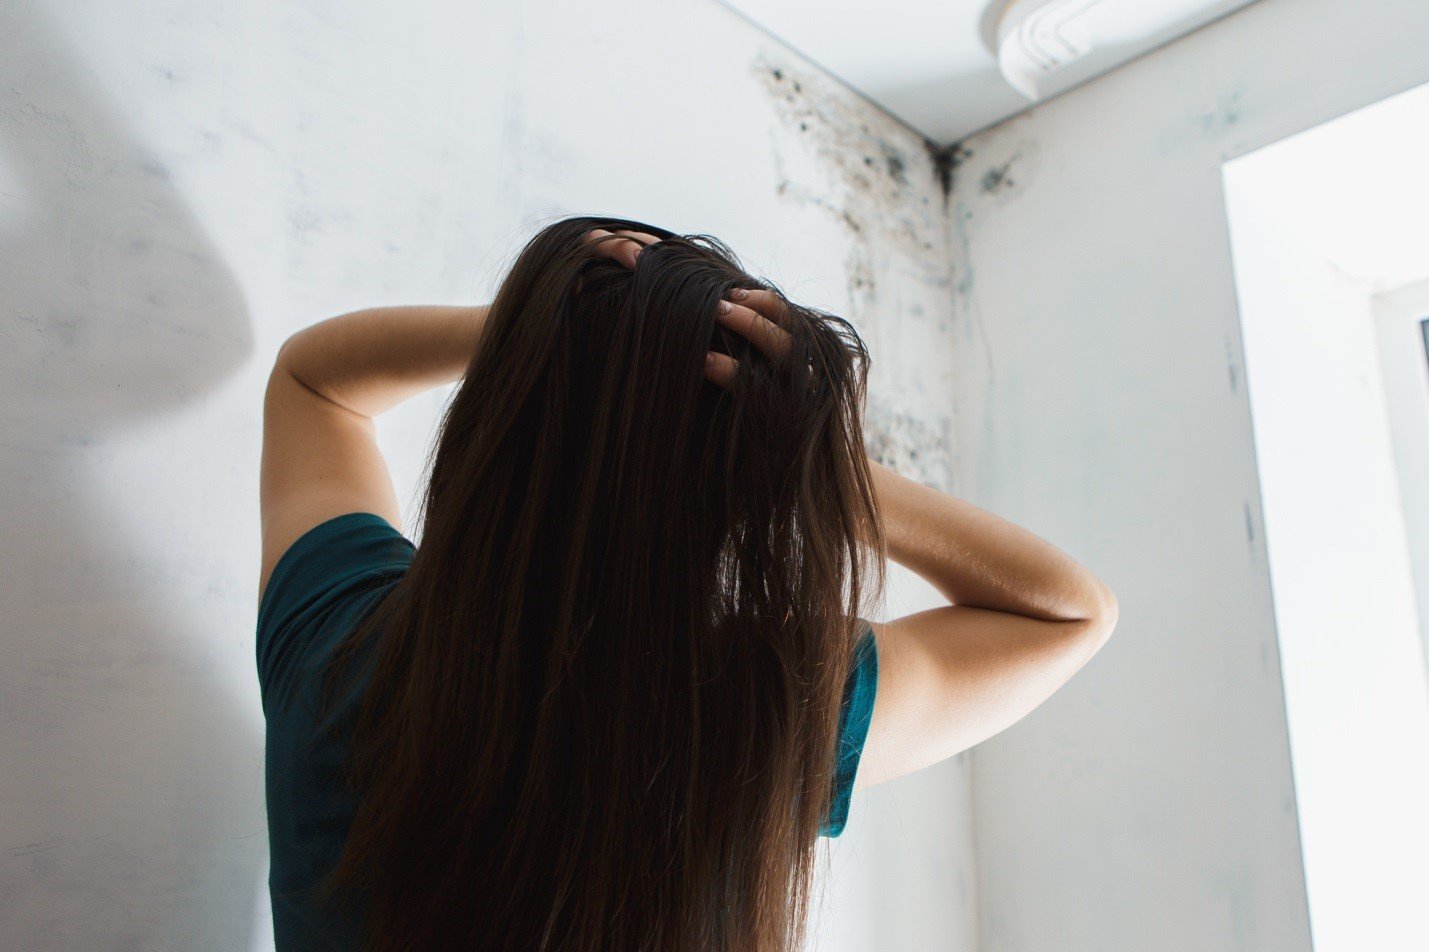
Are you worried that you have mold in your home?
Well, we can’t sugar-coat it — you probably should be worried! Somewhere between a third and a half of all buildings in the US have conditions that are conducive to mold development.
That’s bad news.
After all, mold is known to cause a whole host of health issues. Everything from allergies and asthma to sore throats and nasty coughs can occur if you’re exposed to it. Clearly, anybody who suspects they have mold would do well to get rid of it ASAP!
Knowing how to test for mold in your house is the first step to doing exactly that.
It’s the only way to confirm or disprove your suspicions, enabling you to proceed in an appropriate fashion. Want some advice on how to do it?
Keep reading for a complete guide on testing for mold in your home!
Read Also:
- Mold Can Make You Severely Sick – Remove Them Before Too Late
- Is Your Home a Hazard? 5 Mold Health Risks That You Need to Know
- Caution Signs: How to Recognize if You Have Mold in Your Home
- Help! I’ve Noticed Mold Growth in My Home
Know What You’re Looking For
The first step involved in testing for mold is knowing what it looks like. You can then do a visual inspection of your home in a bid to identify it.
Once you see it, there’s less need to do any official scientific testing!
Now, there are countless varieties of mold out there. Most, however, share certain characteristics that can help you investigate its presence. More often than not, you’re looking for dark black, brown, or green spots that proliferate over time.
Focus your attention on areas of the house that get wet. Mold’s a fungus that thrives in warm, damp, dark, and humid conditions. Everywhere from the grouting in your shower to the corners of your laundry room could be hotbeds of mold.
Try Using Bleach
Imagine that you’ve inspected the home and spotted something that looks a lot like mold. It’s now worth doing some empirical testing to ascertain its exact nature.
Our first suggestion?
Get some bleach from your cleaning cupboard, dilute it with water, and put some on a cloth. Rub the affected area and wait for one to two minutes to see what happens.
This is a traditional method of identifying mold and mildew! If the suspected mold doesn’t turn a lighter color (aka, it remains the same dark shade), then it’s probably just dirt! If it does, then it’s likely to be mold.
Don’t Stop There (Get a DIY Test Kit)
Using bleach can provide good preliminary evidence of mold. However, it’s sometimes worth taking matters one step further. Why?
Because not all mold is so easily detectable. Some types, especially in their early stages of development, can seem like nothing more than grubby areas of a given surface. Others are entirely invisible to the naked eye!
In either case, you could have mold in the house and have no idea about it. Further testing is the best way to get to the bottom of things.
Consider purchasing a DIY mold test kit for the task.
These handy devices are relatively inexpensive and can both confirm the presence of mold and, sometimes, identify the type. Buy yourself the kit and follow the instructions- more on these next.
Using the Testing Kit
The majority of mold testing kits involve collecting a sample in a petri dish.
Of course, you should always follow the instructions on the packet that outline how to proceed. Nevertheless, having prepared your petri dish as per the instructions, there are two primary ways to collect the sample and attain the results:
- Remove the lid, leave it for around 60 minutes in the vicinity of the suspected mold location, and then replace the lid. This is a sensible approach if there’s no visible evidence of the mold
- Alternatively, you could use a cotton swab. Simply rub the swab over an area of suspected mold before wiping it on the growing medium in the petri dish. Put the lid on to end the process
It’s nothing but a waiting game from there! If there’s mold, you should see it start to grow within 24 to 48 hours. No growth, no mold — it’s as simple as that.
Send It to the Scientists
Imagine that you’ve just used a DIY testing kit to gather a sample.
A perk of these kits is the option to send them to a lab for follow-up testing. Once again, the packaging of the test should reveal how this is done. In general, though, you ship the sample in the post and let the scientists to their stuff.
They take the suspected mold and use official lab tests to confirm/refute your suspicions. Better still, they’ll identify the nature of any mold in evidence and recommend the best route forward in terms of treating it.
Be wary of extra fees though. Sometimes the cost of lab testing is included in the product’s purchase price – but not always!
Hire the Professionals
There are two downsides to the DIY approach to mold-identification.
First, it isn’t foolproof.
Like anything you’re not an expert at, there’s a reasonable margin for error involved. You can do your best to test, but in the absence of expert identification, remain unsure whether or not there’s any mold present. With peoples’ health on the line, that’s far from ideal.
Second, it’s hard work! You can go to all the effort of testing for it and still come up short.
All things considered, hiring a professional mold inspection company may be a better bet. As experts at testing for mold, they’ll get to the bottom of the problem efficiently and effectively. You can sit back and set your worries aside while they get to work!
Now You Know How to Test for Mold
Mold is both visually unattractive and hazardous to health. The result?
It’s a nightmare for any homeowner! Unfortunately, it’s also incredibly common around the country. Anywhere that’s warm, moist, and dark can be a hotbed for mold and mildew.
That’s why knowing how to test for mold is so important. After all, knowing for sure that there’s mold in your home is a key first step to getting rid of it. We hope this article will help in that regard.
Want to read more articles like this one? Keep scrolling our page!