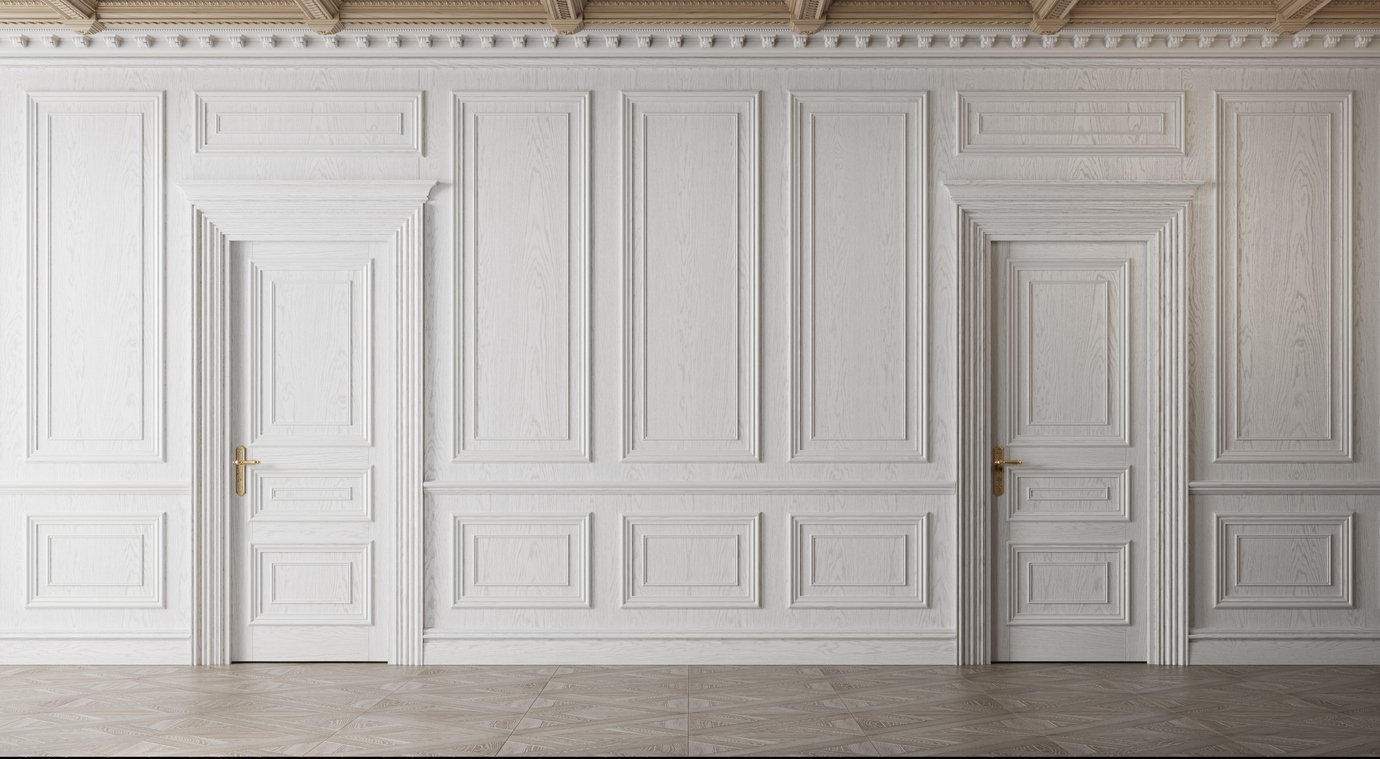
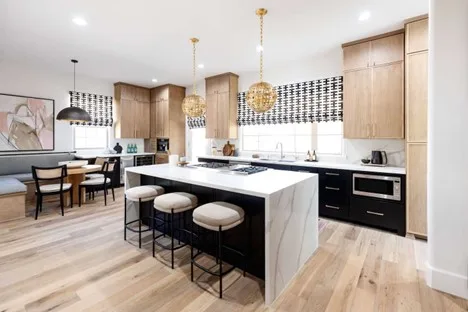
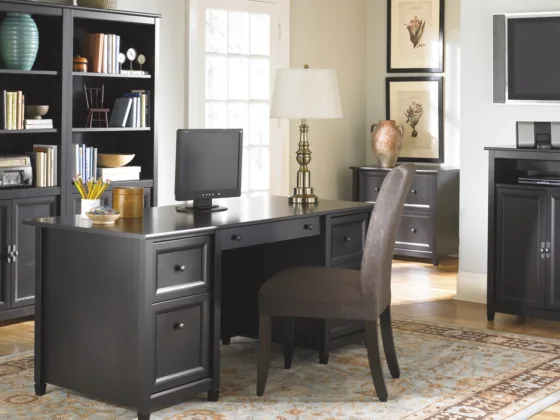
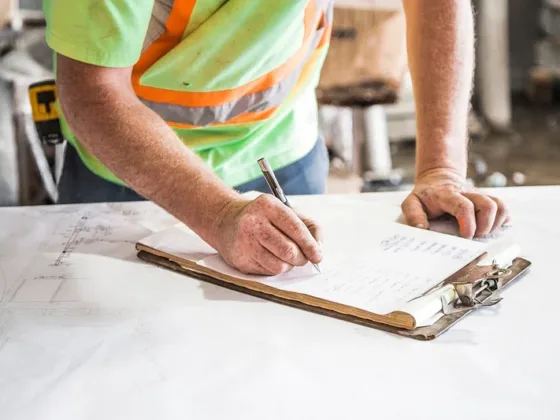
In-home design, several features provide rooms with a more finished look beyond just walls, floors, doors, hardware, and fixtures. Among these finishes are crown molding and shoe molding.
Shoe moldings cover gaps between wall baseboards and the floor, providing a more attractive transition between these surfaces.
Below, we provide some details about baseboard types suited to shoe molding and how to install this finishing touch, thanks to some help from the pros at Cosmaroma.
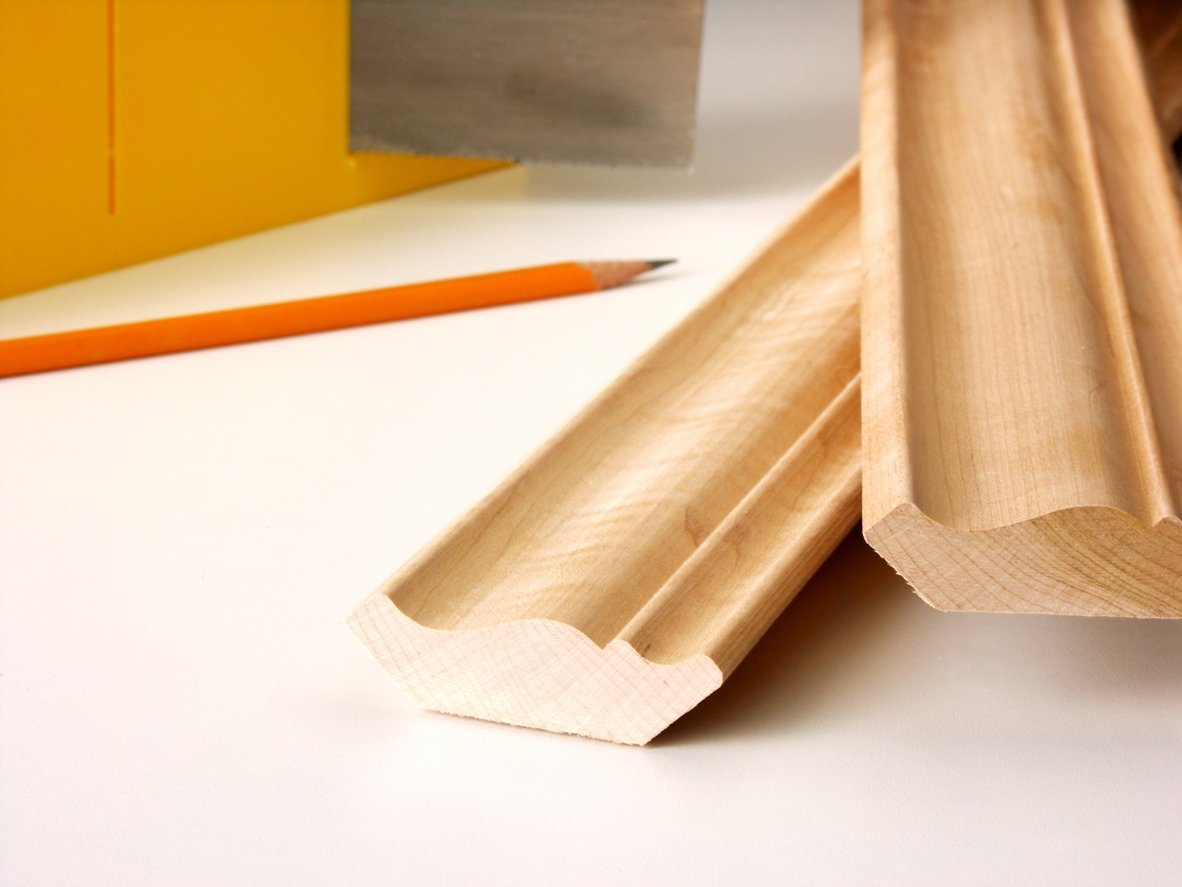
Brief Background of Shoe Moulding
Ample baseboards became popular in the Greek Revival movement of the first half of the 19th century. But it was in the late 1800s in Europe and North America that home builders started adding shoe molding to their baseboards.
Because of the era’s mass production of home finishes, moldings became more readily available on the market.
The name of shoe molding comes from its position at shoe level, just like a chair rail aligns with the tops of chairs. The lower molding was thought to improve the appearance of the room, adding a finishing touch.
It also served the purpose of keeping insects and dirt from coming into the home through gaps between the wall baseboards and floors.
Today’s shoe moldings serve more of a visual purpose, making the wall-to-floor transition more attractive. Using this molding can fill gaps where the floor is uneven and does not fully align with the more rigid wall baseboard. Because the shoe molding is thinner, it is more flexible than a baseboard.
Read Also:
Types of Shoe Moulding
Shoe molding is available in a variety of material types. These types consist of wood, MDF, and polystyrene. The best practice is to match the material used for your baseboards, but wood is the most common type.
These wood moldings vary in quality and price, from the less expensive pine to higher quality oak, ash, and walnut. MDF is made from sawdust and resin suited to painting, providing great flexibility at a low price.
MDF works particularly well when floors are very uneven. Polystyrene is also most suited to painting and not straining at a very low price with reduced durability. The typical dimensions are a range of between 7/16-inch and 1/2-inch in height.
Installing Shoe Moulding
Most people can install shoe molding on their own, generally not requiring the help of a contractor. But it is important to use the right tools. These tools include:
- Miter saw to cut
- Coping saw to create inner corners
- Finish nailer to attach
It is best to start in one corner of your room, aligning and installing the molding as you proceed in one direction. Simply press the molding against the floor and baseboard, nailing it in place. This installation necessitates one nail every 12 inches. The molding attaches directly to your baseboards and not the wall.
At outside corners, cut the ends of the adjoining molding at 45-degree angles. Glue these ends together before nailing the molding in place. For inside corners, cope with the joints instead of mitering to prevent gaps.
Coping joints gives one side of the molding a 90-degree cut and the other a 45-degree cut. Coping joints like this require some skill you can pick up through a YouTube video and a little practice.
It is important to paint or stain your shoe molding after installation, not before. You will have nail holes to fill as part of this process. While it can be difficult to stain or paint your shoe molding without getting some of the colors on your floor, you can use a paint shield or even a piece of cardboard to prevent these issues.

