Table of Contents Show
Are you tired of tripping over that rake or some other garden tool? Ughh!! The mess is driving you crazy. Stop tripping and build yourself a garden tool rack.
You will be surprised at how simple it can be to build a garden tool rack on your own!
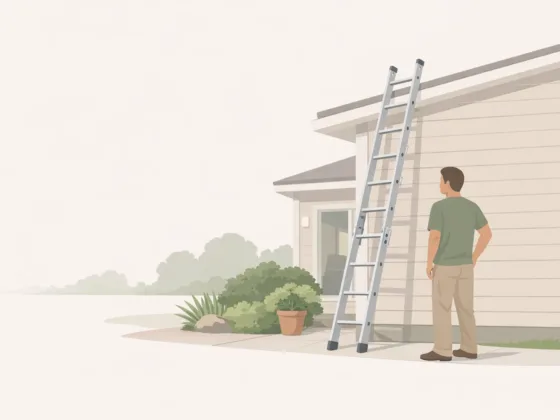
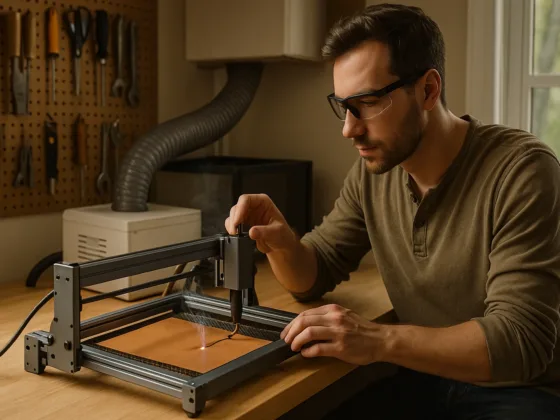
Before getting started, make sure you have the right tools for the project on hand. Check out WoodjoyTools.com for helpful tool reviews.
Follow these simple steps for building a garden tool storage rack in your shed space.
1. Plan a Layout

First things first. You need to figure out what kind of layout you want.
This could make a difference when you get to building your rack and putting things up. What kind of tools will you be hanging?
Things like rakes, hoes, and shovels are a given. Do you have additional tools like trowels, brushes, and small items?
You may decide that you want to build a rack for small garden tools as well as a rack for large garden tools.
The beauty of building your own garden tools rack is that you can customize it to meet your needs. The design can be as simple or as fancy as you want it to be and you can create space for as many items as you need!
2. Measure and Mark

Once you’ve planned your layout, it’s time to get busy! Now, you will need to measure your layout.
Measure lengths according to your plans. If you are planning to hang your items horizontally, be sure to measure to fit your tools.
If you are planning to hang items vertically, you will want to measure how far apart you are spacing items.
Measure for your plans and then mark your measurements so you will be ready when you get to the cutting stage.
Anything that may need to be cut should be measured marked and prepared in this stage to the best of your ability.
If you want to do minimal cutting of things like holes then you can also purchase additional hanging accessories to attach to your homemade rack.
Read Also:
3. Cutting Time

Now it’s time to make any necessary cuts. The cuts that you make could vary depending on the type of layout you decide to use. Here are a few scenarios that might pertain to your layout.
- Cut circles or “pop-in” spaces that you can simply slide the handle of your garden tool into for storage purposes. You might try a hole saw or a drill attachment to make this type of cut. You could also use anything that allows you to cut into the wood at your measurements.
- Cut latches – if you are hanging things horizontally, there are no circles needed. You just need shelf latches that you can slip your tool handles into on each end of the handle. You just need to make sure they are wide enough to get your handles in there.
- Simply cut a board the length you need and use hanging accessories from your favorite hardware store rather than cutting holes or shelves.
These are just some examples. They don’t necessarily cover every scenario but they do cover the simplest scenarios for building your own garden tool rack.
You can use a drill attachment auger to make planting in the dirt simple – even if it’s hard.
4. Install or Attach

Now, it’s time to place your piece of art and get it hung on the wall. Whether you’re hanging in a shed, a garage, or somewhere else you need to be sure you’re hanging it securely.
Your hanging process might require some brackets for bracing and holding the rack.
Otherwise, you could also potentially attach it directly to the wall you are using.
This is another factor that could vary depending on the layout of your project.
Be sure that you are attaching your garden tools rack securely and safely so that it won’t fall later.
It needs to be able to hold the weight of the items you will be hanging so you will need to keep that in mind.
5. Hang Your Tools

That’s it! Now you’re ready to organize your gardening tools and get everything put away.
You won’t have to trip over the tools any longer and they will be hung nicely out of the way so you can easily grab them and go when you are ready!
It’s very simple from start to finish. Most likely, you can finish your garden tools rack within about an hour timeframe.
Even some of the more complicated designs should be relatively simple to prepare and not extraordinarily time-consuming either.
Tools You May Need
As you prepare to get started making your garden tools rack, you will need the right tools for the job.
What kind of tools might you need?
This could vary depending on your design but here are some basics that you could need.
- Tape measure
- Marking pencil
- Drill with appropriate drill bits
- Square or level
- Possibly a screwdriver
- Hole saw or another saw, depending on your layout
- A plan
- Gardening tools
- Screws
Gather your tools and your plan and get to work so you can get those garden tools put up out of the way.
They will take up far less space when you put together your garden tools rack.
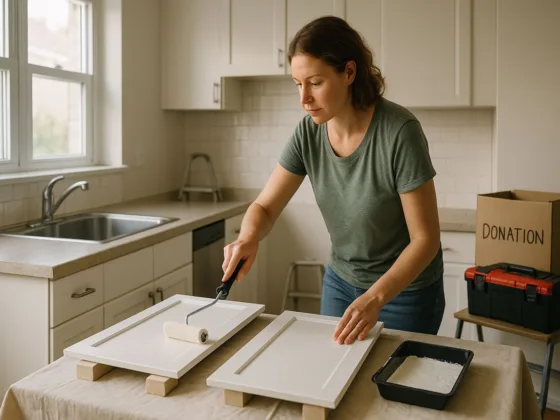
Once you have your basic design built or set up, you can even take it one step further and paint and label your rack if you would like.
Remember that if you plan to use brackets or pre-made hooks you will need to acquire those and gather whatever is required to hang them as well.
Conclusion
You would be amazed at how much of a difference a garden tools rack will make for your storage space.
Rather than dealing with that darn rake that trips you every time or worrying about everything being tangled up, you have a simple space that keeps everything where it should be and is simple to use.
Making your own garden tools rack is a pretty simple DIY project that just about anyone can accomplish if they have the right tools available to them. Happy gardening!