Dream Lands Design
  • Home Improvement
    • DIY
    • Remodeling
    • Woodworking
    • Accessories
    • Home Design
      • Furniture
      • Organize
      • Tips
      • Decor
        • Interior
        • Exterior
  • Design Ideas
    • Bathroom
    • Bedroom
    • Dining Room
    • Living Room
    • Kitchen
  • Gardening
    • Backyard
    • Front Yard
    • Landscaping

Categories

  • Accessories
  • Backyard
  • Bathroom
  • Beauty
  • Bedroom
  • Cars
  • Decor
  • Design Ideas
  • Dining Room
  • DIY
  • Entertaining
  • Exterior
  • Finance
  • Front Yard
  • Furniture
  • Gardening
  • Green Living
  • Home Design
  • Home Improvement
  • Interior
  • Kitchen
  • Landscaping
  • Lifestyle
  • Living
  • Living Room
  • Organize
  • Photography
  • Real Estate
  • Remodeling
  • Tips
  • Uncategorized
  • Wall Improvement
  • Woodworking

Archives

  • February 2023
  • January 2023
  • December 2022
  • November 2022
  • October 2022
  • September 2022
  • August 2022
  • July 2022
  • June 2022
  • May 2022
  • April 2022
  • March 2022
  • February 2022
  • January 2022
  • December 2021
  • November 2021
  • October 2021
  • September 2021
  • August 2021
  • July 2021
  • June 2021
  • May 2021
  • April 2021
  • March 2021
  • February 2021
  • January 2021
  • December 2020
  • November 2020
  • October 2020
  • September 2020
  • August 2020
  • July 2020
  • June 2020
  • May 2020
  • April 2020
  • March 2020
  • February 2020
  • January 2020
  • December 2019
  • November 2019
  • October 2019
  • September 2019
  • August 2019
  • July 2019
  • June 2019
  • May 2019
  • April 2019
  • March 2019
  • February 2019
  • January 2019
  • December 2018
  • November 2018
  • October 2018
  • September 2018
  • August 2018
  • July 2018
  • June 2018
  • May 2018
  • April 2018
  • March 2018
  • February 2018
  • January 2018
  • December 2017
  • November 2017
  • Privacy Policy
  • Terms of Use
  • Disclosure
  • Sitemap
  • Contact Us
29K
98K
0
Dream Lands Design
  • Home Improvement
    • DIY
    • Remodeling
    • Woodworking
    • Accessories
    • Home Design
      • Furniture
      • Organize
      • Tips
      • Decor
        • Interior
        • Exterior
  • Design Ideas
    • Bathroom
    • Bedroom
    • Dining Room
    • Living Room
    • Kitchen
  • Gardening
    • Backyard
    • Front Yard
    • Landscaping
featured image - Easy Steps in Setting Up Your New Pre-Built Gaming PC
You're here: Home Home Improvement Easy Steps in Setting Up Your New Pre-Built Gaming PC

Easy Steps in Setting Up Your New Pre-Built Gaming PC

  • Perla Irish
  • October 19, 2021
Total
1
Shares
0
0
1
0
0
Table of Contents Hide
  1. Verify the Status of The Network, Windows Edition, and Activation
  2. Set Up Primary Configurations
  3. Attach the Peripherals
  4. For Your System Drive, Enable Bitlocker Encryption
  5. Antivirus/Malware and Security
  6. Download Updates
  7. Finally, Set up a Recovery Plan

Follow these steps to enhance your productivity from the first day you get a Gaming PC and minimize the hassles of setting and installing a new computer. For more, check out the official website – techfast.com.au.
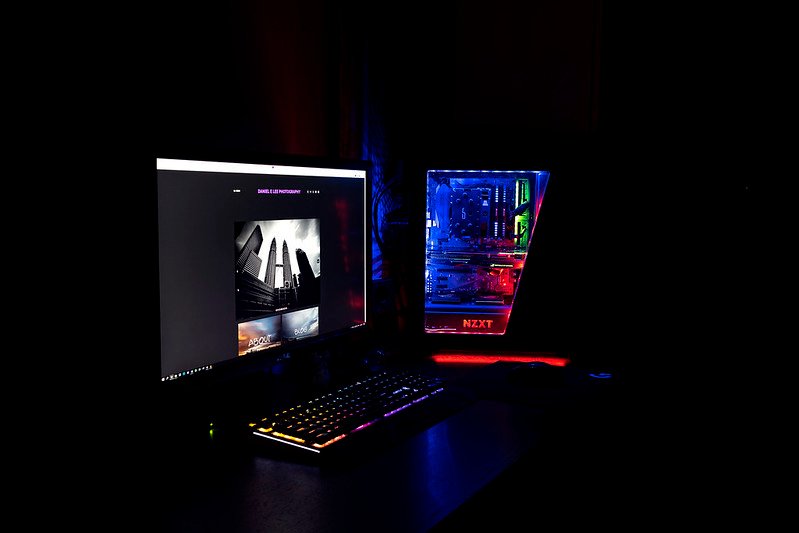
image - Easy Steps in Setting Up Your New Pre-Built Gaming PC
Easy Steps in Setting Up Your New Pre-Built Gaming PC

Verify the Status of The Network, Windows Edition, and Activation

You won’t be able to do much unless you have a working Internet connection. In reality, an Internet connection is required for the majority of the remaining procedures on this checklist.

The built-in Windows 10 network drivers operate perfectly on most PCs sold in the last five years. Windows Setup will use an existing wired connection or request you for Wi-Fi credentials when you go through the Out of Box Experience (OOBE) section of the procedure.

Go to Settings > Network & Internet > Status after you’ve completed the setup and arrived at the Windows desktop.

Set Up Primary Configurations

Windows 10 will prompt you to set your language, time zone, clock, and calendar after you’ve established the essential initial connections (power, plus monitor, keyboard, and mouse as needed).

Microsoft will force you to make a login—preferably by creating or using an existing Microsoft account—the same one you’d use to connect to your Xbox, Skype, OneDrive, Office on the Web, and pretty much any other Microsoft service.

The advantage is that you can use it to sync your backgrounds and settings across all of your Windows PCs. It connects your computer to the internet.


Read Also:

  • Let the Fun Begin: Transform Your Ordinary Living Room into a Gaming Room in 4 Easy Steps
  • The 8 Benefits of The Best Gaming Chairs Over Traditional Chairs That No One Tell You
  • Practice Tests – Your Best Option for Microsoft AZ-303 Exam During Preparation Phase
  • A Beginners Guide to Choose the Best Prebuilt Gaming PC

Attach the Peripherals

You’ll need to connect a mouse and keyboard to operate the computer. Most modern keyboards and mice use a USB connection, so finding an available port is simple.

Simply insert your mouse and keyboard, or their wireless adapter(s), into any accessible USB port, and you’re ready to go. If you’re using an older keyboard and mouse, use the green and purple PS/2 connectors shown in the diagram above to connect them.

Fortunately, the ends of these cables are color-coded; simply match the color to the proper port and you’ll be ready to use your new computer.

Any additional accessories you may have, such as a printer/copier/scanner or speaker. A USB port will be used to connect the majority of these gadgets. Some older printers, on the other hand, use the pink parallel port seen above.

Similarly, some speakers still use the circular green/pink audio jack. To get all of your cables in the right ports, use the chart above, along with color coding and size.

You’re ready to power on your new computer once you’ve connected all of your wires and double-checked for accuracy.

For Your System Drive, Enable Bitlocker Encryption

Encrypting the contents of your system drive protects you from a nightmarish scenario: your computer is lost or stolen, and a thief can boot from a portable device and peruse its contents without consequence. The best protection is to encrypt the entire device so only you or someone with the recovery key who may access its contents.

The encryption technologies provided in commercial editions of Windows, including Windows 10 Pro, are referred to as BitLocker by Microsoft.

Antivirus/Malware and Security

You’ll want to make sure your new computer is protected against viruses and spyware before you start surfing the web. Some PCs will already have a free basic antivirus installed, such as Microsoft Security Essentials. It may also come with a free trial subscription to Norton or McAfee.

If you’re satisfied with the protection that came with the computer, simply open it to ensure that the software is up to date and active and complete any necessary setup procedures.

Download Updates

Your PC will notify you that Windows updates are available at some point, generally about five minutes after you successfully load up. Take advantage of the new information. Go to Settings > Update & Security > Windows Update to see if they’re available.

Windows 10 receives a significant update twice a year and depending on when Windows 10 was installed on your machine; you may be behind. You may have a large number of updates to download.

Finally, Set up a Recovery Plan

Some techies used to prefer reinstalling an operating system after a disaster. You can’t do that in Windows 10 because there aren’t 30 floppy discs to insert. However, you could buy it on a USB drive.

 Instead, you’d utilize the Recovery tool to start anew, which would necessitate all of those uninstalls and updates all over again. Instead, make a backup of your immaculate Windows 10 system right now so you can swiftly restore everything if something goes wrong.

Total
1
Shares
Share 0
Tweet 0
Pin it 1
Share 0
Share 0
Related Topics
  • computer
  • microsoft
  • steps
  • windows

Subscribe

Subscribe now to our newsletter

You May Also Like
Featured image - What You Need to Know About Refinancing Your House
View Post

What You Need to Know About Refinancing Your House

  • February 2, 2023
Featured image - 3 Constructive Hiring Trends for Construction Managers to Try in 2023
View Post

3 Constructive Hiring Trends for Construction Managers to Try in 2023

  • February 2, 2023
Featured image - Pros of Using Cordless Vacuum Cleaner for Hardwood Floors
View Post

Pros of Using Cordless Vacuum Cleaner for Hardwood Floors

  • February 2, 2023
featured image - Create Your Sanctuary
View Post

Create Your Sanctuary

  • February 1, 2023
Fetured image - 8 Things You Can Expect When Moving to Texas
View Post

8 Things You Can Expect When Moving to Texas

  • February 1, 2023
featured image - How To Make Luxurious Bathroom Traits of James Martin Malibu Vanity 72″ Model 2023
View Post

How To Make Luxurious Bathroom: Traits of James Martin Malibu Vanity 72″ Model 2023

  • February 1, 2023
featured image - Read This Before Replacing Your Oven Light Bulb
View Post

Read This Before Replacing Your Oven Light Bulb

  • January 31, 2023
Featured image - How to Deal with Overgrown Plants: 4 Options
View Post

How to Deal with Overgrown Plants: 4 Options

  • January 31, 2023
Dream Lands Design
  • Privacy Policy
  • Terms of Use
  • Disclosure
  • Sitemap
  • Contact Us

Input your search keywords and press Enter.

Add Dream Lands Design to your Homescreen!

Add