Table of Contents Show
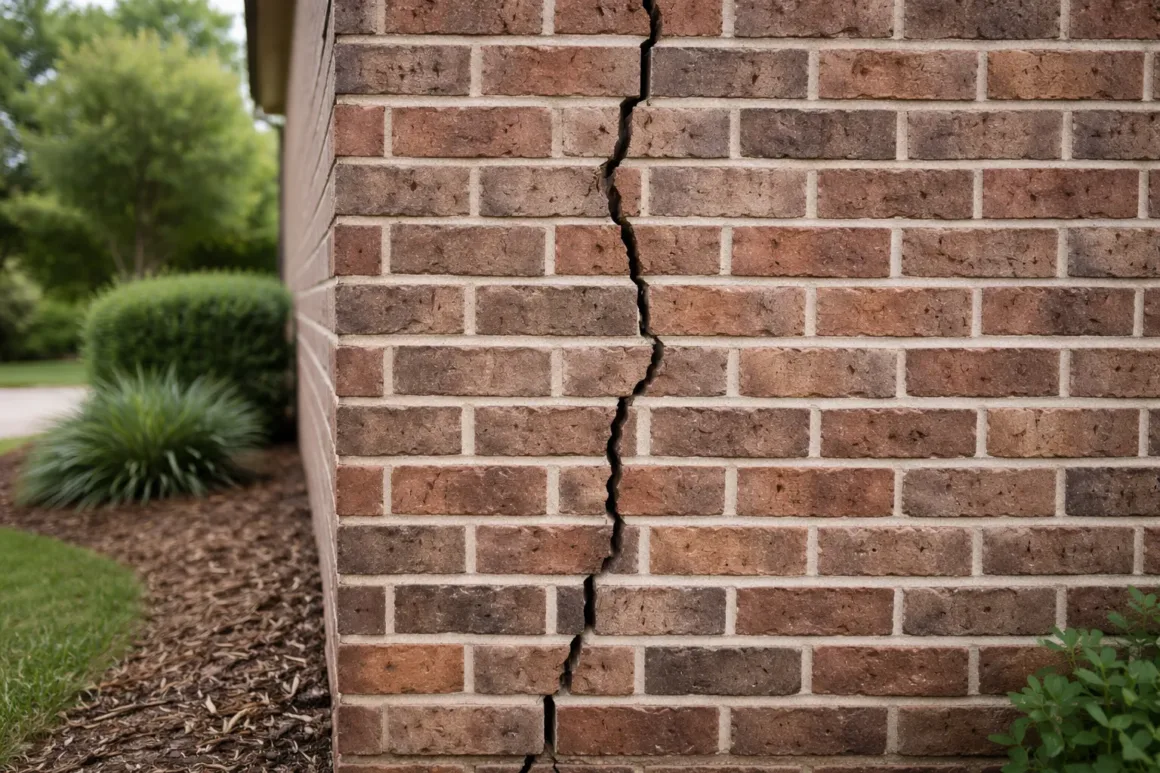
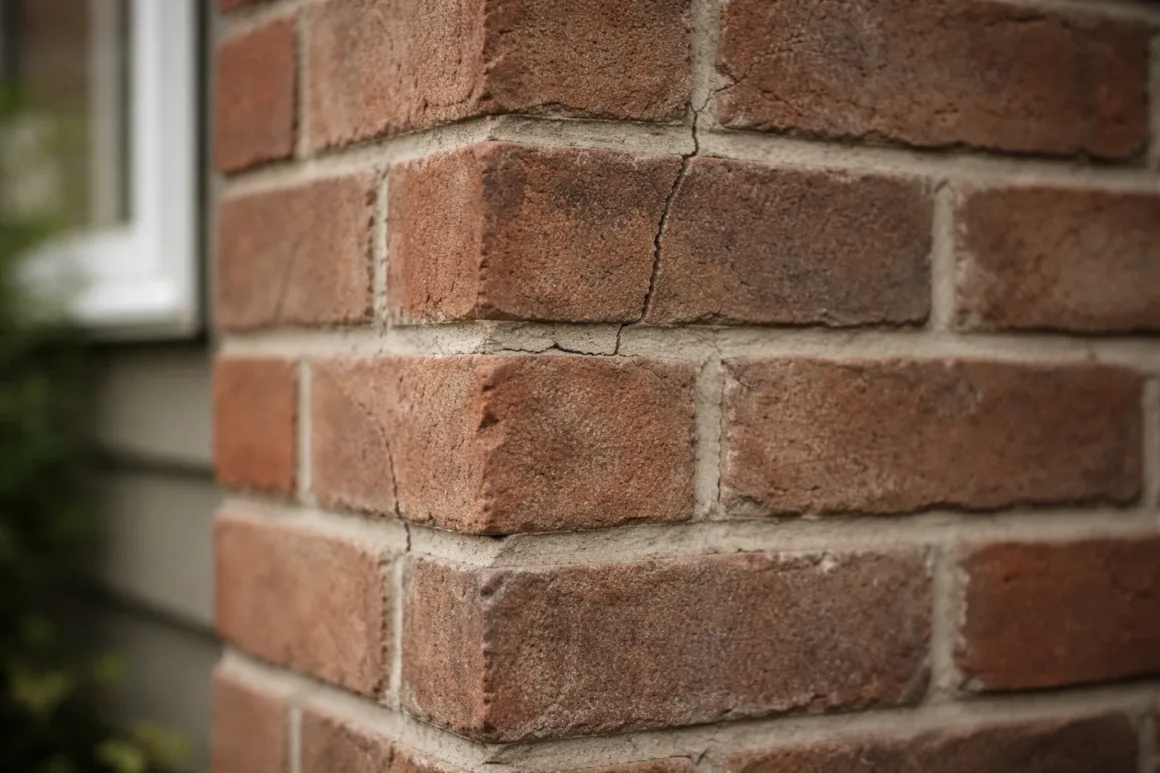
If the crack in your brick wall is thin and hasn’t changed over time, you can usually repair it yourself. But if it’s widening, forming a stair-step pattern, or running toward the foundation, that’s not a surface issue — it’s structural movement, and patching it won’t hold.
Most cracks look harmless at first. The mistake is treating all of them the same. Some stay cosmetic for years. Others quietly signal shifting underneath — and those are the ones that come back after you “fix” them.
The challenge is knowing which one you’re looking at before you try to fix it.
Quick check: If your crack is thin and unchanged, it’s usually cosmetic. If it’s growing or forming a pattern, stop — that’s structural.
Most people ignore small cracks until they come back. By then, the repair is no longer simple.
When You Can Fix a Cracked Brick Wall Yourself
Some cracks are purely cosmetic or limited to mortar joints — these are the ones that stay fixed after a proper repair.
- Hairline cracks that don’t change over time
- Cracks limited to mortar joints (not through the brick)
- Small, localized damage without spreading
- No signs of moisture buildup or foundation shift
In these cases, the goal is simple: seal the joint and keep water out. Left untreated, even small cracks allow moisture in — and that’s where long-term damage begins. If moisture is already present, address it first. Related: 5 Tips for Dealing with Water Damage after a Storm.
When You Should NOT Attempt DIY Repair
This is where many repairs fail before they start. Some cracks aren’t surface damage — they’re movement.
If these cracks have changed within weeks or months, that’s usually a sign the movement is ongoing — not something a surface repair will stop.
- Stair-step cracks running diagonally across bricks
- Cracks that continue to widen over time
- Long horizontal cracks near the foundation
- Cracks accompanied by sticking doors or uneven floors
These patterns usually point to settlement or pressure behind the wall. Patching them may improve appearance, but it won’t stop the cause. In many cases, they connect to broader wall issues. See also: What You Need to Do to Fix Cracked Walls.
Why Brick Walls Crack (And Why This Changes the Fix)
Not all cracks form for the same reason — and the cause determines whether your repair holds or fails.
- Settlement: Movement in the soil shifts the structure. These cracks tend to grow or repeat.
- Moisture: Water weakens mortar and expands with temperature changes, pushing joints apart.
- Temperature cycles: Repeated expansion and contraction create surface-level stress over time.
A common pattern: a small crack appears after heavy rain, gets patched, then reopens months later. In that case, the issue wasn’t the mortar — it was moisture pressure behind it.
If the cause isn’t addressed, repairs don’t last — no matter how carefully they’re done. Related: How To Restore the Colour of Faded Brick Exteriors.
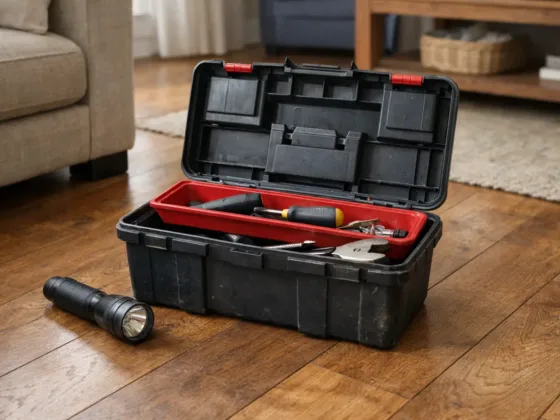
Tools You’ll Need for Minor Repairs
- Safety goggles and gloves
- Hammer and chisel
- Wire brush
- Raking tool
- Brick jointer or pointing tool
- Mortar mix (matched to existing color if possible)
The tools are simple — but skipping preparation is what causes most repairs to fail early.
How to Fix Minor Brick Cracks (That Stay Fixed)
1. Remove Loose Material
Clear out damaged mortar and debris. Any loose material left behind weakens the bond and shortens the life of the repair.
2. Clean the Surface
Brush out dust and lightly roughen the surface. Clean joints hold mortar better and reduce early cracking.
3. Dampen the Brick
Dry bricks absorb moisture too quickly. Lightly dampening them helps the mortar cure properly instead of shrinking and cracking.
4. Apply New Mortar
Press mortar firmly into the joint, but avoid overfilling behind the brick. Matching the surrounding joints improves both strength and appearance.
5. Shape and Finish
Smooth the joint and remove excess mortar. A clean finish reduces water entry and helps the repair blend in.
Why Brick Repairs Fail (Even When Done Carefully)
- Old mortar wasn’t fully removed
- Brick was too dry during application
- Moisture issues were ignored
- The crack was structural, not cosmetic
If the crack returns quickly, that’s usually confirmation: the repair addressed the surface, not the cause.
When This Becomes Expensive
Small cracks cost little to fix. Structural movement does not.
What starts as a simple repair can turn into structural work costing significantly more if the underlying cause is ignored.
Once cracks spread or reappear, repairs often shift toward drainage correction, foundation stabilization, or professional masonry work. At that point, delay costs more than action.
Final Thought
The real decision isn’t how to fix a crack — it’s whether it should be fixed at all.
If it stays stable, repair works. If it changes, spreads, or returns, the crack is doing its job: showing you where the problem actually is.
Author & Editorial Review
Author: Perla Irish is a design and home-focused writer covering interior materials, everyday homeowner decisions, and real-world performance of residential finishes in consultation with licensed contractors and industry standards where applicable. Her work emphasizes clarity, practical context, and long-term usability over trends or transactional advice.
Editorial Review: This article was reviewed by the DreamlandsDesign editorial team with a focus on homeowner decision-making psychology, behavioral context, accuracy, and long-term relevance. Content is evaluated to ensure balanced explanations, clear intent, and alignment with Google Helpful Content and E-E-A-T quality standards.
Last updated: April 2026