Table of Contents Show
When you are renovating your home, you will want to ensure the safety of your belongings throughout the process.
Now, the task of putting your belongings away for safekeeping seems quick and easy.
However, it can prove extremely challenging, especially when you are about to clear out your kitchen, which is probably almost always the most cluttered room in a home.
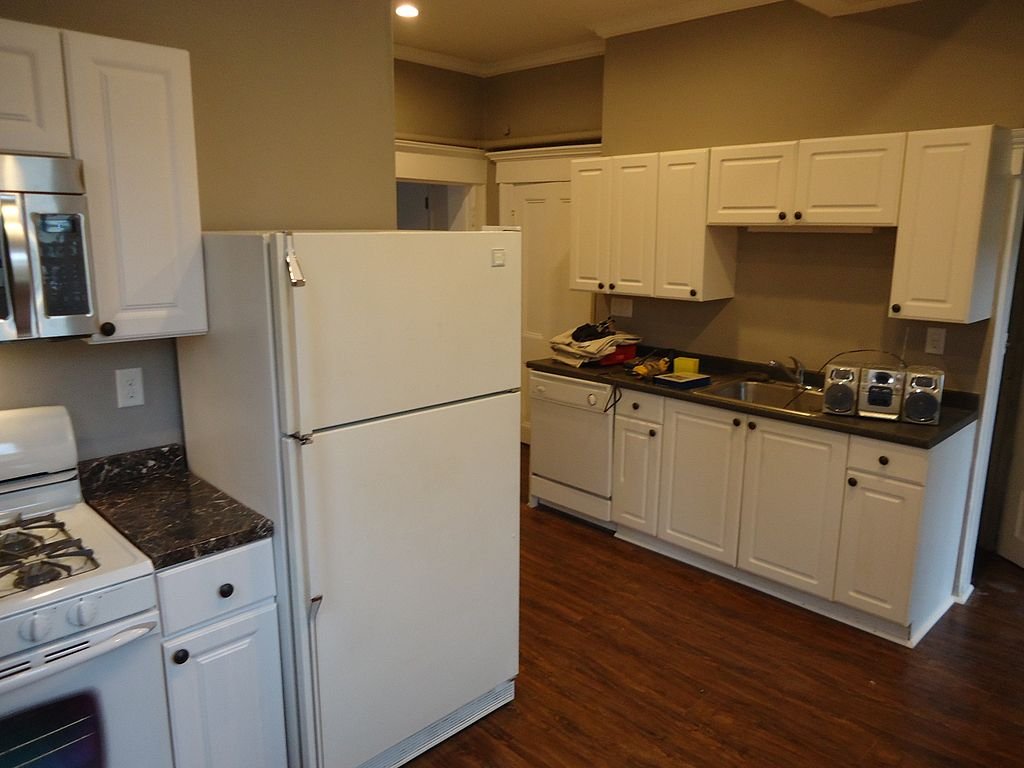
It is even more challenging if you live in a city like London, where space is an issue in most homes.
Fortunately, though, there is a way to guarantee the safety and security of your items while a renovation team works to improve your kitchen, and we will be walking you through this very process with the help of this step-by-step guide. Here’s how you can do it:
7 Steps in Keeping Your Stuff Safe During a Kitchen Renovation in Your London Home
Step 1: Declutter and Segregate
Before anything else, you will want to go through every drawer, cabinet, and cupboard in your kitchen. Sort these belongings depending on your need or desire for them.
Put the items you regularly use in one pile, the things you think you’ll be using in the near future in another, and the stuff you no longer want or need in a third pile.
Set aside the items in the first pile, and go through the items in the second pile again. Determine which items you actually still need and which things you’re only holding onto for the sake of it.
Once you have determined which items you won’t need, add those into the third pile, which you may label as the “dispose of” pile. These are the items that you may choose to donate, sell, or throw away.
After setting those aside, go back to the items you have chosen to keep and determine which of those you deem as essential.
Essential items would typically include those you and the rest of your household will still use while the renovation is ongoing. (i.e., silverware, plates, bowls, pots and pans, glasses, etc.)
Read more about the benefits of decluttering before a home renovation here.
Step 2: Make an Inventory of The Things You Want to Keep Safe
Once you have identified your essential kitchen items, you may start making a list of all the kitchen tools, equipment, and appliances you will want to store and keep safe during the renovation.
Having this list ready will make it much easier for you to keep track of the things you put into storage and will also make it much easier for you to gauge the type of storage space you will need for your belongings.
Read Also:
- For the Builders in London the most Important thing is Increasing the Space and Functionality
- Why Damp Proofing and Basement Waterproofing are Big Businesses in North London
- Designing Your Kitchen Cabinets | London Kitchen Cabinets
- Is It Better to Buy a House or Build One in London?
- Factors to Consider When Looking for Storage Units
Step 3: Look for a Suitable London Self-Storage Unit
Next, you may start looking for a place to store your belongings. In areas like the Big Smoke, there are quite a few options as to where you can store your items.
However, the most common and probably the most practical choice would be a London self storage unit.
There are, after all, many different options for you to choose from, depending on your storage requirements.
For example, depending on how much stuff you need to store, you may choose from units of different sizes.
You will also have the choice between a regular unit and a climate-controlled unit, which is the best option if you are planning on storing some kitchen appliances.
You will also find that finding the best deals on storage units is easy, as long as you are patient enough to check out and compare more than a couple of storage facilities.
Step 4: Find High-Quality Packing Materials
It is crucial that you only use high-quality packing materials for your belongings. It will set you back a little more, but the extra expense will definitely make a whole lot of difference when it comes to the safety of your belongings.
This is because cheap packing materials are often flimsy and weak. That means using them for your stuff increases the chances of your items getting damaged or lost.
You wouldn’t want your electric juicer to get damaged just because the tape you used wasn’t strong enough to secure the bottom of your box, do you?
Some packing materials you will want to have on hand are cardboard boxes, bubble wrap, packing paper, packaging tape, packing peanuts, and box cutters.
Step 5: Pack Your Items Carefully
You will want to pack your belongings carefully. That means making sure all fragile items are properly packed and covered before being packed into a box.
It will also be essential to make sure that you do not stack anything on top of breakable or expensive items. You may even use dividers for mugs and glasses to make sure that they do not bump into each other while in transit.
As for your kitchen appliances, it would be best to pack them into the box they came in. However, if you no longer have these boxes, it would be best to pack them into appropriately sized boxes.
Moreover, you will want to stuff any excess space with crumpled paper or packing peanuts to minimise the vibrations and movement inside the box.
If you wish to provide extra protection for your items, you may also wrap your boxes in cling film once they have been sealed shut.
Step 6: Label Your Boxes Efficiently
Do not forget to label your boxes legibly and accurately. Make sure to include the category of items in the boxes (i.e., dinnerware, baking tools, drinking paraphernalia, etc.)
If necessary, do not forget to label your boxes “fragile.” After all, you wouldn’t want to lose or damage anything due to mishandling during transport.
Lastly, do not forget to put a label on all sides. Larger boxes are especially difficult to manoeuvre around when you are carrying them and want to find out what each box contains.
Step 7: Ensure Your Items are Delivered Safely
Lastly, make sure that your items are being handled and delivered as safely as possible. That means hiring professional movers to help you out or coordinating with your storage company regarding their pick-up services.
After all, they have the experience and the training to handle your items with the utmost care.
As an extra precaution, it would also be ideal to purchase storage insurance coverage for the items you wish to keep in a storage unit temporarily.
Now that you’ve gotten a clear idea of what to do to ensure the safety of your kitchen items during a kitchen renovation do make sure to never settle for the first storage company you find.
Again, you must compare several quotes presented to you before settling for one. Meanwhile, here are some Kitchen Cabinet Painting Tips you will want to keep in mind.


