Table of Contents Show
Aqua culture makes some of the best aquarium air pumps on the market. They are also some of the cheapest air pumps on the market. Make sure that the pump you are buying is a higher level than your pump.
If you buy an air pump that has less power than your aquarium, then that pump won’t be able to work with your aquarium.

In this guide, we will learn how you can install an aqua culture aquarium air pump easily.
Do You Need an Air Pump?
Most people think the air pump only adds ornamental value to the aquarium. While that’s true to some degree, you still can’t overlook the benefits of installing an air filter in your aquarium.
An air pump improves the water circulation of an aquarium. It results in a wider surface area. If the water circulation is better, there won’t be any issue regarding dissolved oxygen in the water.
Read Also:
Fish Can Survive Without an Air Pump
That doesn’t mean you shouldn’t install one. When the surface water of the tank is agitated, oxygen enters the water. This pushes the oxygen deep down in the water. Which your fishes will breathe.
When you into a holiday, you can add more foods, or leave a trap of some sort that will release the food every day. But you can’t agitate the water or change it.
The oxygen level in the water will begin to come down. If that happens fish will stress and that can lead them to their death.
An air pump can prevent this catastrophe.
How to Install and Set Up an Air Pump for Your Aquarium
Just follow these steps 1 by 1 and you should be able to install a brand new air pump in your aquarium.
Step 1:
Find the best possible location to set up the air pump. You don’t need a large space for this. But you need a decent space to work with the tubing. If something happens you want easy access to the air pump.
Step 2:
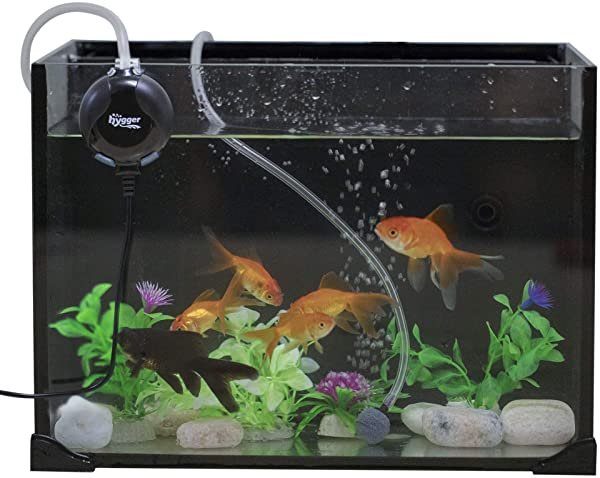
There are two tubbing connectors on the top of your air pump. You need to connect both of the tubbings. make sure the tubbing is long enough to reach the tank. Don’t cut it beforehand. You can trim down the tube later but you can’t use it by taping two tubes together.
Step 3:
Connect an air stone inside the air tubbing. The air stone stays underneath the water, hiding the entry point of the air pump. This way your fishes won’t be able to find the tube and go inside it.
Step 4:
For safety reasons add a check valve. A check valve is not a necessary item. But it’s recommended and it’s well worth the investment. It doesn’t cost that much either. You need to cut the tubbing outside the aquarium. After you cut the tubbing, place the check valve in between the cut.
Make sure you are facing the right way towards the air pump. If you installed it in the wrong pattern, the pump won’t work. You can go back and flip the check valve to fix this issue.
A check valve prevents the water from going back inside the tubbing if there is a power outage. You don’t know if there is power or not if you are outside the house. That’s why a check valve is an important item.
If you have a way of running the air pump 24/7 then you can get by without using a check valve. Honestly, it’s not worth the risk.
Enjoy your freshly installed air pump. Cause I know the fishes are enjoying it.


