Table of Contents Show
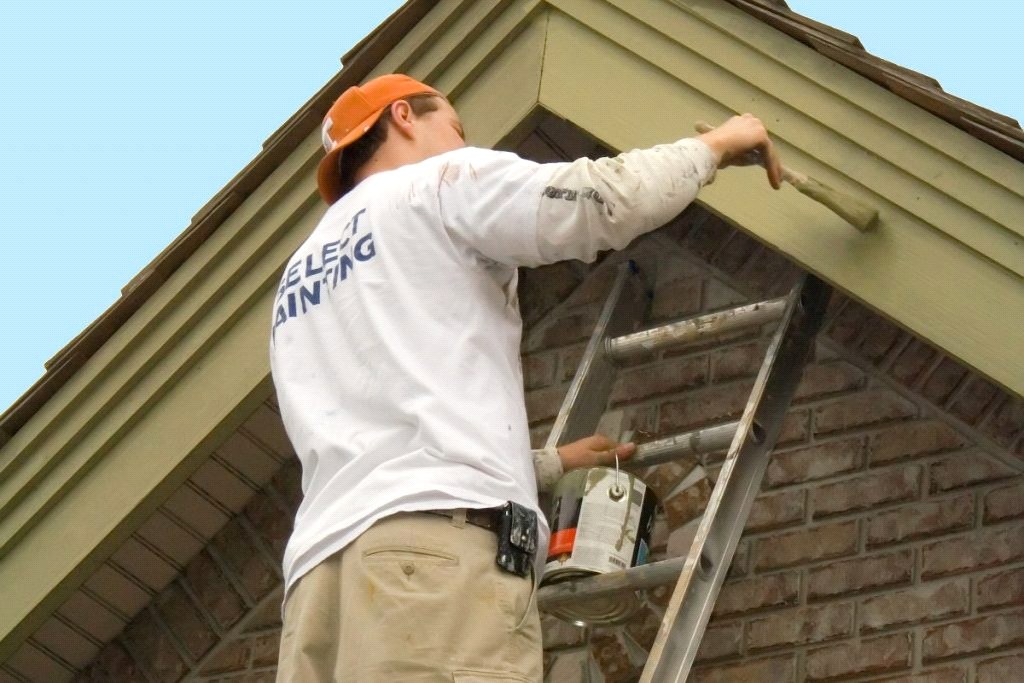
Applying a fresh coat of paint is the easiest and the most effective way to improve the exterior of your property. A new paint job brightens up your exterior walls and makes them look tidier and attractive.
Have you ever wondered how to paint an exterior wall on your own? There are a lot of factors that you need to consider before proceeding with this DIY project.
For instance, you need to pick the right paint, properly prepare the wall surface, and consider checking the humidity and the weather conditions for getting the perfect results.
In this detailed article, you will learn how to nail all the steps involved in painting an exterior wall and get the property decor of your choice.
This DIY article is fit for all homeowners and property owners who want to get the professional brightness and glitter for their exterior walls all by themselves.

Steps Involved in Painting An Exterior Wall
Read Also:
Step 1: Choosing the Right Type of Paint
Before beginning to paint the exterior walls of your property, you need to find the type of paint best suited as per the climate.
You should keep in mind the humidity, warmth, and dust that the paint will be exposed to. For this, the best choice would be to use specialist exterior masonry paint.
This type of paint is available in a wide variety of colors and gives great protection against harsh weather conditions such as harsh sunlight, prolonged rain, dust, and heavy snowfall.
Next, you need to make sure that the color that you’re going for is well suited.
If your walls are attached to your neighbors, then you should choose a color that matches the color of the neighboring walls lest you want your property to stick out peculiarly. One of the most common color combinations for exterior walls is white and cream.
While it is a pretty attractive combination, you need to keep in mind that it also makes even the tiniest speck of dirt visible and tends to get dirty more easily.
Check the square meter coverage of the paint and buy 10% more paint than required for covering your exterior walls. This is to allow for soaking by the walls and painting equipment or any spills.
Step 2: Preparing the Walls for Painting
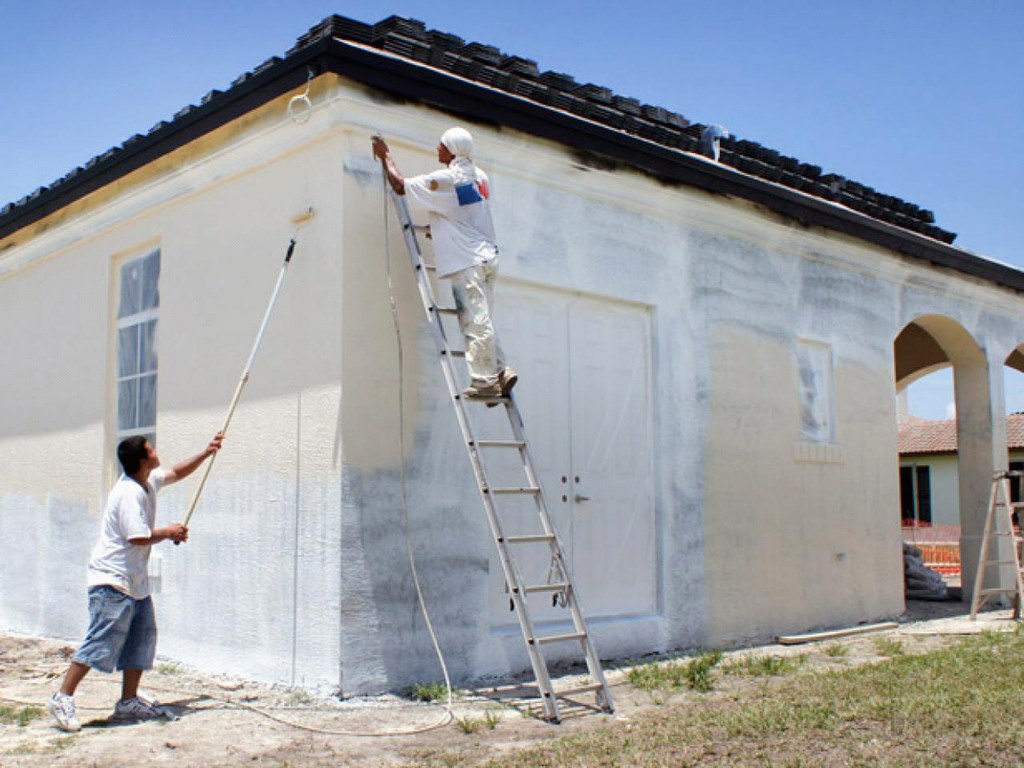
Now comes the most important part – prepping up the walls before painting. This is the most important part of the process as failure to prepare the surface adequately will cause the paint to not adhere to the surface properly and then fall off as flakes upon drying.
Therefore, the walls must be clean, dry, and free from any previous paint patches before starting the paint job.
If you’re painting over a previously painted surface, use a wire brush or a pressure washer to remove any paint patches that are flaking off. You should remove any mold or dirt from the walls with the help of a wire brush and bleach and water solution.
Use an exterior filler to remove any cracks that maybe they’re on the wall. Remove any climbing plants and trellises from the bottom of the walls and line the bottom part with the filler.
Then wash down the walls with bleach and water solution and let it dry completely before proceeding to paint.
Use a wire brush to scrub off any mold or dust from the surface of the wall and then wash the wall with a solution of bleach in water. Brush down the walls to remove any dust, dirt, and cobwebs.
If you’re painting over a previously painted surface, scrape off any flaking paint using a wire brush. Fill in any cracks or depressions with the help of an exterior filler.
You need to ensure that the wall surface is completely smooth for an even and smooth end result. Make sure that the surface is completely dry before you start painting.
Then mask all the areas where you don’t want to get the paint on, like the door and window frames or the address board with thick coats of newspapers or masking canvas.
If your walls directly face the street, then put up signs to let people know that the paint is wet and they need to avoid touching the walls.
Step 3: Painting the Walls
Now comes the final part of painting your walls. For all paint works, always make sure to start from the top and proceed to the bottom as this will allow you to catch up on any drips.
If you’re painting on a new wall or an old and flaky one, apply a base coat of stabilizing primer before moving on with the paint job. Doing this will give the paint a better cohesion with the wall while ensuring that the wall doesn’t absorb too much paint.
After the primer coat has dried up, you can begin with painting the wall. First of all, use a small brush to cut-in around the edges and around the masked parts. Then paint the middle parts with a roller or a large brush.
Make sure that your brush or roller gets enough paint to apply a thick coat, but not so much that it starts to drip down. While painting near pipes, wrap them with old newspapers if you don’t want to get paint over them.
You must make sure that you finish up the entire wall in one go. Otherwise, there will be a visible line where you stopped for the paint to dry and started again. But if you use a paint sprayer tool for a wall painting job then you can do it quite easily.
The best way to ensure this is to start early in the morning and then follow the sunlight. This will make the paint dry off the walls quicker and give you an ample amount of time to cover the entire wall within the day.
Bottomline
These were the exterior wall painting processes adopted by experts. With the help of this DIY article, you, too, can add the professional finishing and sparkle to your walls on your own. Doing a paint job can never get easier.
