Table of Contents Show
Kitchen tear-outs in Hamilton fail long before contractors start swinging hammers. Homeowners routinely focus on quartz slab patterns and cabinet hardware, only to hit budget-destroying surprises when trades open up subfloors and load-bearing plaster walls.
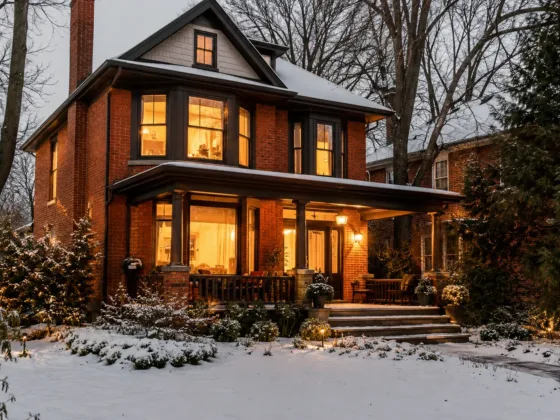
Executing kitchen renovations in Hamilton requires managing regional housing stock realities. Red-brick century homes in Westdale, Durand, and Kirkendall bring rigid structural masonry, knob-and-tube wiring, active galvanized plumbing lines, and undersized 60-amp or 100-amp electrical panels. Mid-century split-levels on the Hamilton Mountain present load-bearing partition walls hiding central cold-air returns. Suburban builds in Ancaster and Waterdown demand different priorities: converting rigid closed floor plans into functional open-concept workspaces with dedicated pantry storage.
Working through structural, trade, and code parameters before demolition prevents job-site shut-offs, trade delays, and expensive change orders. Resolving these seven planning decisions before construction guarantees your project stays within budget and delivers practical long-term usability.
1. Map Functional Failures Before Looking at Cosmetic Samples
Selecting cabinet paint colors and backsplash tiles feels productive, but finish selection cannot fix bad physical layouts. Evaluating daily physical bottlenecks in your existing space creates the only reliable blueprint for structural redesign. Track routine meal preparation over two weeks. Document exact points where movement breaks down: refrigerator doors blocking basement doorways, dishwasher doors trapping a second person at the sink, or primary cookware stored ten feet away from the stove.
Draw a hard boundary between surface aging and structural dysfunction. Scratched cabinet doors and outdated laminate counters are cheap cosmetic fixes. Narrow traffic corridors, insufficient prep space between the sink and range, and poor work triangle geometry require complete layout restructuring. Spending funds on moving walls or utility rough-ins fixes how the room works; fancy finishes on a broken floor plan just give you an expensive, hard-to-use room.
Group your kitchen problems into two clear lists before talking to a designer or contractor:
- Layout Constraints: Work triangles exceeding 26 total feet, primary walkways narrower than 42 inches, appliance door collisions, and traffic routes that cross directly through the main cooking zone.
- System Deficiencies: Un-grounded 2-slot electrical outlets along counters, 4-inch exhaust ducts that fail current range hood CFM specs, low water pressure at the main fixture, or supply vents covered by base cabinetry.
2. Lock In Floor Plans and City Permits Before Material Purchases
Architectural drawings set the exact physical limits of your project. Clear movement corridors must run between your main sink, primary refrigeration, cooktop, and adjoining dining areas. Main walkways need a minimum width of 42 inches for single-cook spaces and 48 inches for multi-cook households to allow full clearance when appliance doors and deep pot drawers extend completely.

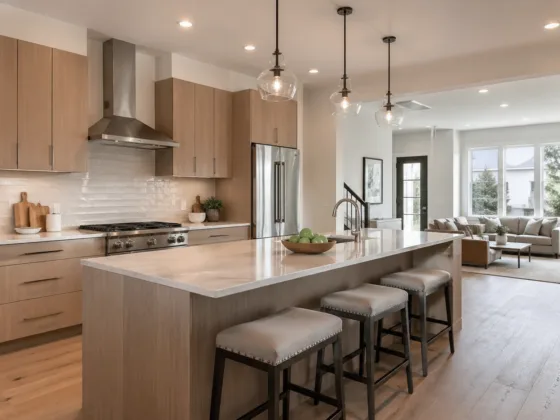
Center islands demand aggressive dimensional discipline. Homeowners want massive islands, but jamming an oversized box into a tight footprint destroys traffic flow and creates physical choke points. Review our guide on how to design a kitchen island that fits your needs to calculate accurate room ratios and clearance margins.
Structural alterations dictate municipal review schedules. Removing interior walls to create open views requires physical verification of load points. Load-bearing wall removals require stamped engineered beam calculations (Laminated Veneer Lumber or steel I-beams) and building permits submitted directly to the City of Hamilton Building Division. Pulling permits before scheduling trades prevents municipal stop-work tags, mandatory wall-plate tear-outs, and failed framing inspections.
3. Build Cabinet Storage Around Actual Inventory Measurements
Ordering additional upper cabinets does not guarantee an organized room. Storage performance depends on matching cabinet interiors to your physical items. Take tape-measure dimensions of your countertop appliances, heavy cast-iron skillets, baking sheets, stockpots, dry goods, and recycling bins before signing cabinet manufacturing contracts.
Deep base drawers beat traditional lower cabinets with fixed shelves every time. Full-extension undermount slides bring heavy pots straight out to you, ending blind reaching into dark 24-inch cabinet bases. Vertical dividers keep baking sheets and cutting boards standing up for instant access. Tall pull-out pantries maximize narrow 9-inch or 12-inch gaps next to refrigerators. Tailoring millwork to your exact gear turns cabinet boxes into high-efficiency storage systems.
4. Finalize Appliance, Electrical, and Plumbing Rough-In Specs
Appliance spec sheets dictate cabinet box dimensions, countertop cutouts, subfloor reinforcement, gas line sizes, electrical branch circuits, and duct paths. Purchasing appliances or securing exact cut-sheet documentation early prevents expensive site alterations after custom cabinets arrive.
| Appliance / Utility | Pre-Construction Spec Requirement | Job-Site Risk If Specs Are Missing |
|---|---|---|
| Gas / Electric Range | Dedicated CFM duct size (6-inch or 8-inch smooth pipe), 240V 50-amp drop or 3/4-inch gas supply line | Inadequate hood venting, failed electrical inspection, unsafe cabinet clearance tolerances |
| Refrigeration | Exact cabinet cutout depth, hinge-clearance allowance, recessed water valve box | Fridge doors hitting side walls, unit extending 4 inches past countertop edge |
| Dishwasher & Sink | 3/4-inch drain line slope, dedicated 15-amp GFCI circuit, shutoff valve locations | Rerouting PVC drains through finished cabinet bases, trenching concrete subfloors late |
| Counter Outlets | Ontario Electrical Safety Code (OESC) GFCI spacing (within 1.5m of sink), dedicated 20-amp circuits | Cutting tile backsplashes post-installation, failing ESA rough-in inspections |
Sequencing rough-in sub-contractors keeps work moving logically without trade overlap. Homeowners planning complete structural overhauls can consult our step-by-step breakdown on how to plan the perfect kitchen remodel to organize electrician, plumber, and HVAC site schedules efficiently.
5. Plan Hardwired Lighting Across Three Separate Zones
Single central ceiling lights or unstructured grids of ceiling pot lights throw heavy shadows across your main work surfaces. Daylight angles change significantly across Southern Ontario seasons. A room brightened by June sun needs targeted artificial task lighting during gray November mornings and dark winter 4:00 PM preps.
Separate your electrical lighting rough-in into three independent control switches:
- Ambient Ceiling Layer: Recessed 3000K LED pot lights spaced 4 feet apart along primary walking aisles to supply uniform room lighting.
- Hardwired Task Layer: Continuous LED strip lighting mounted under upper cabinet fronts, shining light directly onto prep counters without shadows.
- Decorative Accent Layer: Dimmable island pendants or sink accent lights wired on dedicated switches to set soft background light during mealtime.
6. Select Surface Materials Based on Abrasion and Acid Resistance
Natural stone veining and ultra-matte cabinet finishes look striking in showroom displays, but daily kitchen wear tests actual material durability. Prep counters, floor tiles, and cabinet doors take constant punishment from dropped cast iron, hot pans, splashing citrus acids, and water spills.
Test physical material samples inside your home under daylight and night lights before placing orders. Unsealed natural marble absorbs acidic wine, lemon juice, and coffee instantly, creating permanent surface etching. Engineered quartz and porcelain slab counters provide non-porous stain resistance that never requires yearly chemical sealers. For kitchen floors, luxury vinyl plank (LVP) or porcelain tile handles dropped items and standing water far better than real hardwood or cheap laminate.
7. Set Real Financial Targets, Contingency Funds, and Schedules
Kitchen renovations require substantial capital investments. Establishing realistic price points upfront keeps your project moving smoothly to completion. Get clear line-item quotes covering material orders, sub-contractor trade labor, municipal permit fees, and waste disposal before demolition starts.
Renovating older Hamilton homes means uncovering legacy structural and utility defects when drywall comes down. Expect hidden issues: uninsulated exterior wall cavities, rotted subfloors around old cast-iron stacks, open junction boxes, or legacy lead piping. Use our guide on setting a realistic budget for a kitchen remodel to set aside an untouchable 15% to 20% cash contingency reserve specifically allocated for structural or trade fixes.
| Project Renovation Scope | Average Cost Range (CAD) | Real Construction Duration | Primary Physical Work Included |
|---|---|---|---|
| Minor / Surface Refresh | $18,000 – $32,000 | 3 – 5 Weeks | Cabinet refacing, quartz counter swap, new backsplash, plumbing trim updates. |
| Mid-Scale Overhaul | $35,000 – $65,000 | 6 – 9 Weeks | New semi-custom cabinets, minor layout shifts, new flooring, updated appliances. |
| Major / Structural Remodel | $70,000 – $120,000+ | 10 – 16+ Weeks | Load-bearing wall removal, steel beam install, full electrical/plumbing rough-in. |
Frequently Asked Questions
Do I need a building permit for a kitchen renovation in Hamilton?
Cosmetic updates like swapping cabinets, replacing counters, or laying new floor tiles do not require permits. However, a City of Hamilton building permit is mandatory if you remove or modify load-bearing walls, relocate plumbing drain and vent stacks, or install a new electrical sub-panel.
When should I purchase my kitchen appliances during a remodel?
Finalize your appliance models and download exact manufacturer cut sheets before cabinet production begins. Cabinet makers require exact product dimensions, door clearance specifications, and utility location points to build custom cabinet frames correctly.
How much contingency reserve should I keep in my kitchen renovation budget?
Keep a dedicated 15% to 20% contingency reserve above your main contractor estimate. This reserve covers mandatory structural and utility repairs uncovered during demolition, such as rotted subfloors, uninsulated exterior framing, or outdated wiring.
Author & Editorial Review
Author: Perla Irish serves as the Content Manager at DreamlandsDesign. Drawing on deep experience across home remodeling, structural changes, and property maintenance, she bridges the gap between complex residential construction standards and practical, easy-to-follow guidance for homeowners.
Editorial Review: The DreamlandsDesign editorial team verified this article for building code accuracy, technical trade sequencing, and practical utility. Every section was audited to match current Ontario Electrical Safety Code (OESC) standards and City of Hamilton building permit regulations.