Table of Contents Show
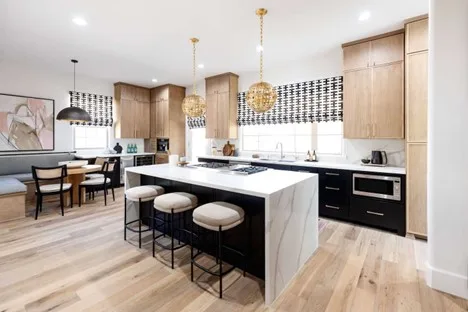
Without a doubt, the kitchen is an essential part of your house. It is genuinely considered the heart of a home because, in modern homes, the kitchen is not only a place that provides you and your family with delicious food and nourishment but is also a social hub where friends and family can hang out and have a ball.
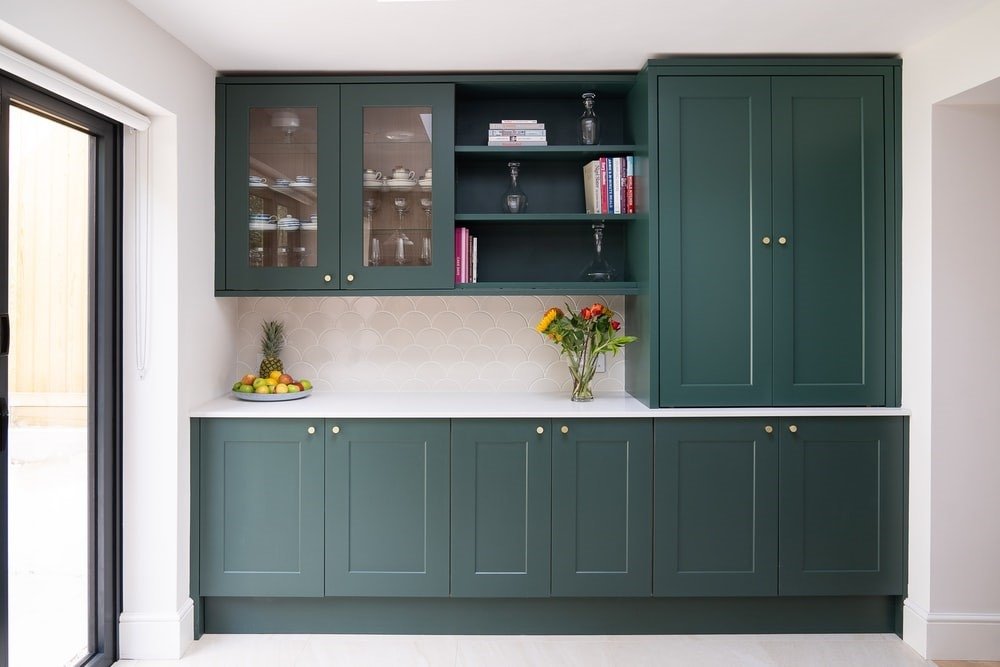
Since the kitchen is such an essential part of our homes, almost every homeowner’s dream is to make it both functional and aesthetic. The way most people try achieving those things is by focusing on the pure appearance of their kitchen.
However, this is not the correct way to go about things because what truly transforms a kitchen are intelligent design choices.
Cabinetry: the Backbone of a Superior Kitchen Design
Things like shiny new appliances and dazzling new countertops don’t even make a difference in most cases because they have nothing to do with intelligent designs. However, one thing that does make an immediate impact on your kitchen is your cabinetry.
Cabinets are one of the most prominent things in a kitchen since they form the basis for the structural foundation of any kitchen.
The way the function and the way they look can make or break a kitchen’s design, so they are known as the “biggest influencer” or “star” of a good and intelligent kitchen design.
The Unfamiliar Art of Kitchen Cabinet Refinishing
Unpleasant cabinets are one of the main reasons most homeowners remodel their entire kitchen. They decide to revamp the entire kitchen instead of just dealing with the cabinetry because they don’t understand the art of kitchen cabinet refinishing.
If you are reading this article, you also don’t like how your kitchen looks because of the outdated and deteriorating cabinetry.
However, we won’t let make the mistake that most homeowners make because today, we will unfold the art behind kitchen cabinet refinishing.
Read Also:
When and Why to do it?
So, before we get into it, let’s understand when and why to refinish your existing cabinets. The most common and apparent reason to refinance or refinish your cabinets is to save you a lot of money and time than having entirely new cabinets installed.
Not only would the hardware cost less, but you would also save money by hiring a crew of technicians as you can do this yourself.
However, before refinishing your cabinets, you should also consider the current cabinets’ state because sometimes the cabinets cannot deal with structural damages.
The Art of Refinishing
Now, let’s take a look at what you must do when refinishing your kitchen cabinets and make the most out of them.
1. Put On Masking for Kitchen Cabinets Refinishing
The first and the most important thing done before any refinishing is proper preparation. When you refinish your cabinets and paint them, you would need to protect all the surfaces adjacent to your cabinets; this will keep things tidy and save extra time and effort.
You can begin with putting the masking on the floor because the floors are the most prone to paint spills. After that, you need to put the masking on the surrounding surfaces and make sure that you’ve put masking tape to seal the edges.
Apart from the floor, it would be best if you also protected the nearby countertops and backsplashes.
2. Removing the Doors and Drawers
After masking most of your kitchen, the next obvious thing you would do after masking most of your kitchen is to remove the doors and drawers.
However, one thing recommended by most professionals is that before you remove your drawers and doors, you must permanently mark them. Even if all of them look the same, slight differences could cause you to pull your hair when you put them back on.
A tip would be to apply a piece of tape to them and then write a number on that tape. After doing this, you must also remove the hardware of one of these doors and drawers, such knobs, locks, and handles. Keeping track of the hinges and the assembly would also save you from future frustration.
3. Washing the Cabinetry
Cleaning and washing are one of the most overlooked parts of kitchen cabinet refinishing; however, people who do this know that they have genuinely unfolded the art of kitchen cabinet refinishing. Your cabinets must be clean before you paint them; this is done before any paint job and any sanding.
The best way to clean your cabinets is with dish soap or a degreaser; you can then clean them with scouring pads and rinse them with paint thinner. You must give special attention to the underside of your cabinets because surfaces above stoves are way dirtier.
4. Sanding Your Cabinets
Putting primer on the cabinetry is a vital part of cabinet refinishing; however, before doing that, you must make sure that the surface of your cabinets is plain and does not have holes and imperfections.
The right way to sand your cabinetry is by using medium-grit sandpaper; by medium-grit, the surface should be sanded with 100-150 sandpaper grit.
You can either do it with an electric sander or manually; however, if you do it manually, you must make sure that you do it with a light hand.
Gouging the word with a heavy hand could ruin the entire look of your cabinets, even after they are painted. After sanding, you must clean the sand with a damp cloth, and the cabinet should be left for a while to dry.
5. Choosing the Primer Wisely
Many people suggest that mixing water and oil is the best thing you can do; however, we disagree. Using an oil-based primer could be the best thing you can do for your cabinets; it works on natural wood, but it also helps fake wood look good. You can use oil-based and adhesion-promoting primers even if you are refinishing a surface like laminate.
6. Look For the Repairs
After applying the primer, you should make repairs; if there are any scars, marks, or holes, you can quickly fill them with spot putty or glaze.
7. Paint
Finally, it is time to paint. It is always recommended to pick a high-quality latex paint; however, you can always read online reviews and ask for recommendations if you don’t know what paint to pick. One more thing you must remember while applying the finish is that always paint in the direction of the wood grain.
Many people face a problem after they have painted is that they notice drips and runs after the paint has dried; however, you can take care of that by lightly sanding or removing them with a razor knife.
8. Apply the Paint and Primer Again
Finally, you can go over your doors, drawers, and cabinets once again and apply at least one more layer of primer and paint. This will allow you to give extra attention to the places that need it most.
9. Dry and Reconstruct
You would need to give your cabinetry some time to dry off; usually, 24 hours is enough; however, the longer, the better. After that, carefully reconstruct your cabinets so you don’t put any dents on them.
Final Note
As you can see, a lot of attention and effort goes into kitchen cabinet refinishing, which is why it is nothing less than art.
After doing all this hard work, you need to step back and take a moment to appreciate your refinished kitchen and admire your efforts.


