Table of Contents Show
Upgrading the walls in your home is an effective way to give them a fresh look. If you’re looking for a new option, limewash might be worth considering.
If you haven’t heard about limewash, it’s a finishing that boasts a textural veneer by adding sandstone aggregate.
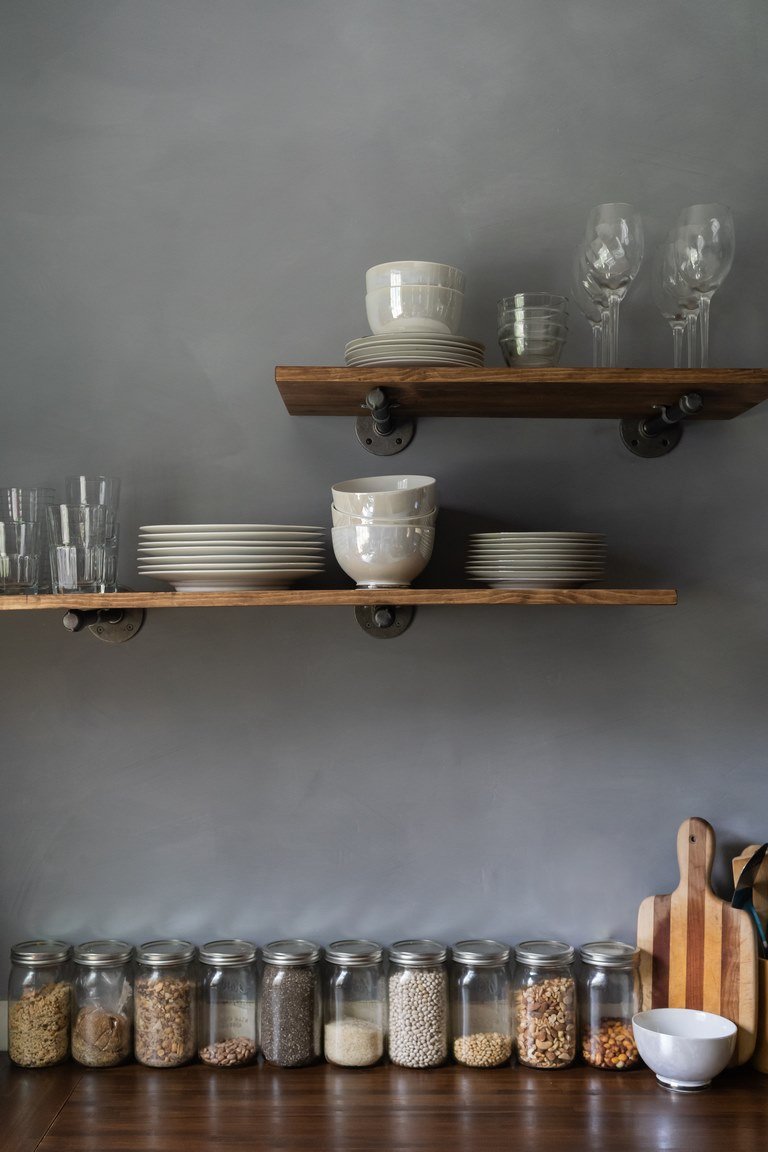
Generally, it has a chalky finish and appears to be more similar to putty than thin paint, though the walls with limewash are typically soft to the touch. Depending on the color you choose, it imparts a natural patina look that gracefully ages over time.
Limewash is a century-old technique that dates back to the Roman era and is originally derived from crushed limestone.
It quickly became a popular way to brighten up wood and stone. If you’re planning a do-it-yourself (DIY) project soon, you should look into available options at https://rockcote.com.au/ to find suitable limewash paint for your home.
Limewash may be a good choice if you want to give your home a distinct, old-world feel. Here are some pointers to consider if you want to attempt a DIY painting project with limewash.
What Is Limewash Made Of?
Limewash is a mineral-based mixture containing crushed limestone that has been burned and combined with water to form a putty.
The putty is left to age and thinned out with water. Natural pigments are added to add a touch of color. Once you apply limewash, it creates mottled and matte surfaces with a chalk-like texture similar to suede. Limewash gives depth and luminosity to a flat wall, making it stand out.
Limewash paint typically bonds well on porous surfaces such as brick. It’s most typically used to give bricks a chalky look. You can also use limewash paint on non-porous surfaces, but only with a specific primer.
Read Also:
Why Should I Use Limewash Paint?
Limewash paint can transform flat drywall into an interesting facade. When limewash is applied, it dries to produce an appealing weathered patina with subtle movement and natural color variation that softens and streaks over time.
Although the effect is subtle in lighter shades, color movement and variation are visible in darker shades. With its chalky, almost suede appearance and subtle shade contrast, limewash paint can give any space the depth of a textured wall without being physically flat.
What Are the Available Colors?
When it comes to colors, limewash mostly boasts an array of natural choices, but it’s off-white in its base form. The color options come with the addition of natural pigments, usually in shades of gray, brown, and taupe. It could be a good option for creating a neutral backdrop for your walls.
Previously, most of the finishes were earth-toned tones such as terracotta and ochres. Today, you have a vast selection of cream and white shades.
When selecting the colors for your home, it’s best to utilize samples and do testing first. Most brands now provide swatches or samples to assist you in selecting the best one.
The majority of homeowners typically apply limewash to the entire interior for consistency. You could, however, do an accent wall with limewash paint.
Where Can I Use Limewash Best?
An advantage of limewash is that it could be for indoor or outdoor use. Unlike regular paint, which only sits on the surface, limewash sinks, so it’s best to use it on porous surfaces like brick, stone, and plaster.
With this in mind, premade limewash with mineral-binding additives is ideally applied to drywall as long as the right primer is used, ideally an acrylic-based primer.
If you decide to apply limewash paint in a humid or highly frequented area in your home, provide it with extra protection by applying a sealer. Remember that lime is porous, making it vulnerable to constant exposure to water and dirt. Aside from protecting against water and dirt, a sealer will also make the walls easier to clean.
How To Apply Limewash Paint
As a mineral-based paint, you must first apply a special primer coat to ensure good adhesion.
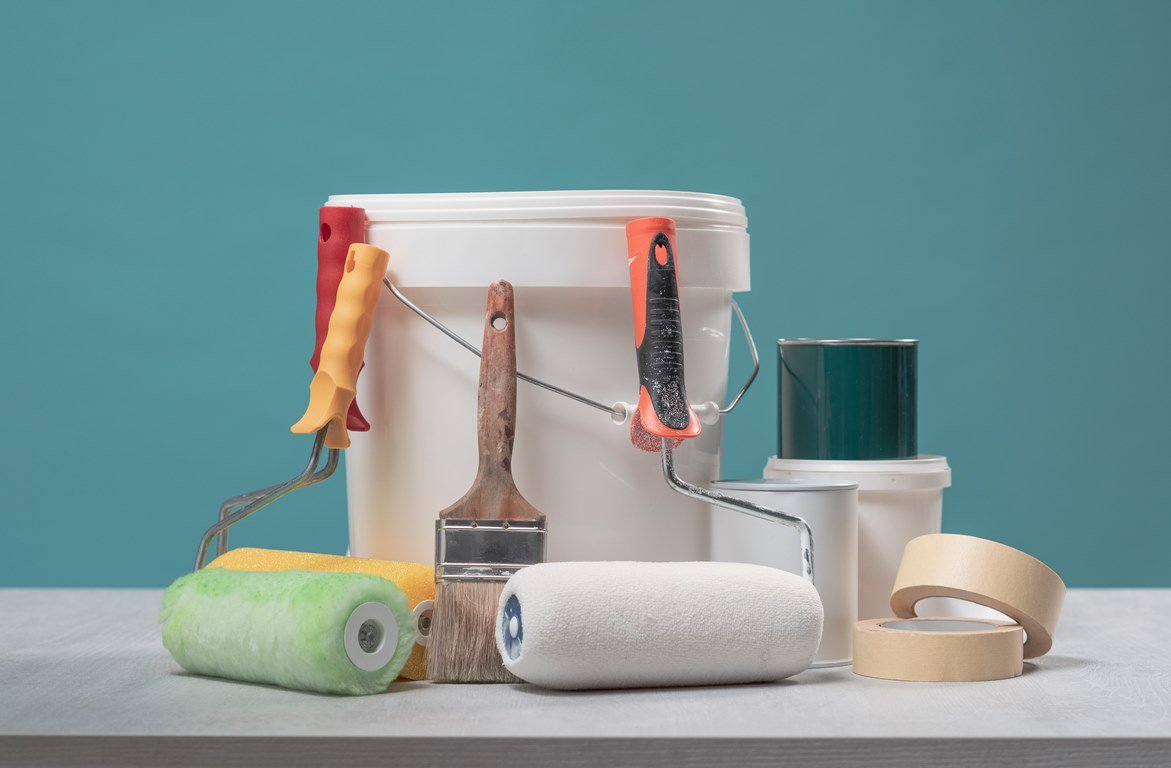
If you intend to do the paint job yourself, apply limewash in multiple thin coats with a long-haired brush or four-to-six-inch box brush to produce feathered strokes and define the texture. When working with limewash paint, avoid using a roller.
It’s best to start by testing your preferred color and pattern on a smaller area to see how it looks.
Is Maintenance A Requirement?
If you’re going to paint your walls with limewash paint, it only requires minimal maintenance. In general, it’s best to let it age gracefully because its textured appearance lends a rustic ambiance.
Cleaning limewash walls isn’t recommended since the shadowy effect helps conceal some of the scuffs and dirt on the surface. You can, however, use diluted limewash paint to touch up some areas.
Depending on the brand you’ll use, limewash paint can last for five to seven years before it starts to fade. You can freshen up by applying a fresh layer of paint.
Final Thoughts
Limewash paint might be the ideal choice if you’re planning to upgrade the look of the walls in your home. With its rustic charm and textured appearance, it can effectively transform any space’s ambiance.
Today, you can find limewash paint in a vast array of colors. If you’re about to start a DIY project, these helpful hints will ensure you get off to a good start with limewash paint and achieve the best results.
