Table of Contents Show
Basements are prone to get exposed to moisture and water due to their location. Water seeps into basements, mainly through the floor or walls. Too much water can affect the structural integrity of the basement, and, overall, your main house. Therefore, it’s essential to remedy the situation before it gets out of hand.

Moisture in your basement comes in the form of damp odor, mold, water pods on your floor, or efflorescence. Basement waterproofing is the solution you need to get rid of and control the area’s moisture.
There are various methods of waterproofing, which will be discussed in this article. Choose the technique based on the moisture source, the foundation type of your basement, and your budget.
Waterproofing your basement can be done both internally and externally:
1. Internal Waterproofing
This is a method used to deal with the moisture inside your basement walls and floors. Sealants and epoxy injections are some of the techniques used for basement waterproofing. Epoxy injections can fill the cracks and holes on walls and floors. The process also includes the joint between your floor and wall.
You can avail of services of a basement waterproofing company that can drill holes at intervals along a crack and inject the epoxy.
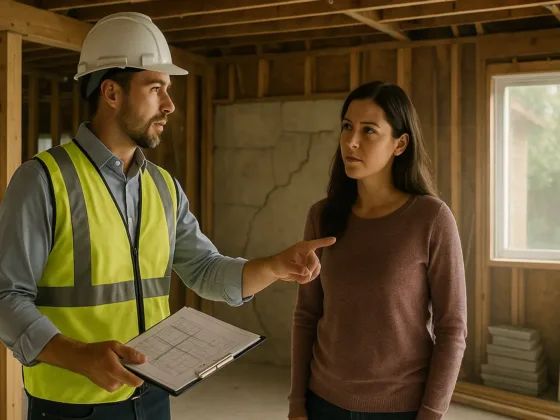
Drilling holes ensure the epoxy gets as deep as possible into your walls for effective waterproofing. It’s best to leave this task to professionals such as 58foundations since the injections need to be inserted at specific angles for proper waterproofing.
There are many sealants available for you to select. Apply a sealant, such as waterproof paint, once the cracks are filled. Paint your walls or floors in a thick layer to ensure it provides a good base.
Allow the surfaces to dry and reapply a thin second coat for extra protection. Sealants work by preventing moisture seepage and condensation and keeping the humidity levels in your basement low.
However, you should refrain from applying it on a painted wall or a wall with efflorescence. Efflorescence, which is a white form-like substance you see on concrete surfaces, occurs as a result of moisture.
2. External Waterproofing
External waterproofing prevents water from getting inside your basement. You need to expose the exterior foundation walls by excavating, which makes this method expensive. Application of polymers and membranes are some of the techniques used for external waterproofing.
A liquid membrane is applied by using a trowel, which gives it a smooth finish. Apply an extra layer of the liquid membrane for additional protection. On the other hand, you can spray polymers on the external walls of the footing.
Read Also:
3. Installing A Drainage System
Consider putting in place a drainage system if none exists or if the existing one is broken or clogged. A drainage system aims to drain away water from the foundation to prevent the possibility of water seepage.
You can install drainage both internally and externally. Inside your basement, dig a trench along the perimeter of its walls. Place a PVC drainage pipe and connect it to a sump pipe. Direct the sump pipe to drain the water collected from the floor to the outside.
For the external system, place the drain along one wall or on the perimeter of the basement wall, depending on the drainage situation. After pipe laying and coverage, ensure the drain directs water away from the foundation.
The drainage systems reduce the amount of water available that can seep into the foundation walls and find its way into your basement.
Some of the materials used in basement waterproofing are:
1. Polyurethane
Polyurethane is an organic sealant that you can use on your basement floor. It’s watertight and isn’t affected by weather changes.
It works best as a sealant since it spreads evenly on the surface, allowing seepage into cracks and filling them. Besides being watertight, it’s resistant to oil, as well as most chemicals and detergents.
Ensure you stir properly before application and avoid shaking the product. You need to apply three to four coatings for adequate thickness. Allow complete drying before each coat is applied and refrain from using dehumidifiers to quicken drying. Let the coat sit for two to three days.

2. Epoxy
Use epoxy for basement waterproofing. Epoxy is thick and hard, making it an excellent product for preventing water seepage from the ground. It can be totally solid, solvent, or water-based.
Apply the epoxy, starting from the farthest corner of your basement to the exit. Cover your shoes or wear special shoes to prevent footprints as you work on your floor.
It’s recommended to seek professional assistance to ensure epoxy is appropriately applied for effectiveness. Allow the floor to dry and give it two to three days before activities can take place in your basement.
3. Cementitious Coating
This powder is made of silica-based products, organic and inorganic substances, and sand. Mix this powder with a measured amount of water to form a paste. The paste is then applied to the surface.
The cementitious coating is easy to add. Hence, it’s preferred by most contractors for waterproofing during construction.
Conclusion
Although these methods are helpful for basement waterproofing, it’s crucial to prevent the problem before it occurs. You can keep water from entering your basement by having proper drainage systems and ensuring pipe leakages are repaired.
However, if you do see a small leak through a crack on your basement wall, have it checked out immediately. A small leak will eventually cause significant damage, so don’t go for quick fixes to solve the problem. Find the root source and use the appropriate method for waterproofing your basement.