Table of Contents Show
Whether you want to save a few dollars, or just want to install a door that didn’t come mounted on a frame already, you can build the DIY door jamb and frame yourself.
There are only a few parts and the cutting and machining are easy. We cover all the steps and get very specific in this how-to DIY door jamb project.
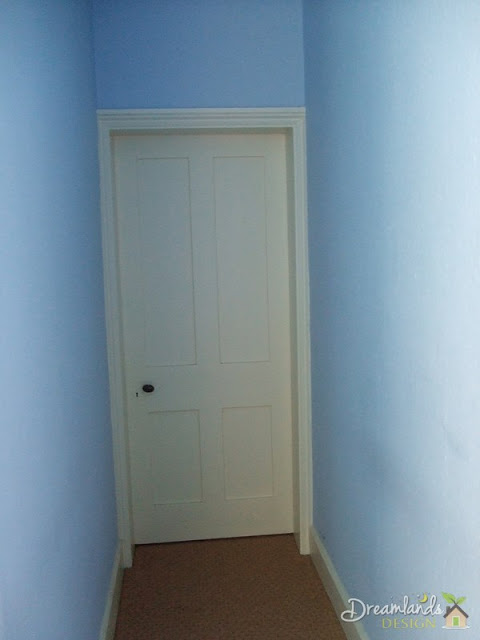
DIY Door Jamb, Installing Interior Door Jamb Construction
Door jambs are the pieces of the frame around a door. The frame includes the hinge jamb, the top jamb, and the latch jamb.
After the jamb is installed, the door is hung on hinges and the door stopper is added to complete the frame. Door Jambs are not all the complicated and an interior DIY door jamb is easy to make.
There are some very good reasons to make your own. You can use the same wood species for the jamb to match the wood trim in your house, and that used to make your DIY door.
Depending on the wood, this could potentially save you a fair amount of money. There are some wonderful doors you can purchase that don’t come pre-hung on a frame. Some are used but are so artfully crafted it makes sense to restore and use them.
In addition to the usual tools, you’ll need two specific tools for this project. A table saw to cut the stock lumber to size and a router with a 3/4-inch-straight bit. Let’s have a look at the details of how to build a DIY door jamb.
Read Also:
DIY Door – Jamb Stock
Select clear or select grade 1-by-6 lumber for most jambs, but use wider stock if necessary. Don’t use warped, bent or twisted stock.
It is not a bad idea to make your first jamb out of inexpensive clear pine, just to get the hang of it. Then you can move on to more expensive wood species.
A properly hung DIY door on a quality frame will never give you any trouble. A DIY door frame that wasn’t made with good materials will give you trouble over its entire life. Choose good materials for your DIY door jamb / installing a DIY door jamb.
Measurements – DIY Door Jamb
All but one of the measurements is based on the size of the DIY door and you should make careful measurements. You need to know the height, the width and the thickness of the door and you should measure them to an accuracy within 1/64 of an inch.
Be exacting. Also, measure the thickness of the wall the DIY door jamb will fit into; several measurements around the door opening will give you a good idea of the thickness. Most interior walls are 4 1/2 inches thick, but there are other thicknesses and you should measure.

The length of the side jamb equals the height of the door plus 3/32 inches, plus the thickness of your DIY door jamb stock, plus 3/4 inches plus 1/2 inch. This gives you the height of the two side jambs.
The 3/32 is the gap between the door and the top jamb, 1/2 inch is the gap between the door and the floor, and 3/4 inch is the distance the side jamb extends above the top jamb.
The length of the top jamb is the width of the door plus 3/16 inch plus 1/2 inch, or 11/16 of an inch. This includes a 3/32 gap between the DIY door and the side jambs, and two, 1/4 inch deep grooves, called dados, cut into the side jambs for the top jamb to fit into.
Do it Yourself Door – Machine the Lumber
Making accurate cuts is just as important as making accurate measurements. Be as precise in your cutting as in your measuring.
Set the fence on your table saw to the wall thickness, plus 1/16 of an inch. This gives you just a bit of room for walls that are out of plumb. Even if the wall leans, you still have to install the DIY door jamb plumb. Rip cut a piece of scrap on the saw and check the cut width to ensure you have the saw set up properly.
Make any necessary adjustments, then rip cut your stock to the correct width. Measure and cut all three pieces to the lengths determined earlier. Use a piece of sandpaper to slightly round the edges along with the rip cuts; rip cuts with a good blade can leave edges sharp enough to cut your skin.
Lay the two side jamb pieces side-by-side with the ends flush and the inside faces up. At one end, clamp a piece of scrap on either side of the two pieces. The two scrap pieces prevent damage from chipping and tearing as you start and end the groove cuts with the router.
Set up your router with a 3/4 inch diameter straight bit set to a depth of 1/4 inch. Clamp a straight edge across the two side jambs to use as a fence so that the bit will cut a groove 3/4 of an inch from the end of the boards.
Review your router owner’s manual if you are unsure how to make this cut. Put on your safety glasses. Hold the router firmly with both hands, start the motor and let it come up to speed.
Feed the router bit into the wood with the router base against the straightedge. Guide the router through the wood until it exits the scrap on the other side.
With the router already set up, now is a good time to use a template and cut the mortises for the hinge installation.
Assembly DIY Door Jamb
Stand the two side pieces on their edges with the faces towards each other. Fit the top jamb into the grooves. Measure the distance across between the two side pieces at the top jamb. It should be the width of the door plus 3/16 of an inch.
Measure from the top of one side jamb diagonally to the other bottom of the other side jamb, then do the measurement from the top of the other jamb to bottom of the first jamb. The measurements should be equal if the frame is square. The bottom ends of the two side pieces should be the same distance apart as they are at the top jamb.
Temporarily screw a piece of wood across the two bottoms of the side jambs to hold them the correct distance apart.
Remove the top jamb and apply yellow wood glue to the ends. Add more glue to the inside of the grooves.
Insert the top jamb into the grooves, recheck the assembly for square and place a clamp across the top of the frame to hold it together. Drill pilot holes through the side jambs into the top jamb, three on each side, and screw the side jambs to the top jambs. Wipe up any glue that squeezes out with a damp rag.
Remember to remove the scrap lumber at the bottom before you install the do it yourself interior door jamb.
After installing the jamb, attach the hinges to the door and to the jamb. Install door stop molding across the top jamb so the door will rest against it when closed. On the latch jamb side of the top jamb, the door stop rests flush against the door.
On the hinge side, place it about 1 dime thickness away from the door and maintain that space on the hinge side door stop.
The latch side door stop is a bit tricky. At the top and the bottom, hold the door stop tight against the closed door, but in the center near the latch, allow a nickel’s thickness of space between the stop and closed door.
The gap should open gradually from top to latch and latch to bottom. This puts a small amount of tension on the door and keeps it tight when latched so it won’t rattle or vibrate.
That’s how to build a DIY door jamb.
For any reason, if you do hire a carpenter or a general contractor to finish this job for you, then make sure they are properly insured and can prove that they are a bonded contractor by providing you with a construction bid bond.
Doors and Door Installation
Doors look good and work well when they are installed correctly. Incorrectly, they hang at angles, are hard to open and close, and might even swing open or closed on their own. Learn about doors and how to install them properly for a long-lasting, easy-to-operate door.
- Installing Prehung Door, How to Correctly Fit a New Door Jamb
- DIY Door jamb: Installing Interior Door Jamb Construction
- New Door Hinge Location and Installation
- Replace an Existing Door with a Pocket Door
References
- Photo of the Sitting room door, Admiralty House by Denna Jones at https://www.flickr.com/photos/dennajones/2321905013
- “Finish Carpenters Manual”; Jim Tolpin; 2003