Table of Contents Show
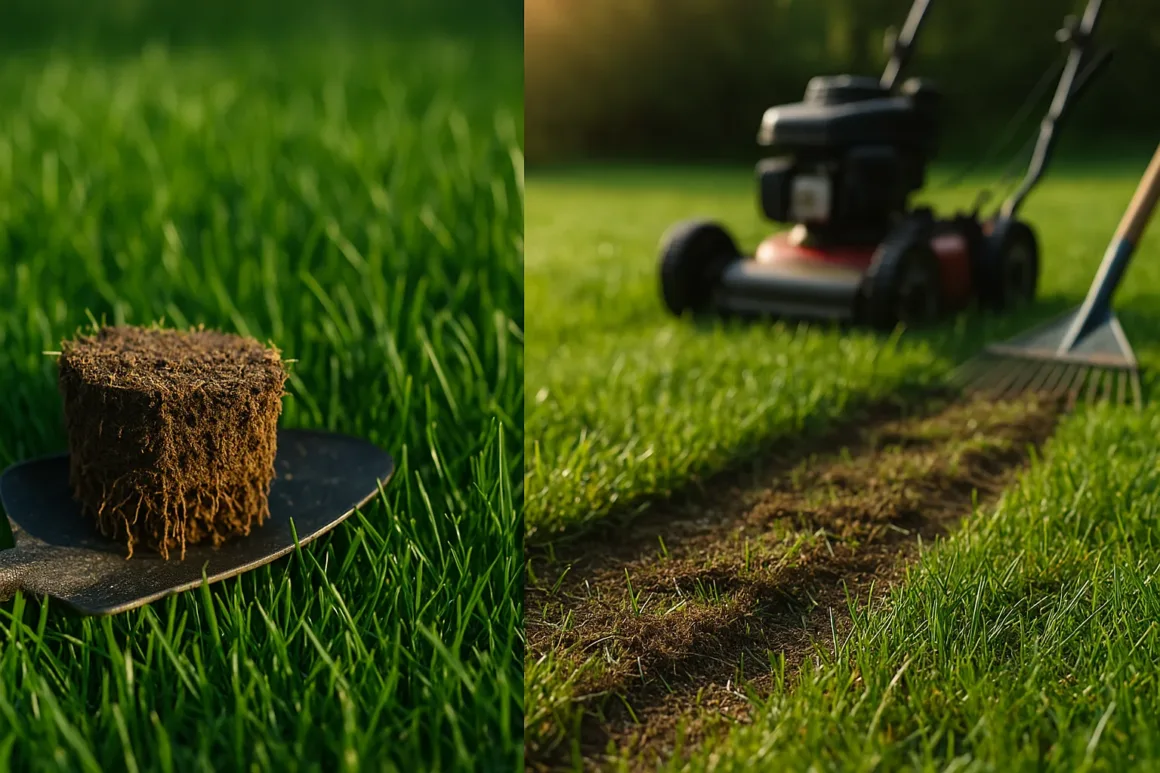
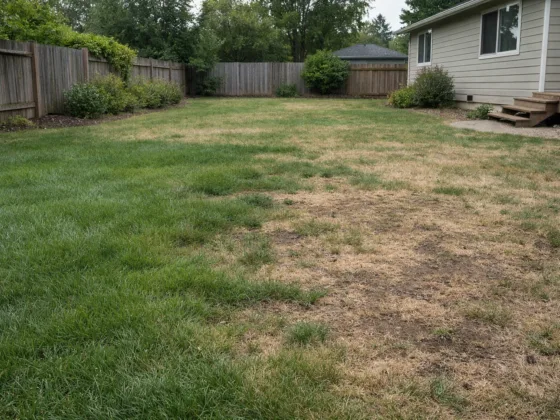
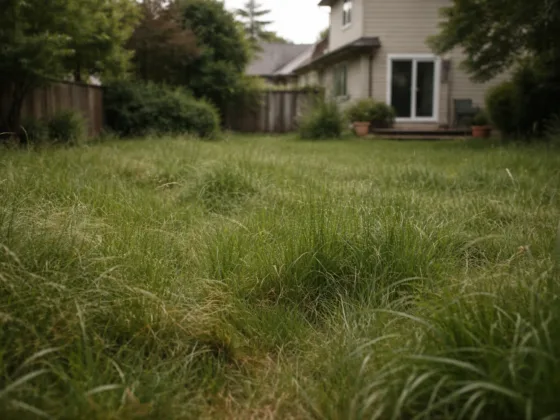
A spongy feel underfoot, little puddles that linger, uneven color—those are classic thatch signals. Instead of jumping straight to a “homemade liquid dethatcher” or a DIY contraption, let’s check whether dethatching is even necessary. If it is, we’ll pick a method that fits your yard (hand rake, mower kit, or tow-behind) and do it step by step without beating up the grass.
Do you even need to dethatch?
Quick plug test (1 minute): Slice out a small turf plug and measure the brown, spongy layer between green leaves and soil. Dethatch only if it’s more than ½ inch; a thin layer is actually helpful. See the threshold and test method from the University of Minnesota Extension.
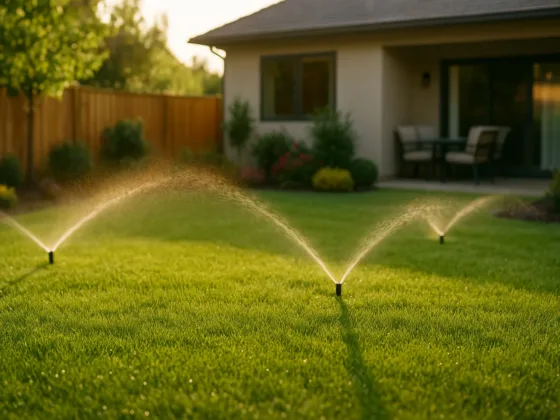
Prevention basics (so it doesn’t come back): Don’t overwater, go easy on nitrogen, core-aerate compacted areas, and topdress lightly with compost to keep soil life breaking down thatch over time. Physical removal vs prevention is summarized by Penn State Extension.
New to lawn care? Start with 5 Basic Lawn Care and Maintenance Tips and How to Get a Lush Green Lawn for the fundamentals.
Best timing (so the lawn bounces back)
Dethatch while the grass is actively growing—this is your built-in recovery plan.
- Cool-season lawns (fescue, Kentucky bluegrass, rye): late summer to early fall; early spring is a backup window—verified by MU Extension.
- Warm-season lawns (Bermuda, zoysia, St. Augustine): late spring to early summer once growth is rolling—also noted by UC IPM.
Skip dethatching during heat or drought stress—injury risk spikes and recovery slows, per Penn State Extension.
Keep a yearly cadence with our Seasonal Lawn Care Tips checklist.
Choose your method (match lawn size, budget, and thatch depth)
1) Manual thatch rake (small lawns / spot fixes)
A spring-tine thatch rake is perfect for light layers and learning the “feel” of the process. Tool options and technique: This Old House.
2) Mower + dethatching blade (budget DIY)
Swap in a dethatching blade kit, mow short first, and make shallow, careful passes. Solid walkthrough: Family Handyman.
3) Tow-behind / pull-behind (mid–large lawns)
Rows of spring tines pulled by a rider/tractor lift thatch efficiently over wide areas. Option overview with after-care context: Illinois Extension.
4) Rental power rake / vertical mower (thick thatch)
When layers approach an inch, vertical blades or coring are fast and effective. Depth-control tips: Penn State Extension.
Step-by-step (applies to any method)
- Prep the lawn. Mow a bit shorter than usual and lightly water so soil is slightly moist (not soggy). This reduces tearing—pre-mow + moisture cue from Better Homes & Gardens.
- First pass = shallow. You can always step down; multiple light passes beat one aggressive pass, per Purdue Extension (PDF).
- Cross-pass. Make a second pass perpendicular or diagonally to even things out—demo in This Old House.
- Clean up thoroughly. Rake/sweep debris so it doesn’t smother new growth; dethatch before overseeding for best seed-to-soil contact, per BHG.
- After-care (2–6 weeks). Keep evenly moist, overseed cool-season thin spots, and resume normal feeding once seedlings establish—timing windows from Illinois Extension.
Finish the look with crisp edges—steal ideas from Cost-Effective Lawn Edging Ideas.
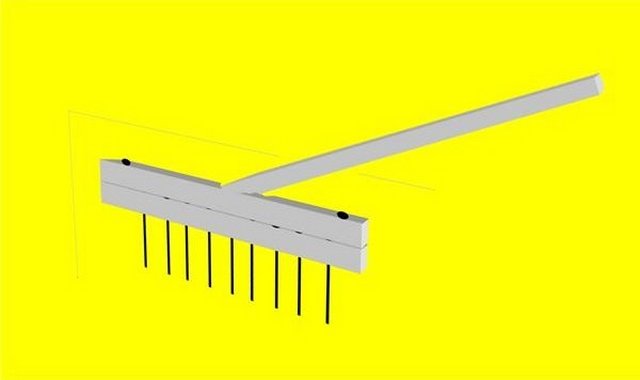

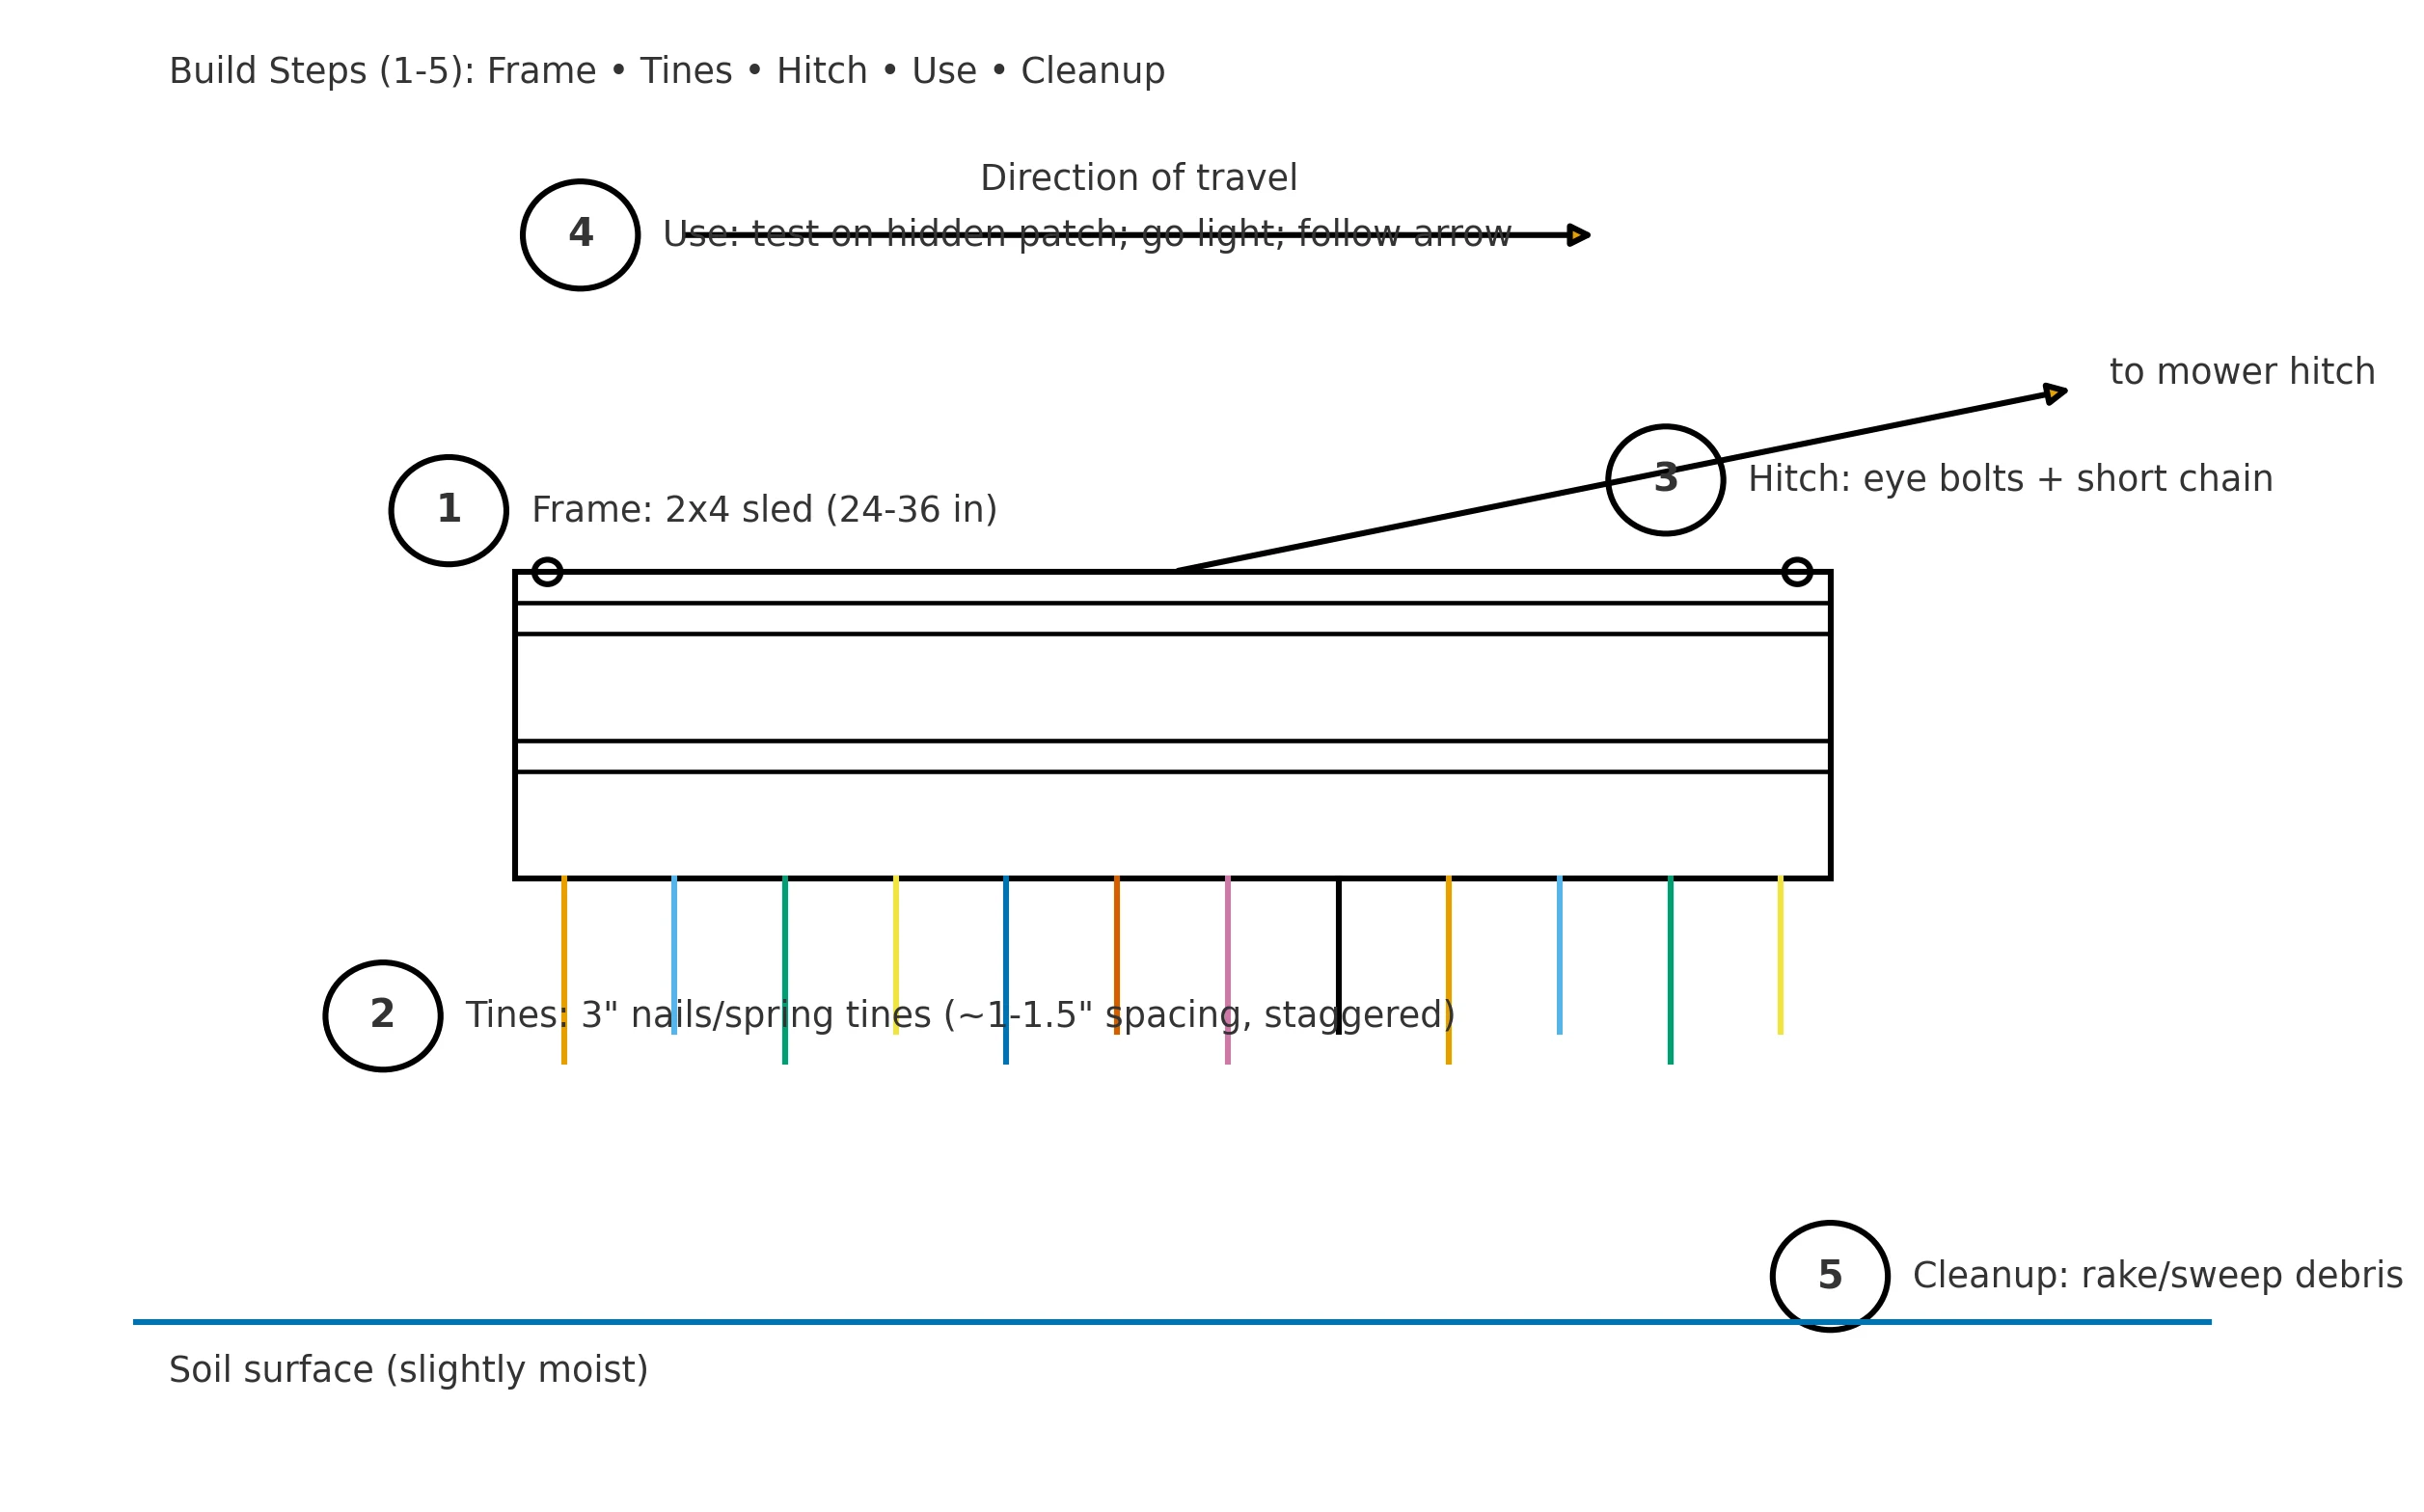
A simple DIY pull-behind dethatcher you can build this weekend
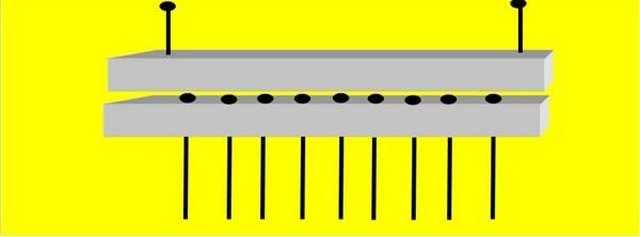
- Frame: Make a 24–36″ sled from two 2×4s with a pair of 1×4 stiffeners.
- Tines: Pre-drill and add 3″ nails (or spring tines) in staggered rows, ~1–1.5″ spacing.
- Hitch: Two eye bolts + a short chain to your rider/tractor; start with no added weight.
- Use: Test on a hidden patch while the lawn is slightly moist; add a small block only if the tines barely scratch the thatch.
- Cleanup: Rake up debris; if the lawn looks thin, overseed immediately (cool-season) and water lightly—overseeding timing per Illinois Extension.
“Homemade liquid dethatcher,” enzyme sprays, and other shortcuts—what the research says
Viral “tonics” (beer, cola, mouthwash, ammonia, dish soap) aren’t supported by turf science to remove thatch; soaps may act as wetting agents at best, and other ingredients can harm turf or soil biology. See the myth breakdown in UMN Turfgrass: Do liquid dethatchers work?.
Microbe/enzyme “liquid dethatcher” products can be part of long-term maintenance, but for thick thatch you’ll still need mechanical removal plus good cultural practices (aeration, compost topdressing). Physical removal remains the reliable route per Penn State Extension.
Safety & pro tips (so you don’t make it worse)
- Avoid dethatching during heat or drought; recovery plummets—see Penn State Extension.
- Flag sprinkler heads, shallow cables, and roots before you start.
- Start shallow; two light passes beat one deep gouge—best practice from Purdue Extension (PDF).
- On stolon-heavy warm-season lawns (zoysia, Bermuda), keep settings conservative and stick to the recommended season—timing guidance from MU Extension.
Keep momentum with Seasonal Lawn Care Tips and dial in everyday habits with 5 Basic Lawn Care and Maintenance Tips.
Quick answers to common intents (keywords woven in)
- How to dethatch / how to dethatch a lawn / how to dethatch lawn: Mow slightly shorter, work on a lightly moist lawn, choose a DIY dethatching rake, DIY power rake/vertical mower (rental), or a DIY dethatcher attachment (mower blade or tow-behind), make cross passes, then clean up and overseed—starter walkthrough at This Old House.
- Does liquid dethatcher work / liquid thatch remover / dethatcher spray / lawn dethatcher liquid: Not for heavy layers; treat as maintenance at best, not a substitute for mechanical removal—see UMN Turfgrass.
- DIY dethatcher / homemade lawn dethatcher / DIY pull-behind dethatcher / homemade dethatcher for riding mower: Build the simple sled above; tow lightly and only add weight if needed. For thick thatch, rent a vertical mower—details from Penn State Extension.
- Dethatching by hand / DIY thatch rake / DIY dethatcher rake: Great for small patches; plan extra cleanup and gentle after-care—see This Old House.
- Alat pembersih rumput (ID): yang dimaksud di sini adalah scarifier/power rake untuk mengangkat thatch—pakai saat rumput aktif tumbuh menurut UC IPM.
FAQ (People Also Ask)
How thick should thatch be before I dethatch?
Dethatch when the layer exceeds ½ inch; thinner layers are helpful. Use the plug test described in the article above.
When is the best month to dethatch?
For cool-season lawns, late summer to early fall (with early spring as a backup). For warm-season lawns, late spring to early summer once growth is vigorous.
Should I mow and water before dethatching?
Yes—mow a bit shorter and work when the soil is slightly moist, not wet; dethatch before overseeding for best seed-to-soil contact.
Is a “homemade liquid dethatcher” safe or effective?
Household tonics like beer/cola/mouthwash/ammonia/soap aren’t supported by research for removing thatch and can harm turf; rely on mechanical methods and sound cultural practices.
What’s the fastest way to clear heavy thatch?
Rent a vertical mower/power rake and make multiple light passes with thorough cleanup and gentle after-care.
Conclusion
Skip the miracle bottle and start with a plug test. When the thatch layer truly tops ½ inch, choose the gentlest method that fits your yard: a hand rake for small areas, a mower kit for quick coverage, or a tow-behind/power rake for thicker mats. Work in season, make two light cross-passes, clean up thoroughly, and give the lawn some TLC—steady watering and overseeding where it’s thin. That simple routine beats any quick fix and keeps your grass healthier for the long haul.
Think of dethatching as regular maintenance, not punishment. Done right, it opens the canopy, lets water and air reach the roots, and sets you up for a thicker, more even green-up. Keep the momentum with Seasonal Lawn Care Tips, dial in everyday habits with 5 Basic Lawn Care and Maintenance Tips, and finish with crisp borders from Cost-Effective Lawn Edging Ideas —so your hard work actually looks as good as it grows.
Author & Editorial Review
Author: Perla Irish is a design and home-focused writer covering interior materials, everyday homeowner decisions, and real-world performance of residential finishes in consultation with licensed contractors and industry standards where applicable. Her work emphasizes clarity, practical context, and long-term usability over trends or transactional advice.
Editorial Review: This article was reviewed by the DreamlandsDesign editorial team with a focus on homeowner decision-making psychology, behavioral context, accuracy, and long-term relevance. Content is evaluated to ensure balanced explanations, clear intent, and alignment with Google Helpful Content and E-E-A-T quality standards.
Last updated: April 2026


2 comments
If you are a beginner or have done some woodworking you will find these plans: http://www.bestquicktips.com/woodworking-projects easy-to-follow as the instructions are very clearly written. Even if you are a total newcomer to woodworking you will be able to master all the techniques that are needed and the woodworking skills very quickly.
What a great DIY guide on tackling thatch buildup in lawns! The homemade lawn dethatcher seems like a cost-effective solution for maintaining a lush green garden. It is also worth considering, before dethatching, mow your lawn slightly shorter than usual. This makes it easier for the dethatcher to reach and remove the thatch effectively. A shorter grass height ensures a more thorough job and promotes better overall lawn health.
Thanks,
Al Gardener