Table of Contents Show
Recliners are fantastic pieces of furnishing. It is comfy and doesn’t take a considerable amount of space.
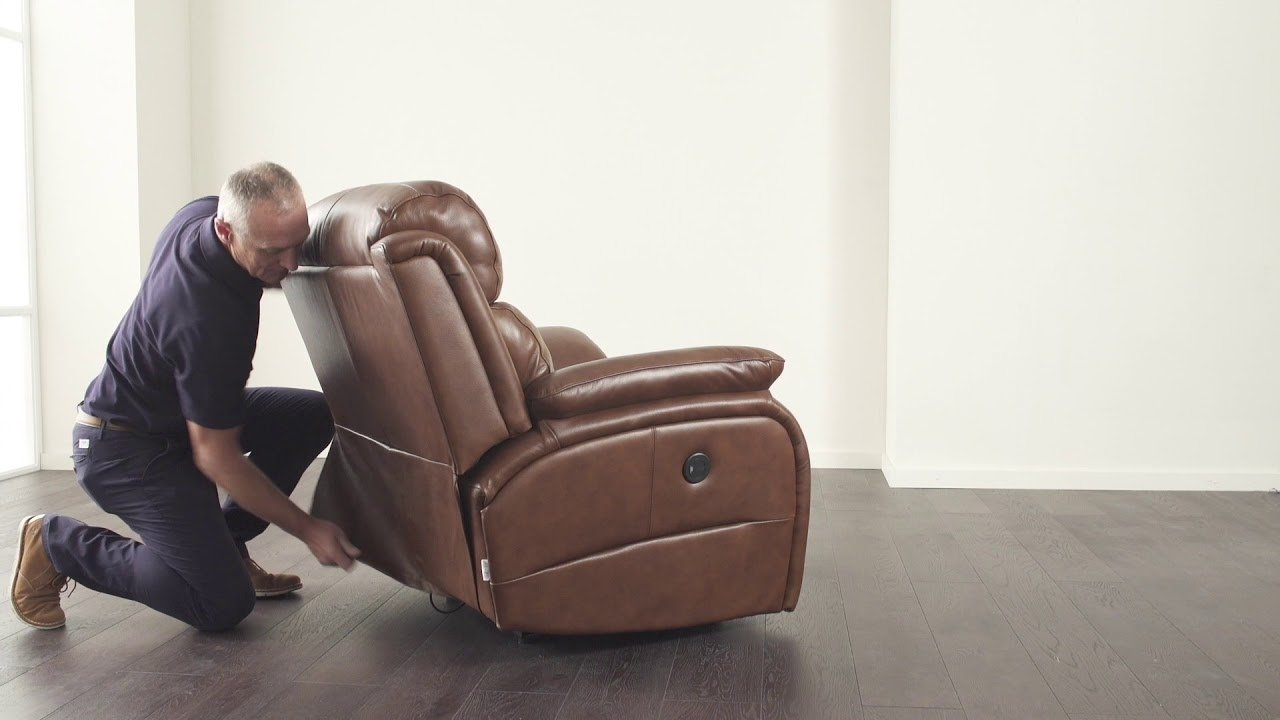
However, you will need to take a recliner apart if you move into another household.
What is a Recliner, and How Does it Work?
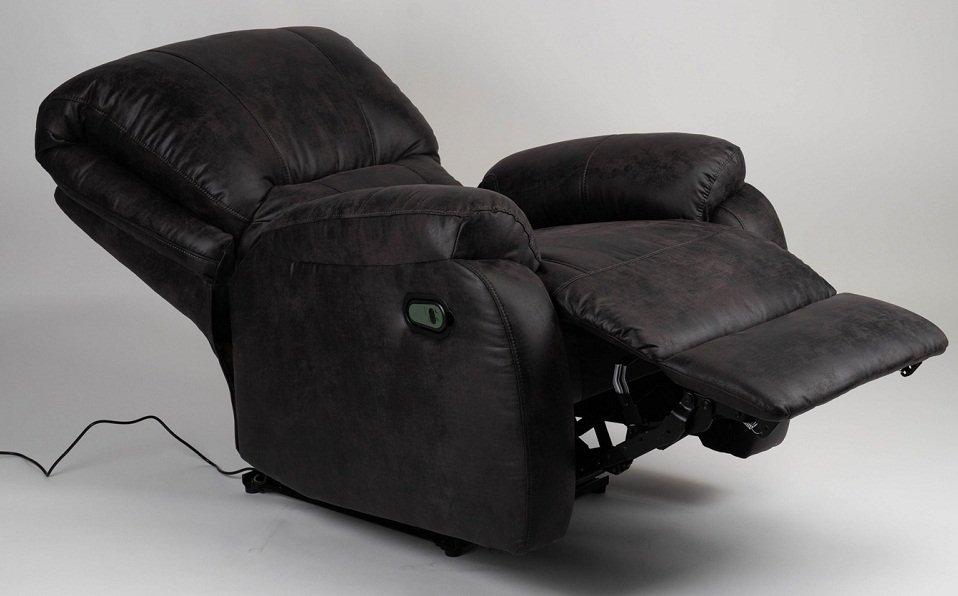
A recliner is a chair that lets you sit at different angles, i.e., it’s not just one apartment angle. There are two levers on the side of the mechanism that allows you to move the seat up or down.
While most recliners have adjustable feet, some models use an electric mechanism to adjust the level of your seat.
Assembling Your Tools
It will depend on whether your recliner has arms or not and if it is powered/not powered by electricity (in case you need to make adjustments).
If your recliner doesn’t have any electronic parts, all you should need is a pair of screwdrivers (Phillips and flathead) and maybe a hammer in case you want to get tough with the screws.
If your recliner has electronic components, you will need a screwdriver and wire cutters.
External and Internal Parts of Recliner:
External Parts
The recliner consists of the reclining mechanism and the chair’s external material.
There are two main types of recliner mechanisms: glider and tracking systems. A glider system is like a rocker board that has three to four wheels underneath it.
On the other hand, track systems have a continuous board that moves along a groove to recline. Both have their own merits, but it is best to find out which one your chair uses first before you begin taking it apart.
Internal Parts
You can also remove the fabric covering too if you want to. The internal parts include the frame, springs, and padding.
The frame is made up of wood or metal, depending on what makes up the recliner.
The springs are found underneath the padding and, in some cases, beneath the frame. The padding will likely be made of foam or duck cloth.
Read Also:
Step-by-Step Disassembling Guide
For the most part, recliners are easy to take apart. However, if you’re dealing with an older model, it’s possible that the feet might be attached via screws or bolts.
If so, don’t use tools right away because there is a possibility of damaging the screw heads. Proceed with caution and start by loosening the footrests.
1. Remove Arm Rests
Remove armrests if they aren’t already removed. Older models might have armrests connected via set screws, while newer ones will have adjustable arms using levers underneath them.
Either way, place a cloth over the lever and gently push it down to free up the armrest from the recliner mechanism.
2. Remove Backrest
Once the armrests have been removed, move on to the backrest by pressing down on the lever with a cloth in hand.
This will free up your recliner’s backrest so you can pull it out from under the seat. Pull them out and set them aside.
3. Remove Seat Cushion
Take off any material covering your recliner’s cushion, and then lower the footrests for easier access when pulling out the cushion from underneath your chair.
Once that has been done, take off anything covering the bottom of your chair and then remove its middle section if possible to gain easy access to its base plate or caster assembly (the part that lets your chair move around).
4. Remove Base Plate
If you are having difficulty removing the caster assembly, use the flathead screwdriver to put it in between the base plate and the bottom of your recliner’s seat cushion. Slide it out from underneath the chair by using gentle force.
Now that it is loose, pull off any material covering its screws/bolts for easy access when unscrewing them.
For older models with bolts attached to the base plate, you will have to cut them off, so they can be taken out without being pulled out completely.
If this is the case with your model, attach diagonal wire cutters over each bolt head and apply pressure until they snap free from their slots.
5. Remove Caster Assembly
Once the screws/bolts have been loosened, remove them and slide out the caster assembly. Set it aside as you will need to grab your recliner’s seat cushion once again.
6. Pull Out Seat Cushion
Now that you have all of those removed start pulling out the seat cushion from underneath your chair by using a flathead screwdriver or similar complement like a hammer handle (remove screws first).
After you’ve pulled it out and set it aside, pull off any material covering its bottom plate and then remove screws attaching it to your chair if there is any.
Do not mix these parts up! Put each one in another location for later use, keeping everything organized.
7. Remove Bottom Plate
Remove Bottom Plate of Seat Cushion Unscrew any material attaching it to your recliner’s bottom plate and remove all screws, washers, etc., from the bottom of your cushion.
Take this time to clean out gunk from the holes in its base plate as well as those on your chair’s footrests or caster assembly.
Now that you have removed all of those parts take a break and reflect on whatever you’ve done so far with your disassembly project.
It might be a good idea to wash yourself up during this time, considering how dirty you might have become from working on those hard-to-reach spots within.
8. Final Touches
Once everything is seated back in place, go ahead and connect armrest lever mechanisms by gently pushing them up using a cloth over an exposed lever. To finish, reattach the feet on your chair’s bottom plate back into position.
How to assemble your Recline
To assemble your chair, you need to take it apart in the reverse order. The process may be complicated if you are not used to handling tools, but it is pretty straightforward once you get the hang of it.
You need to remember these steps when taking your recliner apart so that you can put them back together again:
- Make sure all parts are accounted for before assembly begins
- Start by attaching any springs to their location (if using a glider system) (This will likely include hammering or pounding them into place)
- Attach armrests, and center posts/handles, then secure with bolts or nuts
- Reattach seats and other parts, securing each part to the frame with screws
- Finally, attach a fabric cover to the bottom of a chair.
Conclusion
In this article, we discussed how to take apart and assemble a recliner. We hope that our guide was helpful for you and know you quickly moved your chair. Thank you for reading our piece.
