Table of Contents Show
The first garden I ever made began with a broom, a bucket, and a stubborn strip of ground that baked hard by noon. I walked the yard at different hours, felt the soil, and built one small bed I could finish in a weekend. This guide keeps that spirit: five minutes a day and a first win in every step so momentum never stalls. If you want a deeper primer before you start, learn how to dig your first vegetable garden and then come back here to put it into practice.
Step 1 — Reset the space, safely
Your first 5 minutes: pick up trash and broken branches in a tight square where your first bed will live. Pull three easy weeds by the roots. Coil a hose around the future bed so the shape feels real.
First win: a clean, safe rectangle you can walk around with no tripping points.
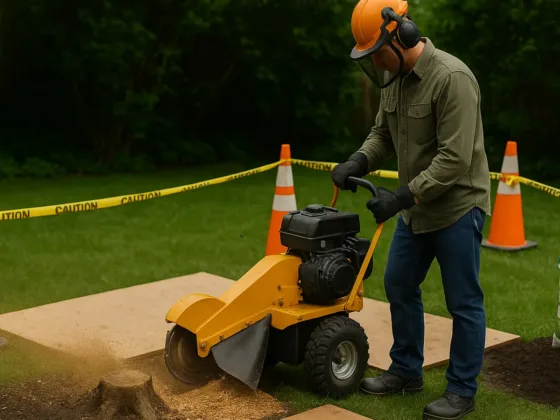
If you see dead limbs over a path or branches near service lines, bring in a qualified pro for tree pruning. Clear boundaries change how the space works. Sweep paths, stack green waste neatly, and confirm you can reach the bed without stepping on it; here’s a practical follow-up on handling yard waste once you’ve cleaned the area.
Step 2 — Read your site like a gardener
Your first 5 minutes: stand in the spot at 9 a.m., noon, and 3 p.m. and jot yes or no for direct sun. Mark where puddles linger after rain.
First win: a simple sun-and-water note that tells you where plants will be happiest.
Fruiting vegetables want strong light while many herbs and leafy greens tolerate shade. For a steady, beginner-friendly baseline on matching plants to light, lean on the Royal Horticultural Society beginner’s advice. Scoop a handful of moist earth and squeeze: clay smears and holds tight; sand falls apart; loam grips then loosens with a nudge. Use those cues to set watering and mulching expectations—then translate your observations into choices with this quick guide to what to grow and when.
Step 3 — Choose your garden path
Your first 5 minutes: decide now—in-ground bed, raised bed, or containers. Circle the option you can finish this weekend.
First win: a format locked in so buying and building get easy.
- In-ground works when native soil drains well and sun is honest. Edge cleanly, amend from your soil test, and mulch after planting.
- Raised beds shine where ground is compacted or heavy. Keep widths near four feet so you never step in. For build rules that last outdoors, follow the University of Illinois Extension raised-bed guide and pair it with tidy edges using raised beds, borders, and planters ideas that define paths and keep soil off your lawn.
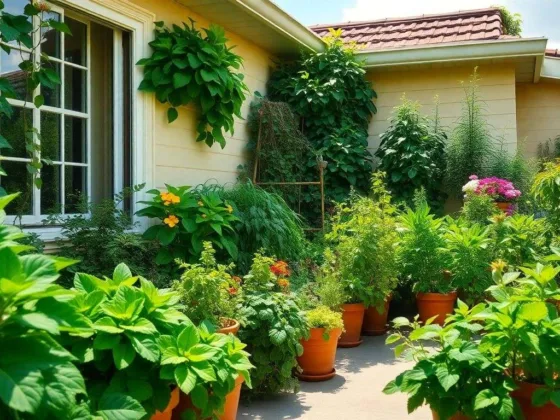
- Containers turn balconies and patios productive with generous pots, a quality soilless mix, and consistent water.
Step 4 — Test your soil and act on the numbers
Your first 5 minutes: dig three small cores, drop them in a clean bucket, and set the bucket by the door so sampling the rest is friction-free.
First win: the kit is out and the task is already started.
Send one good composite sample. For plain instructions and how to read a report without guesswork, use Oregon State University Extension’s soil-testing overview and University of Minnesota Extension’s testing guidance. If pH is low, add lime. If high, elemental sulfur brings it down. Fix specific deficits with targeted fertilizers and top with well-finished compost each season. Re-test on a steady cycle so the bed stays in range as crops draw nutrients down.
Step 5 — Draw a plan you can finish this weekend
Your first 5 minutes: sketch one bed on a single sheet. Add paths at eighteen to twenty-four inches. Mark hose reach and a seat.
First win: a drawing you can carry to the yard and build without rethinking.
Place a simple drip line on a battery timer. Tidy paths keep soil intact and shoes clean. A small perch invites you to linger long enough to catch problems early. If you want a small structure that makes the space feel finished, here’s how to build a pergola attached to the house as a future weekend project.
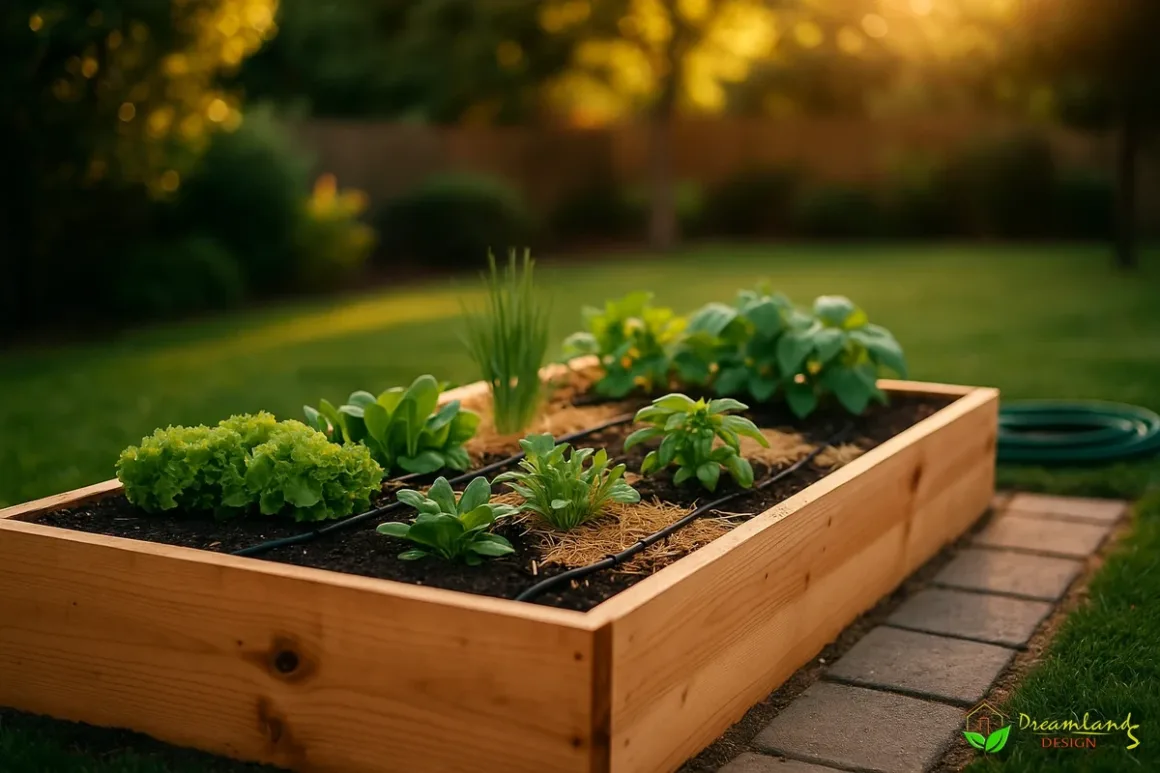
Starter layout you can trust
One four-by-eight raised bed split into thirds. Front for quick salad greens. Middle for herbs and bush beans. Back for a trellis with peas in cool weather or a single tomato in heat. Containers can mirror this with a cluster of large pots grouped by light and water needs.
Step 6 — Plant the first wins
Your first 5 minutes: set three plants in place while still in their pots so spacing feels right. Step back and adjust. Only then remove pots and plant.
First win: the layout looks tidy before you touch soil.
Start with a mix that forgives and teaches: salad greens for quick success; basil and chives for flavor; bush beans for dependable growth; a marigold border to frame the bed. Add one stretch crop like a tomato or pepper to learn without betting the season. For spacing and timing you can trust as you scale, pull charts from the NC State Extension quick reference—and if you’re adding a classic herb, here’s how to grow and care for French tarragon the easy way.
Step 7 — Plant, water, and mulch the same day
Your first 5 minutes: water each new plant once, slowly, then lay a thin ring of mulch around the root zone. Finish the full mulch layer right after.
First win: roots settle and the surface stays cool while you work.
Set plants at the depth they grew in their pots. Water to settle soil around roots. Lay two to three inches of mulch to lock in moisture, protect structure, and slow weeds. In raised beds and hot corners, mulch buys you time when wind runs high.
Step 8 — Your first thirty days
Your 5-minute loop: press a finger to knuckle depth to judge moisture. Pluck tiny weeds. Pinch a herb tip for branching. Note one sun or wind change. Stop there. Tomorrow, repeat.
- Week one: clear, map sun, and start the soil sample.
- Week two: build the bed or stage containers, blend mix and compost, and install the timer.
- Week three: plant, mulch, and label.
- Week four: run the loop, harvest first greens, and jot simple notes so the next round comes easier.
For adjacent yard upkeep that keeps the whole picture tidy, add these seasonal lawn care tips to your routine.

Troubleshooting you can do fast
Your first 5 minutes: look once in the morning and once late day. Compare.
- Late-day wilt with morning recovery usually means heat stress. Keep moisture steady and give light shade until roots catch up.
- Yellowing with flat growth often points to pH drift or missing nutrients. Read your recent lab report, correct gently, and give the soil a week to respond.
- Sour smells or algae on top tell you the profile stays wet. Improve drainage, water slower but deeper, and keep the surface covered.
Make the space livable
Your first 5 minutes: set a crate or stool in the best small shade. Put pruners, a hand fork, twine, and gloves in a lidded tote near the door.
First win: tools where you reach for them without thinking.
Neat paths keep soil structure intact. A seat turns a chore into a pause. Grow one bed for experiments and one for steady harvests so you can try new ideas without losing dinner.
What to buy first
Your first 5 minutes: choose one tool you don’t own yet and set it by the door for tomorrow’s loop.
- Long-handled digging fork for loosening soil
- Hand fork and a sturdy hori-hori for planting and weeding
- Bypass pruners that make clean cuts
- Basic drip kit with a battery timer
- Mulch suited to your climate
- Well-finished compost that smells like a forest floor
Written by: Perla Irish — Author Profile
Reviewed by: Chase Haman, Certified Arborist — LinkedIn
FAQs
Establish a new bed with a lab test, follow the recommendations, and repeat tests on a steady cycle so pH and nutrients stay in range as crops draw them down.
Fruiting crops want strong, direct sun while many greens and herbs handle partial shade. Match your plants to the sun map you made in Step 2.
They drain predictably, warm earlier, and stay tidy. Set the width so you can reach the center from both sides and refresh with compost as your soil test suggests.
Yes. Use larger containers than you expect, a high-quality soilless mix, and a drip timer that keeps water steady.