Table of Contents Show
Interested in building your own personal observatory? The information provided here will give you some basic ideas on building your own observing station.
Those of us with large, bulky telescopes often find it too difficult to lug that heavy observing monocular in and out of the house. After the telescope is finally outside, then much time is often spent getting it properly set-up, balanced, and polar-aligned.
Once the telescope is finally set-up, it’s nearly impossible to enjoy the observing session due to thinking about the strenuous work needed to carry the telescope back into the house. With a backyard observatory, all this can be easily eliminated.
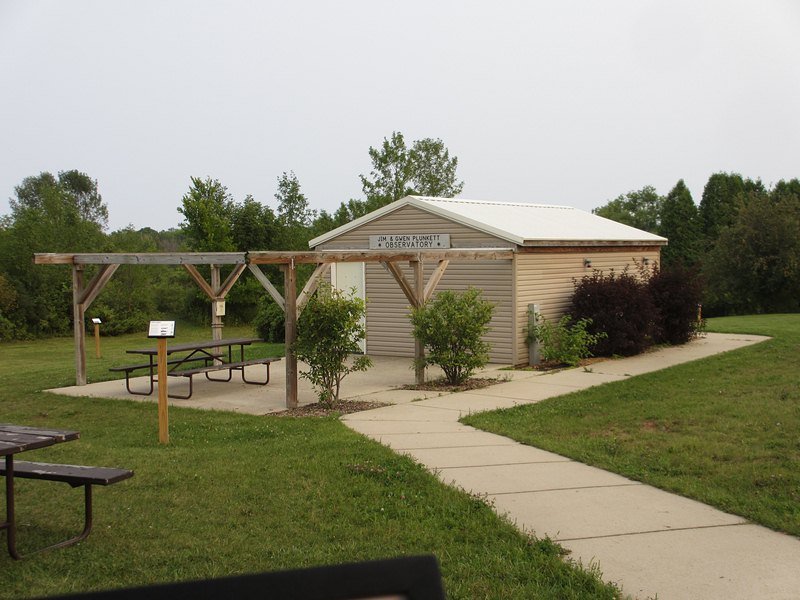
Amateur Backyard Observatory Plans: Planning the Location
If you have already purchased or built your telescope, then you will have a general idea as to how much room or what size observatory you will need to install the telescope and allow it plenty of free room for the wires and cabling – if the telescope requires electricity. When planning to build your backyard observatory, keep strength and durability in mind.
Read Also:
The location where the observatory will be built must be chosen carefully. Before pouring concrete in a random location in your yard, consider the following:
Trees
An observatory should be constructed away from trees; even young trees because they will grow. The observatory will (but not always) be a permanent structure and if trees will block your sky view within the next few years consider building it in another location.
Street and Security Lights
Lights commonly cause “ghost” images in your telescope and can ruin your dark-adapted vision (the point in which your eyes adapt to the dark).
If the neighbors use street or security lights, consider asking them if you can install a “shut-off” switch on their light so that it can be disconnected while you are observing. Another option is to build your observatory on the opposite side of your house or another structure to help block the light.
Busy Roads & Vehicle Lights
Imagine that you have decided to spend the usual several-thousand dollars to purchase that new CCD imager and begin your work in astrophotography.
Headlights from a single vehicle passing by can completely ruin the exposure that you have been working on the past three hours! So, consider road traffic as well.
Flooding & Wetland
As with any structure, construct your observatory on land that is not typically wet. Electronics and water do not mix very well.
Designing the Backyard Amateur Observatory
Most of us are not very good architects, but you can use a pencil and piece of paper to sketch out a crude set of blueprints that will give you a good idea as to how your observatory will look. While designing your observatory, try to imagine “what you would like” when you are finally out there doing your astronomy work.
Would you like to be sitting next to the telescope while it’s working; or would you like to be in a separate room away from the heat/cold and biting mosquitoes?
Maybe you would like to be sitting inside your living room drinking hot coffee and watching television while monitoring your telescopes activity on a computer? All these are options that you should consider when designing your observatory.
Those observatories where warm/cool rooms are added are typically built when a robotic or computer controlled telescope and some form of digital camera is planned for use.
These types of telescopes are nice to own and operate, but they can be very expensive. But the serious amateur astronomer will probably choose this type of telescope – especially if he/she is planning to build an observatory.
Remember, you will probably need electricity out in your observatory if you are installing a telescope with electrical drives and controlling the telescope with a computer.
Install a power wire large enough to provide power to the telescope and any electrical component that you might consider using in your observatories, such as small heaters in the winter, or a small air conditioner during the summer months.
Building Your Own Personal Observatory
Now that you have planned out the observatory, it’s time for the construction to begin. An Internet search on “homemade observatories” will show a variety of construction styles from complete dome systems to those that have been constructed out of a light-weight metal storage building.
Any of these will work, but when building your observatory try to keep in mind that you could possibly end up with thousands of dollars worth of equipment being stored in the building. Build it strong and sturdy.
One of the better types of observatories is the one that is built similar to home construction. A wood frame construction on a concrete floor might be a bit more expensive than the old metal shed that was used to store your lawnmower in, but the better construction will provide years of reliable protection for your equipment.
If you are unfamiliar with construction, the Internet and public library are always available to research.
A word of advice, construct your observatory in a way to allow it to be resistant to weather, fire safe, and secure against thieves.


