Table of Contents Show
If you are building a deck, you need to make sure that all of the boards are as flush as possible. Essentially, they need to be the same width for them to be level. Without doing so, you would have obvious discrepancies between the boards that you are using, causing a noticeable problem.
To avoid this, you will need to use several tools that can make this possible. If you are purchasing a kit, they will have already done this for you. They will have used industrial equipment that can plane the boards very quickly.

Tips on Sanding Between Deck Boards
If you are ready to build your deck, here are some tips on sanding between deck board that will help you create a perfectly level deck that everyone will marvel at.
Read Also:
- Deck Plans: How Much Does it Cost to Build a Deck – How Do You Estimate
- Stain Deck Weekend the Sherwin Williams Way – Staining a Deck
- Directions For Deck Stairs Handrails (DIY Deck Stairs Handrails)
- DIY Deck Design Ideas: Tips on How to Build a Deck Step by Step
- Lattice Ideas for Decks, How to Install Lattice to a Deck
- 5 Woodworking Skills to Learn for DIY Projects
- 3 Fabulous Benefits of Woodworking
- How Composite Decking Works
What Tools Will You Need?
There are several tools that you will need. Some of these can be industrial in size, whereas others might be able to operate within a small confined space.
For example, if you have access to what is called a planer, you can run the lumber through and it will size all of them to your exact specifications.
However, if you are doing this by hand, you are going to need different tools. You will need a hand planer, thumb planer, or even a power planer if you want to do this quickly. You will need a sanding device, such as an electric sander, or you can simply use sandpaper to finish each of the boards.
How Should You Begin?
If you are doing this by hand, sanding between the deck board will be a time-consuming process. You will need to have a couple of vice grips in order to hold the boards in place.
You will do one at a time, starting with the edges, the sides, and then you will do the ends. You must make sure that each one of them is the exact height, length, and width for them to fit properly.
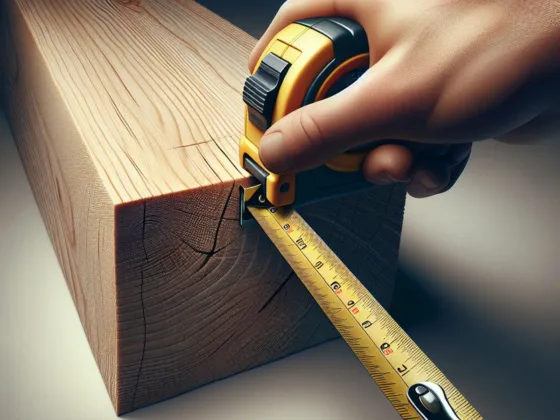
It is good to have measuring tools such as a T-square available and also a level just to make sure that you are planning everything properly.
The time it will take to get this done will likely be about 30 minutes for the board, however, if you can use electrical equipment, you could probably get this down to about 10 minutes for the board.
What is the Most Important Part of This Project?
Although the length of the board is very important to consider, you can always adjust that. However, once you screw down, or nail in the boards, you will not be able to resolve any variations of height.
If you are not careful, you could have random boards standing higher than all of the others, and this would not only cause a safety hazard, but it would also look as if a professional was not available for this project.
Therefore, once you are done with each one, you will need to take measurements, ensuring that they are all within 1/16 of an inch. This will ensure that when you finally complete the deck, the entire surface will be flush all the way across, completely level for use on a daily basis.
Tips on Making Sure You Get the Same Measurements
When people do this, especially if they do have access to a planer, they automatically assume that the settings will make each of the boards exactly the same.
However, by taking the time to do additional measurements after the planer has completed its job, you can make sure that every board is identical.
Overall, depending upon the deck you are building, this could take an extra hour or two. This will ensure that all you will have to do is a screw or nail down the boards for your deck, never having to worry about whether or not the deck will be level.
The final part of the project is the sanding. You will use a manual or electric sander. Be sure to leave at least 1/16 of an inch over the actual width that you are striving to achieve with each board.
The sander will take off this remaining amount, and each of the boards will be completely smooth, another part of the project that will probably take you a few more hours.
If you are using machinery, such as a planer, this is something you will not have to worry about because the sanding process will be built into the machine. Whether you do this automatically, or if you do this by hand, you now know how to do sanding between deck board to get the best possible result.