Table of Contents Show
Have you ever wondered how to make your own padded headboard? Here we show you how to make cheap DIY headboard without touching a hammer, nails, or saw.
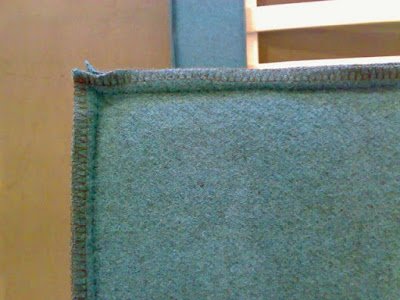
Introduction
Is your old headboard losing it’s lustre? Have you thought about buying a padded headboard, but don’t really have the money? You would be surprised at just how easy it is to learn how to make a padded headboard with this DIY Headboard instructions, especially if you repurpose your old one – you don’t even have to make one from scratch if you don’t want to.
If you are not handy with a hammer and nails, a padded headboard can easily be made from your old headboard with this Cheap DIY Headboard instructions, a headboard obtained from a thrift store, or even from an old door. If you use an old door, you would just have to mount the headboard on the wall rather than onto the bed. If you are a keen DIY enthusiast, all you would need to do is obtain some plywood, cut it to fit the size of your bed, and go from there.
Must Read:
- Easy DIY Dining Table, How to Make a Wooden Dining Room Table Yourself
- 10 Best Ways To Make Your Bedroom Interior Creative and Innovative
- 7 Pieces of Decor You Can’t Live Without in Your Dream Apartment
- 5 Ways That Will Make You Have the Most Romantic Bedroom
- DIY Storage Shelves, How to Build a Floating shelf
- Inexpensive and Creative DIY Party Chair Covers
Preparation & Measuring Up
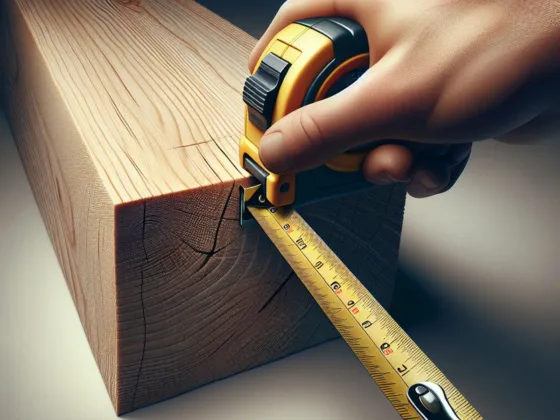
- Measure the size of your headboard to see how much foam, batting and fabric you will need. You will want the foam to be at least two inches thick for optimal comfort.
- Add 8 inches extra to the length you have measured out as you will be wrapping the batting around the headboard.
- When choosing from the various types of furniture material, do not just think about decoration think about durability as well. It is best to choose a thicker fabric that will stand up to the test of time. Add 8 inches extra to the fabric just as you did with the batting.
- Place the foam on the ground and then lay the headboard gently on top of it. Then, use a black magic marker to trace the shape of the headboard onto the foam. Cut the foam into the shape of the headboard, using the utility knife.
Make Your Own Cheap DIY Headboard Project
To make a more professional looking DIY headboard, iron the fabric before proceeding to these next steps.
- Place the fabric on your work surface with the decorative side down. The batting and the fabric should be the same length.
- Place the batting on top of the fabric, followed by the foam. Now, lay the headboard on top of all three layers.
- Be sure that everything is lined up evenly, and begin to pull the batting and fabric up around the edges. Once you have one corner pulled tight, use a staple gun to attach it.
- Proceed around the headboard, stapling as you go – the key to having a professional looking headboard is to pull the fabric and staple at the same time. It helps to have two people working on it at this point – one to pull the fabric and one to staple – although it can be accomplished with just one person with time and patience.
Finishing Touches
Once you have completed this part, you can add sparkle to your headboard by using upholstery pins placed about the headboard. They have many options at the craft store, you just have to go and see what you like.
Once you learn how to make a cheap DIY padded headboard for your bed, you may very well want to have one on every bed in your home. They are posh, fun and comfortable as well. So, now that you know how easy it is, don’t put it off any longer!
References & Photo Credit
- Blu Dot Bed! (headboard top view) – jm3 on Flickr: https://www.flickr.com/photos/jm3/368788487
- Make Your Own Upholstered Headboard – http://www.bejane.com/diy-projects/by-topic/carpentry/make-your-own-upholstered-headboard





3 comments
Truly extremely cool site. Fairly good to go through and incredibly a lot fascinating content material. Absolutely season includes not nevertheless occur back and greet.
Hi to every one, it’s really a fastidious for me to go to see this site, it consists of useful Information.
If you are a beginner or have done some woodworking you will find these plans: http://www.bestquicktips.com/woodworking-projects easy-to-follow as the instructions are very clearly written. Even if you are a total newcomer to woodworking you will be able to master all the techniques that are needed and the woodworking skills very quickly.